


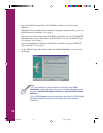

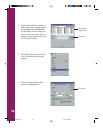

5. Follow the instructions on screen to install the software. EPSON Digital
PhotoLab is installed first. Click Finish when that installation is complete. At the
next screen, click OK to install your printer software. (There may be a brief
pause before the installation begins; if you are installing the software from
diskettes, only the printer software is installed.)
Your printer software icons appear in the EPSON folder and an icon for your
printer appears in the Printers folder.
An icon for EPSON Digital PhotoLab appears on your desktop. To launch this
program, double-click the icon. For details about the program, see page 15.
6. Follow the instructions in your Windows NT 4.0 documentation to set up the
workstations to share the printer.
7. Continue with “Register Your Printer” on page 15.
Installing the Software on a Macintosh
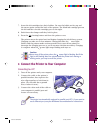
1. Make sure your printer is connected to your Macintosh and both are turned off.
2. Turn on your Macintosh and turn off your virus protection programs, as
necessary.
3. Once your Macintosh is fully started, turn on your printer.
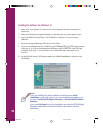
4. Insert the EPSON Stylus Photo 700 CD-ROM or Disk 1 if you’re using diskettes.
Double-click the EPSON CD-ROM or diskette icon if it doesn’t open
automatically.
5. If you’re installing from the CD-ROM, double-click the Printer Software Installer
icon. If you’re installing from diskettes, double-click the Installer icon. Then
click Continue.
Note:
If you are installing your software for the first time, you must install the
printer software before you install EPSON Digital PhotoLab.
13
Comoro+ GS Booklet 3/17/98, 4:35 PM17