


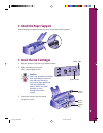
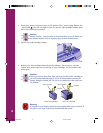
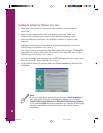


7. Insert the ink cartridges into their holders. Be sure the labels are face up and
the arrows point toward the back of the printer. The black ink cartridge goes on
the left and the color ink cartridge goes on the right.
8. Push down the clamps until they lock in place.
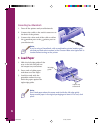
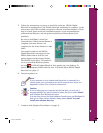
9. Press the cleaning button and close the printer cover.
The printer moves the print head and begins charging the ink delivery system.
Charging can take two to four minutes. During this time, the power light
flashes, and the printer makes various sounds. Don’t turn off the printer or
interrupt the charging process or you’ll use more ink than necessary. Charging
is complete when the power light stops flashing and stays on.
Caution:
Never turn off the printer when the power light is flashing. But if the
light is still flashing after five minutes and the printer isn’t moving or
making noise, you may turn off the printer.
4 Connect the Printer to Your Computer
Connecting to a PC
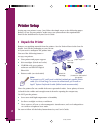
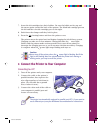
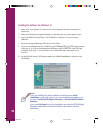
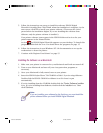
1. Turn off the printer and your computer.
2. Connect the cable to the printer’s
parallel interface; then squeeze the
wire clips together to lock them in
place. (If your cable has a ground
wire, connect it now.)
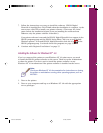
3. Connect the other end of the cable to
your computer’s parallel port and
secure it as necessary.
Note:
The printer is automatically assigned to parallel port LPT1; if you want to
use a different port, see your Windows documentation for instructions.
5
Comoro+ GS Booklet 3/17/98, 4:34 PM9