


1
Getting Started Getting Started
1-7 1-8
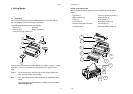
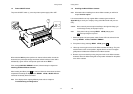
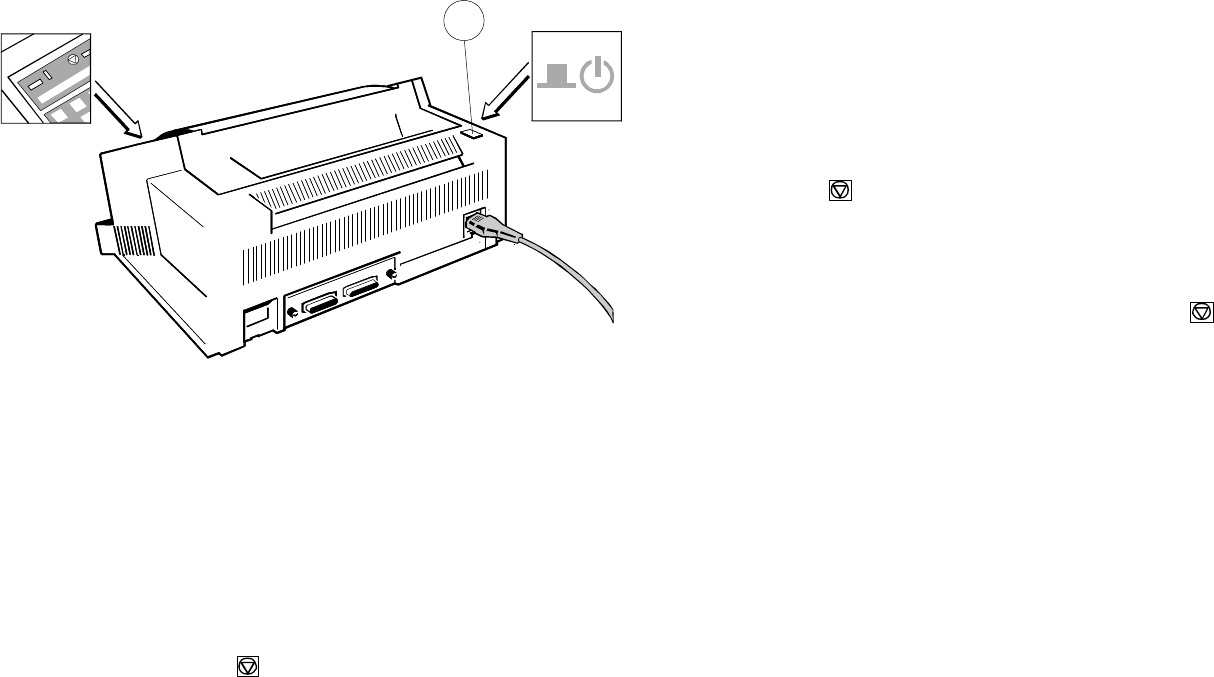
1.4 Power ON/OFF Switch
The power ON/OFF switch (1) turns the printer's power supply ON or OFF.
When switched ON the printer performs an internal self-test which checks the
electronics, the print head carriage movement and the interface. Power ON is
indicated by a green LED on the operator panel and shows TEST.... .
If the message INSTALL RIBBON is shown, follow the steps in chapter 1.5
Installing the Black Ribbon Cassette.
After inserting the ribbon press to continue. When the internal test has been
completed successfully the display shows READY 4 ELQ or BUSY 4 ELQ in
case data has already been transmitted.
Note: If the display shows anything different please refer to chapter 5
Troubleshooting and Diagnostics.
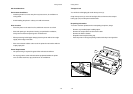
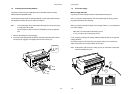
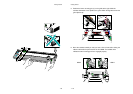
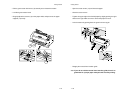
1.5 Installing the Black Ribbon Cassette
Note: Information about installing the 4-colour-ribbon cassette you will find in
chapter 6 Colour option.
It is recommended to use only original ribbon cassettes (part numbers in
Appendix H) put out by our company. Using other ribbons will void your war-
ranty.
Caution: Never manually move the print head fully to the right hand stop (you
could change the way of the paper output).
Note: If the printer is busy (message BUSY 4 ELQ) always press
before opening the top cover.
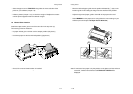
1. Switch the printer ON at the power switch; Power LED is lit and wait for the
message READY 4 ELQ or INSTALL RIBBON.
2. If the printer is busy (message BUSY 4 ELQ) press .
3. Lift the top cover to gain access to the ribbon cassette mountings. The print
head will move to the correct position, aligned with the cut-out in the paper
guide plate to facilitate the installation of the ribbon cassette.
4. Remove any excess slack by turning the green knob on the ribbon cassette
clockwise. Move the ribbon feed guide to the position indicated on the plastic
cover of the cassette.