


14
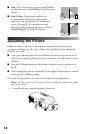
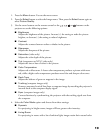
■ Rear: You can also set up your projector behind a
translucent screen. Choose
Rear for the Projection
option.
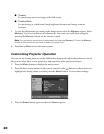
■ Rear/Ceiling: Professional installation is
recommended if you choose to attach the
projector to the ceiling behind a translucent
screen. (See page 12 for information about
ordering ceiling mounting equipment.) Choose
Rear/Ceiling for the Projection option.
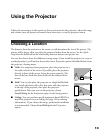
Adjusting the Picture
Follow the steps on the Quick Setup sheet to connect the projector to your
equipment and turn it on. Be sure to follow these guidelines when turning the
projector on or off:
■ Turn your video equipment on or off before you turn your projector on or
off. (If you’re attaching the projector to a computer, turn the projector on or
off first.)
■ Press the P Power button on the remote control to turn the projector on
or off.
■ Never unplug the projector when the P power light on the projector’s control
panel is green or flashing orange.
Once you see your picture, you may need to make certain adjustments.
Note: If you don’t see a picture, you may need to change the image source. See
page 33 for details.
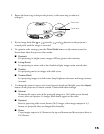
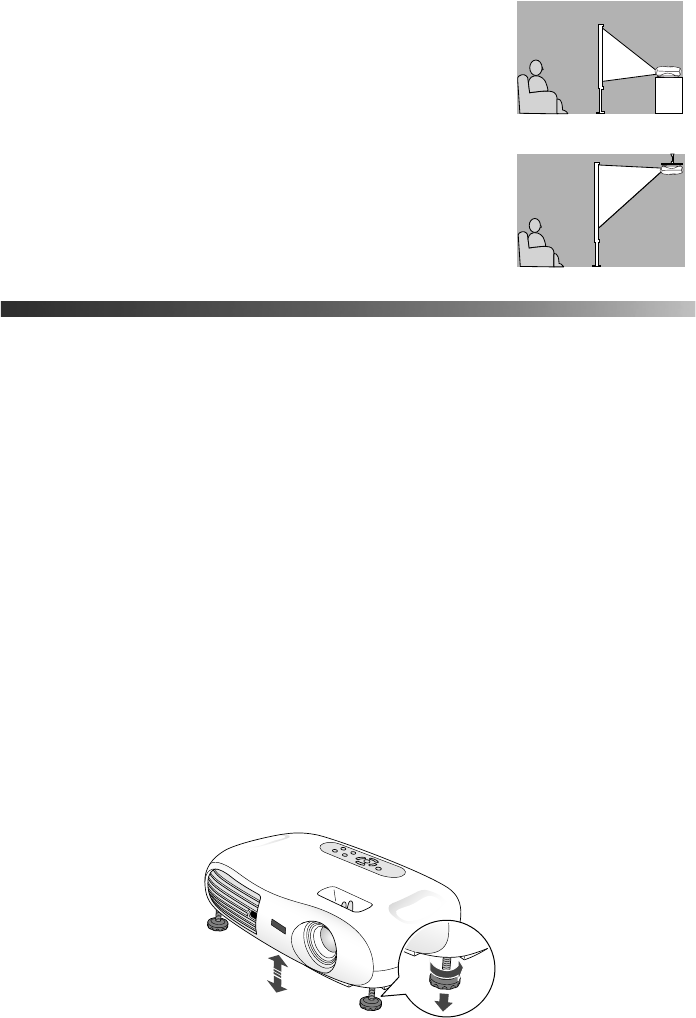
1. To raise the picture, turn the projector’s front feet.
Rear
Rear/Ceiling