


17
Using the Projector’s Menu System
You can use the projector’s on-screen menus to fine-tune the image quality, check lamp usage,
and customize projector features:
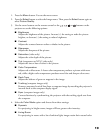
■ The Image menu controls the look and quality of the picture. It offers several ways to
adjust the color and improve the sharpness and clarity of the picture.
■ The Setting menu lets you set the child lock or sleep mode, adjust the position and size
of the picture, select front or rear projection, and customize other projector features.
■ The Info menu provides information about lamp status and video or computer settings.
■ The Reset menu lets you reset the lamp timer and the projector’s memory, or return all
the menu settings to their factory defaults.
You can use the buttons on the projector or remote control to display the menus and change
settings. Follow the steps in the next section.
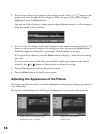
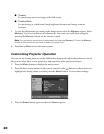
Changing Menu Settings
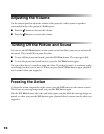
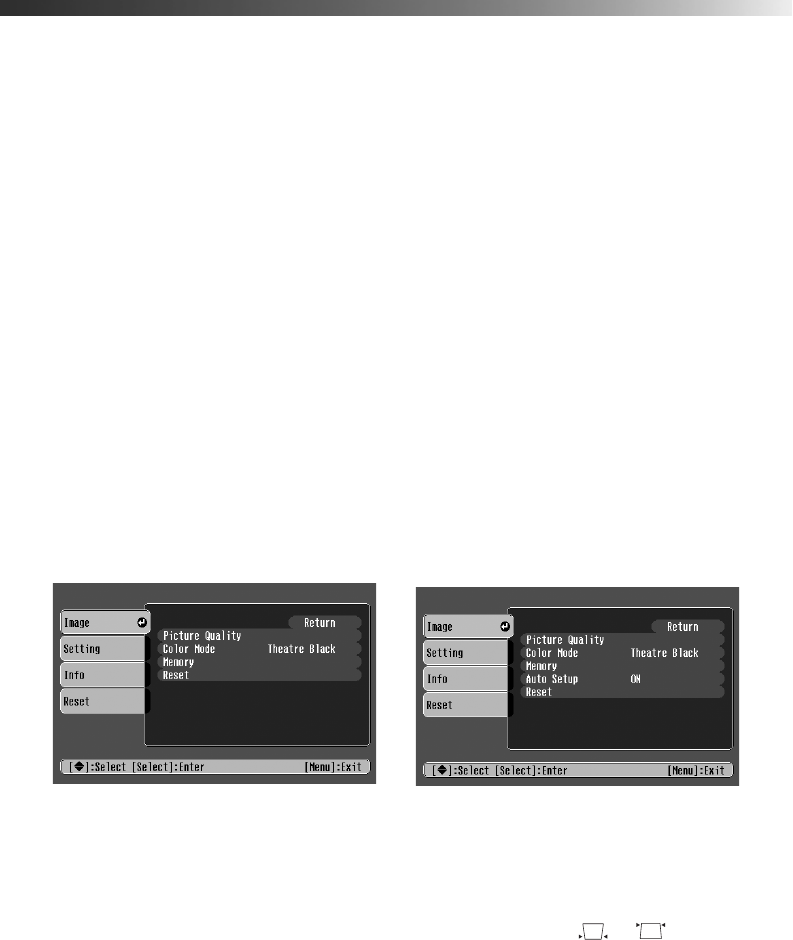
1. Press the Menu button on the projector or remote control. You see one of the following
screens (the screen you see depends on the equipment you’ve connected):
The four menus are shown on the left, and the options available to the highlighted menu
are shown on the right.
Note: If nothing is connected to the projector, some options may not be available.
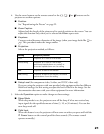
2. Press the up or down arrow button on the remote control or the or button on the
projector to move to the menu you want. When your menu is highlighted, press the
Select button. You see the options for the selected menu on the right. The highlight
moves to the first option in the list.