MLA-VC10 • Installation and Operation
MLA-VC10 • Installation and Operation
Installation
2-3
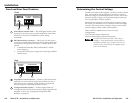
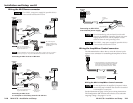
Front and Rear Panel Features
MLA-VC10
POWER/
STATUS
A B
Front
MLC/RS-232
POWER
21
1
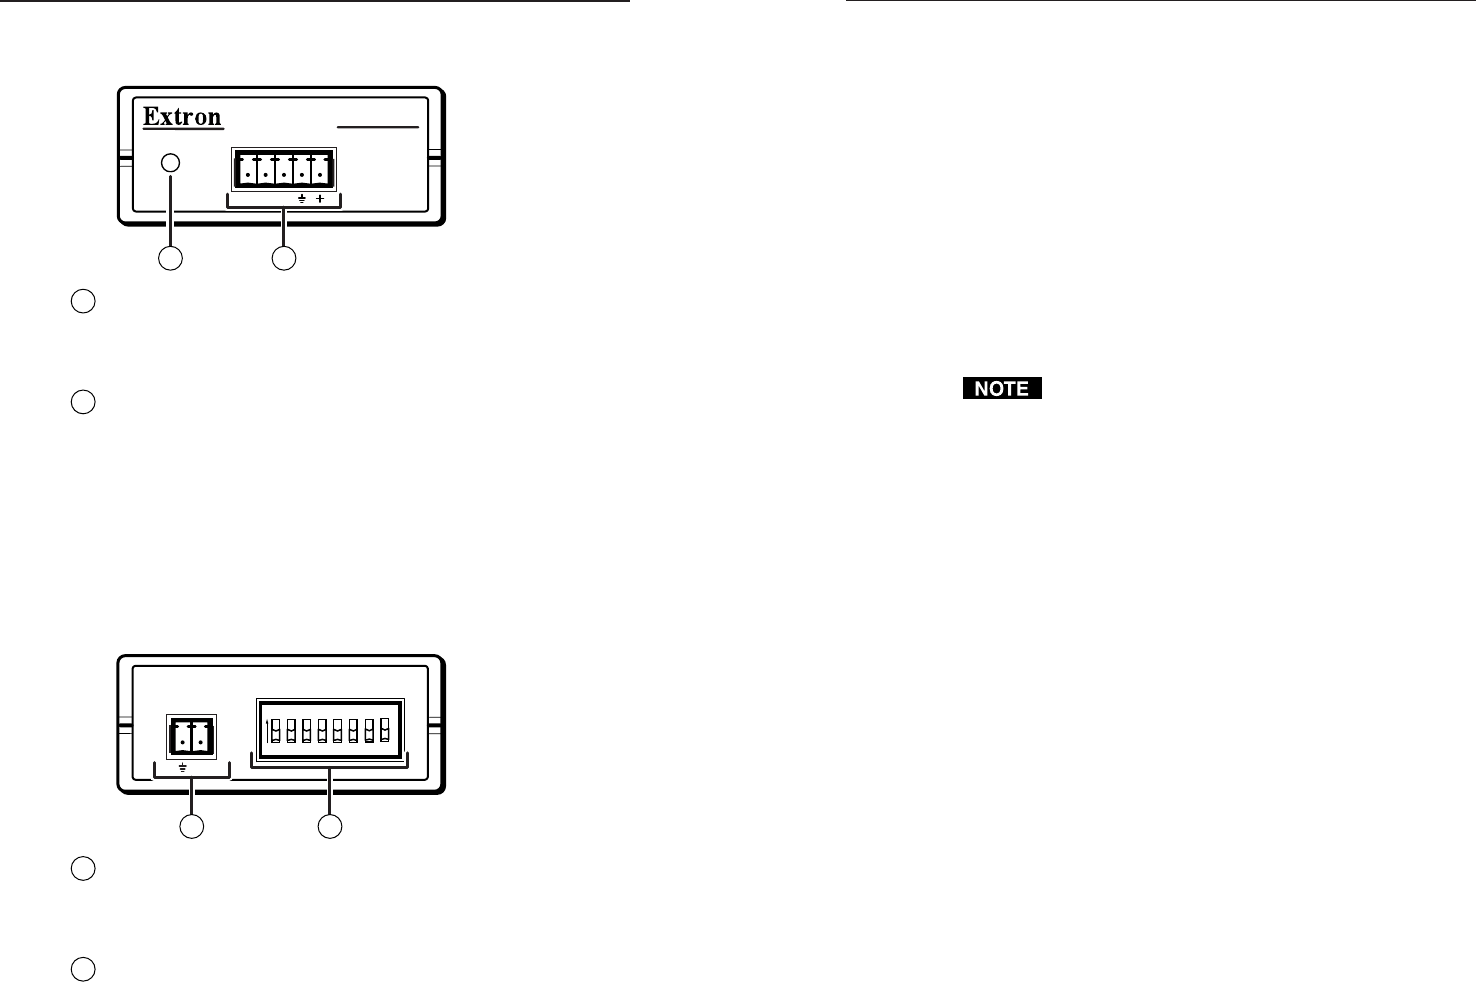
Power/Status indicator LED — This LED lights steadily while
the MLA-VC10 receives power, and it blinks three times when
the MLA-VC10 receives valid RS-232 volume setting
commands.
2
MLC/RS-232 Power connector — This 5-pole, 3.5 mm captive
screw port is for RS-232 transmit and receive signal connections
and for power and ground connections. Connect cables to this
port for
• a MediaLink Controller (MLC) and the MLC’s 12VDC
power supply, or
• an external 12VDC power supply and a third party RS-232
control device.
R
ear
CTRL
1
2
3
4
5
6
ON
7
8
CONFIGURATION
AMP/MIXER
CONTROL
43
3
Amp/Mixer Control connector — Connect a cable between the
amplifier’s or mixer‘s remote control port and this 3.5 mm, 2-
pole captive screw connector, which provides a ground and
control voltage for controlling the audio volume.
4
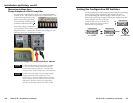
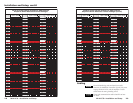
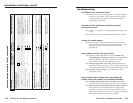
Configuration DIP switches — Set these eight switches to
configure the MLA-VC10 for the control voltage required by the
amplifier or mixer. See “Setting the Configuration DIP
Switches“ on page 2-7.
2-2
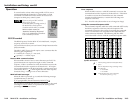
Determining the Control Voltage
The MLA-VC10 drives the amplifier’s or mixer’s remote control
port. Each model or line of amplifier or mixer may require a
different voltage for controlling the audio volume. You need to
know the specific voltage your equipment requires before you
can set up the MLA-VC10 to control it.
Sometimes the equipment’s manual lists the required voltage,
but usually you will have to use a voltmeter to test the voltage
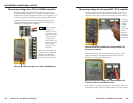
yourself. This section shows examples of how to measure the
control voltage for three widely used amplifiers.
Many models of amplifiers have one of two basic
configurations:
• two-terminal (signal and ground)
• three-terminal (signal, ground, and control)
The MLA-VC10 will work with a wide range of
amplifiers. Those models shown in this section are
included as examples only. The MLA-VC10 is not
limited to being used with just the amplifier-mixers
shown in this manual.


