


30 01-28006-0024-20041026 Fortinet Inc.
Configuring basic settings NAT/Route mode installation
To configure DNS server settings
1 Go to System > Network > DNS.
2 Enter the IP address of the primary DNS server.
3 Enter the IP address of the secondary DNS server.
4 Select OK.
To add a default route
Add a default route to configure where the FortiGate unit sends traffic destined for an
external network (usually the Internet). Adding the default route also defines which
interface is connected to an external network. The default route is not required if the
interface connected to the external network is configured using DHCP or PPPoE.
1 Go to System > Router > Static.
2 If the Static Route table contains a default route (IP and Mask set to 0.0.0.0), select
the Delete icon to delete this route.
3 Select Create New.
4 Set Destination IP to 0.0.0.0.
5 Set Mask to 0.0.0.0.
6 Set Gateway to the default gateway IP address.
7 Set Device to the interface connected to the external network.
8 Select OK.
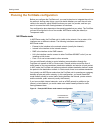
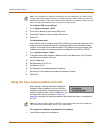
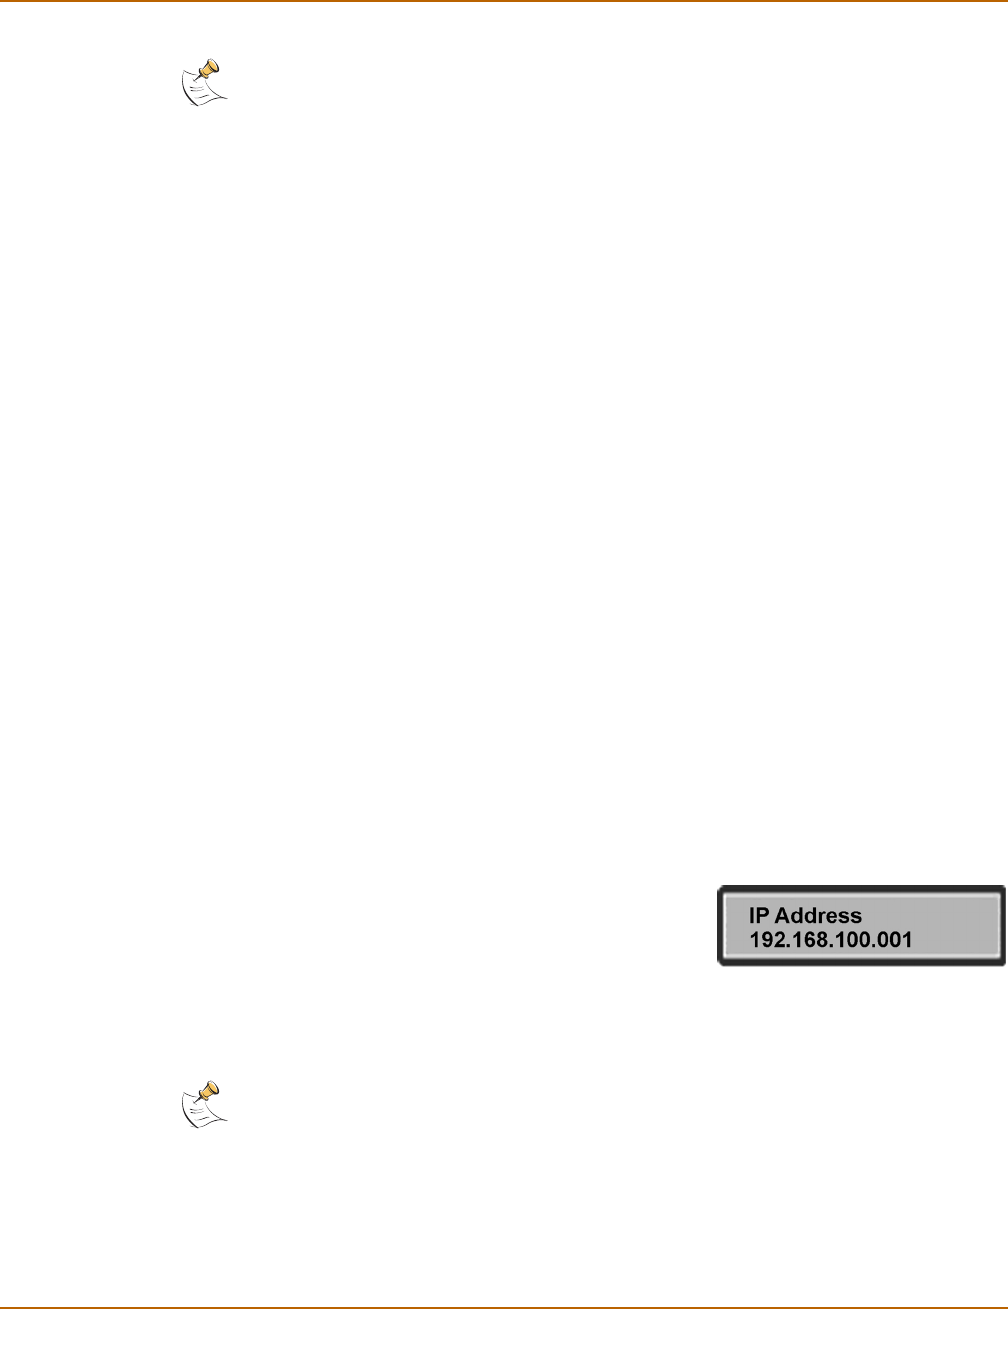
Using the front control buttons and LCD
Basic settings, including interface IP addresses,
netmasks, default gateways, and the FortiGate
operating mode can be configured using the LCD
and front control buttons on the FortiGate unit. Use
the information that you recorded in Table 6 on
page 28 to complete the following procedure. Start when Main Menu is displayed on
the LCD.
To change the IP address and netmask of an interface
1 Press Enter to display the interface list.
Note: If you change the IP address of the interface you are connecting to, you must connect
through a web browser again using the new address. Browse to https:// followed by the new IP
address of the interface. If the new IP address of the interface is on a different subnet, you may
have to change the IP address of your computer to the same subnet.
Note: You cannot configure DHCP or PPPoE from the control buttons and LCD. Instead you
can use the web-based manager, the CLI, or the setup wizard.