


Magnum 6K8-Series Industrial Field Switch Installation and User Guide (04/07)
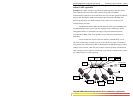
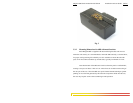
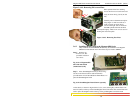
Once the bottom of the 6K8 is rotated out, the DIN-Rail latch is not engaged and the 6K8
can be moved up and out, free of the DIN-Rail mounting..
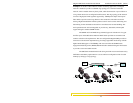
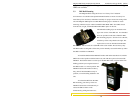
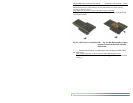
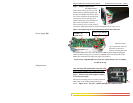
The picture below is a front / right-side view of a DIN-Rail mounted 6K8. It
shows vertical mounting of Magnum 6K8 on a DIN-Rail track for proper convection
cooling of the unit. Note that there is air space in the rear, as the 6K8 unit is held out
from the rear of the panel by the mounting brackets. The 6K8 design uses the case for
cooling (patent pending), and needs to be mounted vertically with airflow space in the
front, rear, and sides.
Fig 3.3 - Magnum 6K8 mounted vertically with DIN-Rail brackets and latches
The DIN-Rail mounting brackets and latches are optional and need to be ordered
as separate items, e.g. Model # DIN-RAIL-6K8
3.3.1 Installing DIN-RAIL variable brackets on Magnum 6K8
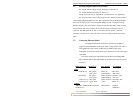
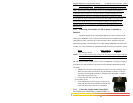
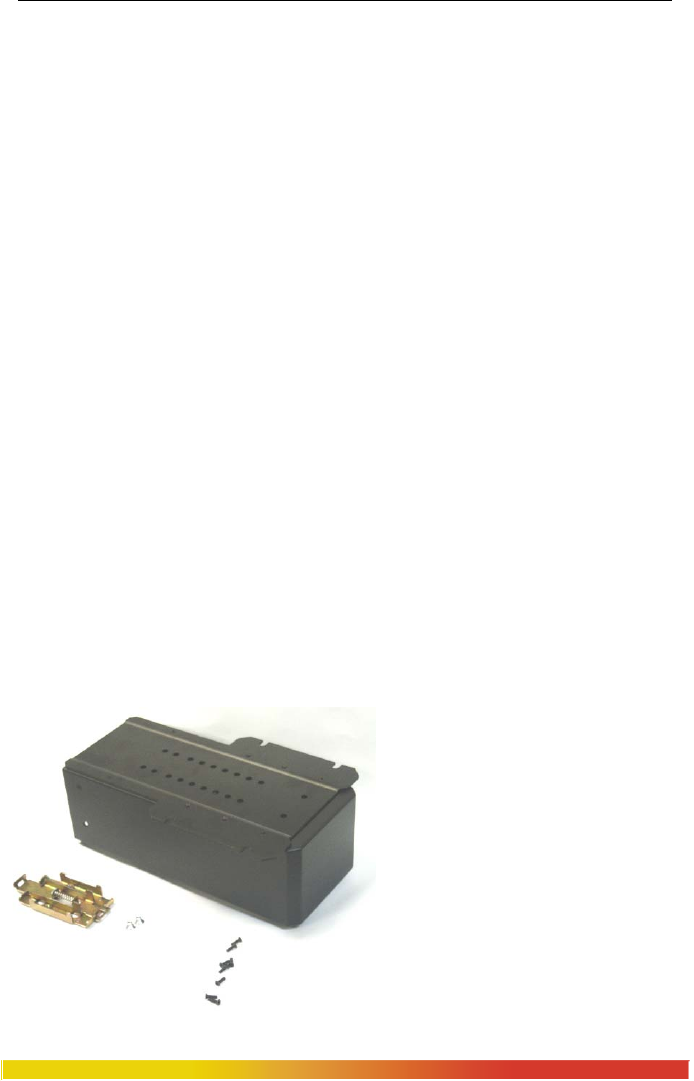
Magnum 6K8 Din-Rail kit comes along with the following-
BOM:
Item Quantity Description
1 1 DIN Rail Clip assy
2 2 #10-32 x ¼ Phillip Flat head screws with
undercut
3 8 #4-40 x 3/8 Phillip Flat head screw
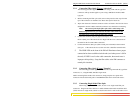
Din-Rail kit Installation procedures:
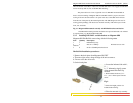
1. Remove the back plate from Magnum 6K8 UNIT
a. There are eight screws along the edge of the unit to remove.
b.. Do not re-use the old screws.
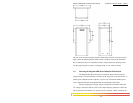
2. On the back-plate
www GarrettCom com
..
a. Locate the indented side with 1,
11…
b. “1” indentation signify center
of the mounted Din-Rail clip
location
.
c. Each indented locations (1-11-
111…) are ½ inches apart from the
center.
Fig 1.
3.
Select the height position via
indented side marking.
4. Place the
DIN Rail Clip assembly
31