


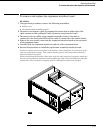
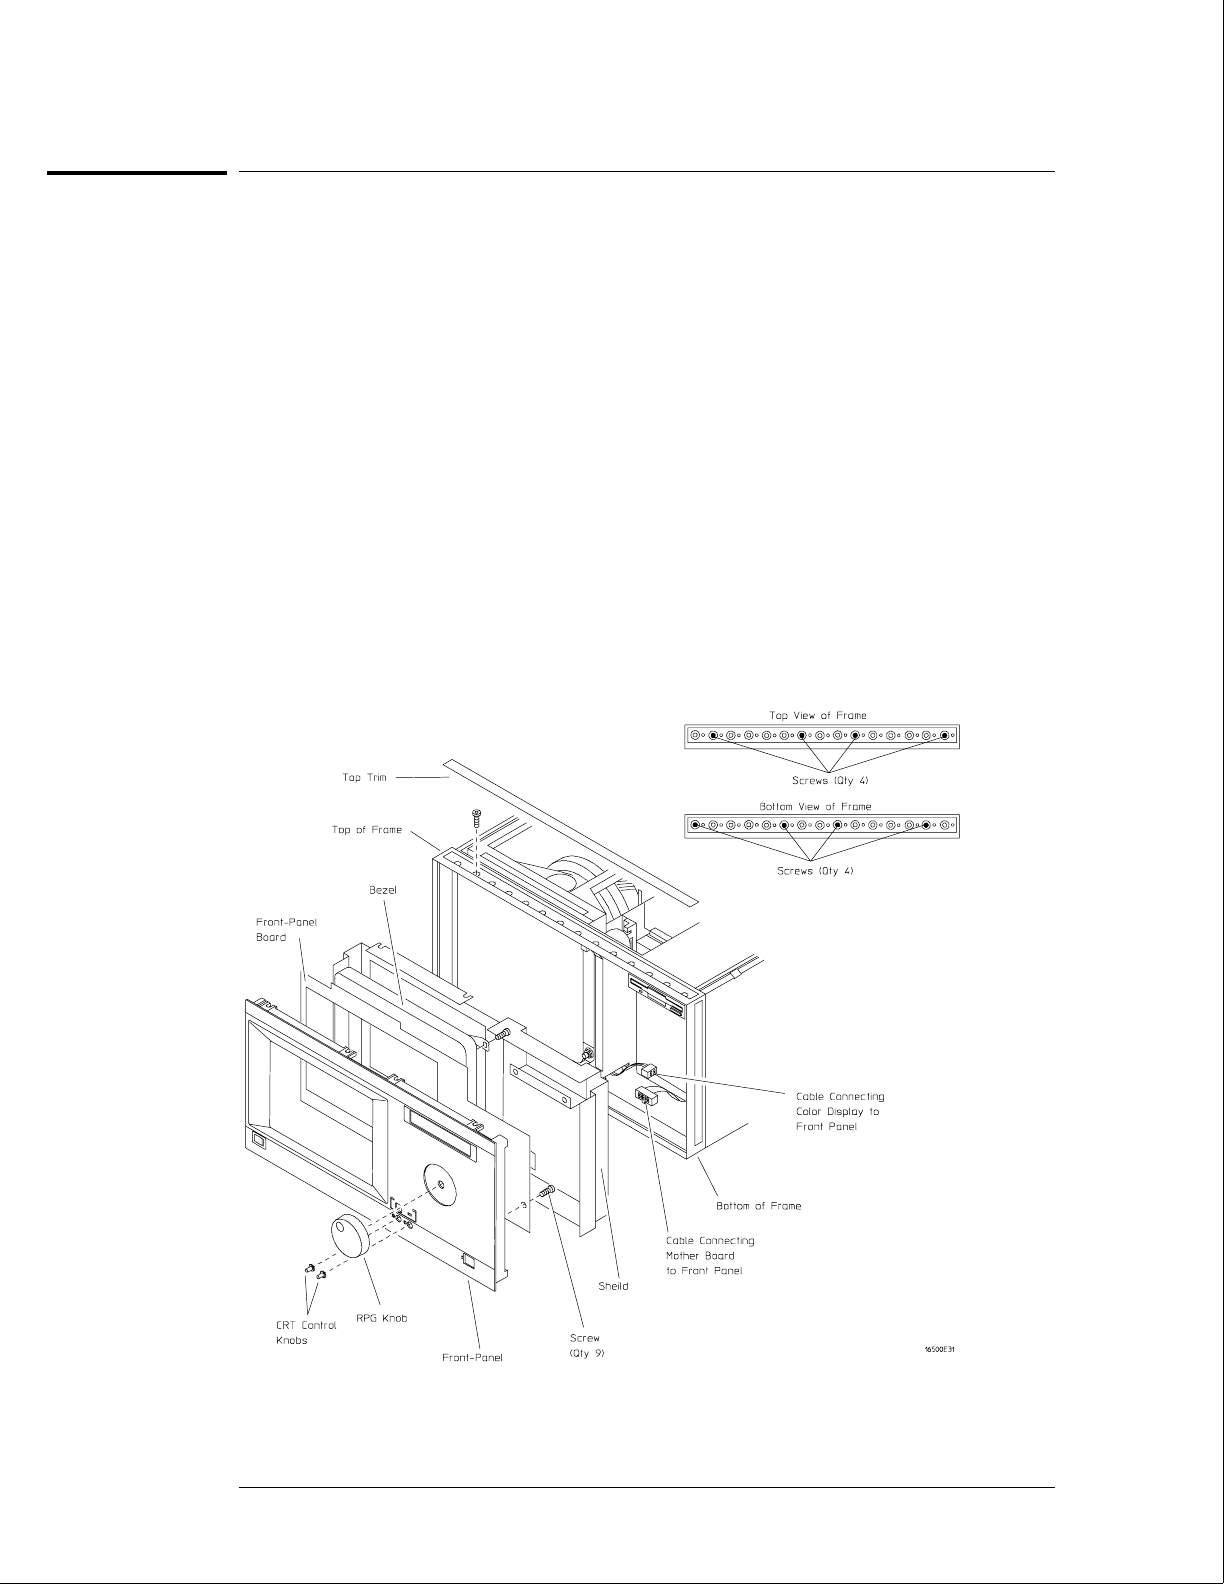
To remove and replace the front-panel board
HP 16500B
1
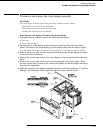
Remove the top trim from the front frame.
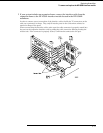
2 Disconnect the two cables from the front-panel board.
One cable is connected to the color display assembly and one cable is connected to the
mother board.
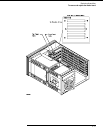
3
Remove the screws connecting the front-panel assembly to the top and bottom of
the frame.
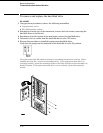
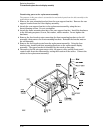
4 Remove the front-panel assembly by pushing on the back of the assembly from
inside the instrument.
5 Carefully remove the shield from the assembly.
The shield is very fragile and must be replaced if it is bent or damaged in any way.
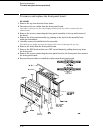
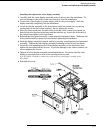
6 Remove the bezel from the front-panel board.
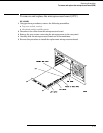
7 Remove the RPG knob and the two CRT control knobs by pulling them away from
the front-panel.
8 Remove the screws connecting the front-panel board to the front-panel, then remove
the front-panel board.
9 Reverse this procedure to install the replacement front-panel board.
Replacing Assemblies
To remove and replace the front-panel board
6–18