


9
Installing Accessories in the New Desktop Package
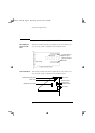
Installing a CD-ROM
Drive or Zip Drive in a
Front Shelf
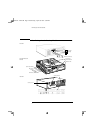
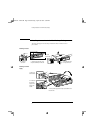
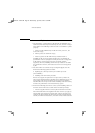
1. Press the two retaining clips of the
front drive unit inward, and slide the
unit forward about half way
2. Push the two catches on the front
drive unit down, and then slide the
unit out, holding it with both hands
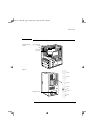
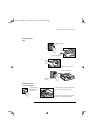
3. Carefully place the unit on its side,
and remove the top mounting
bracket. Remove the metal filler plate
from the empty shelf, if there is one
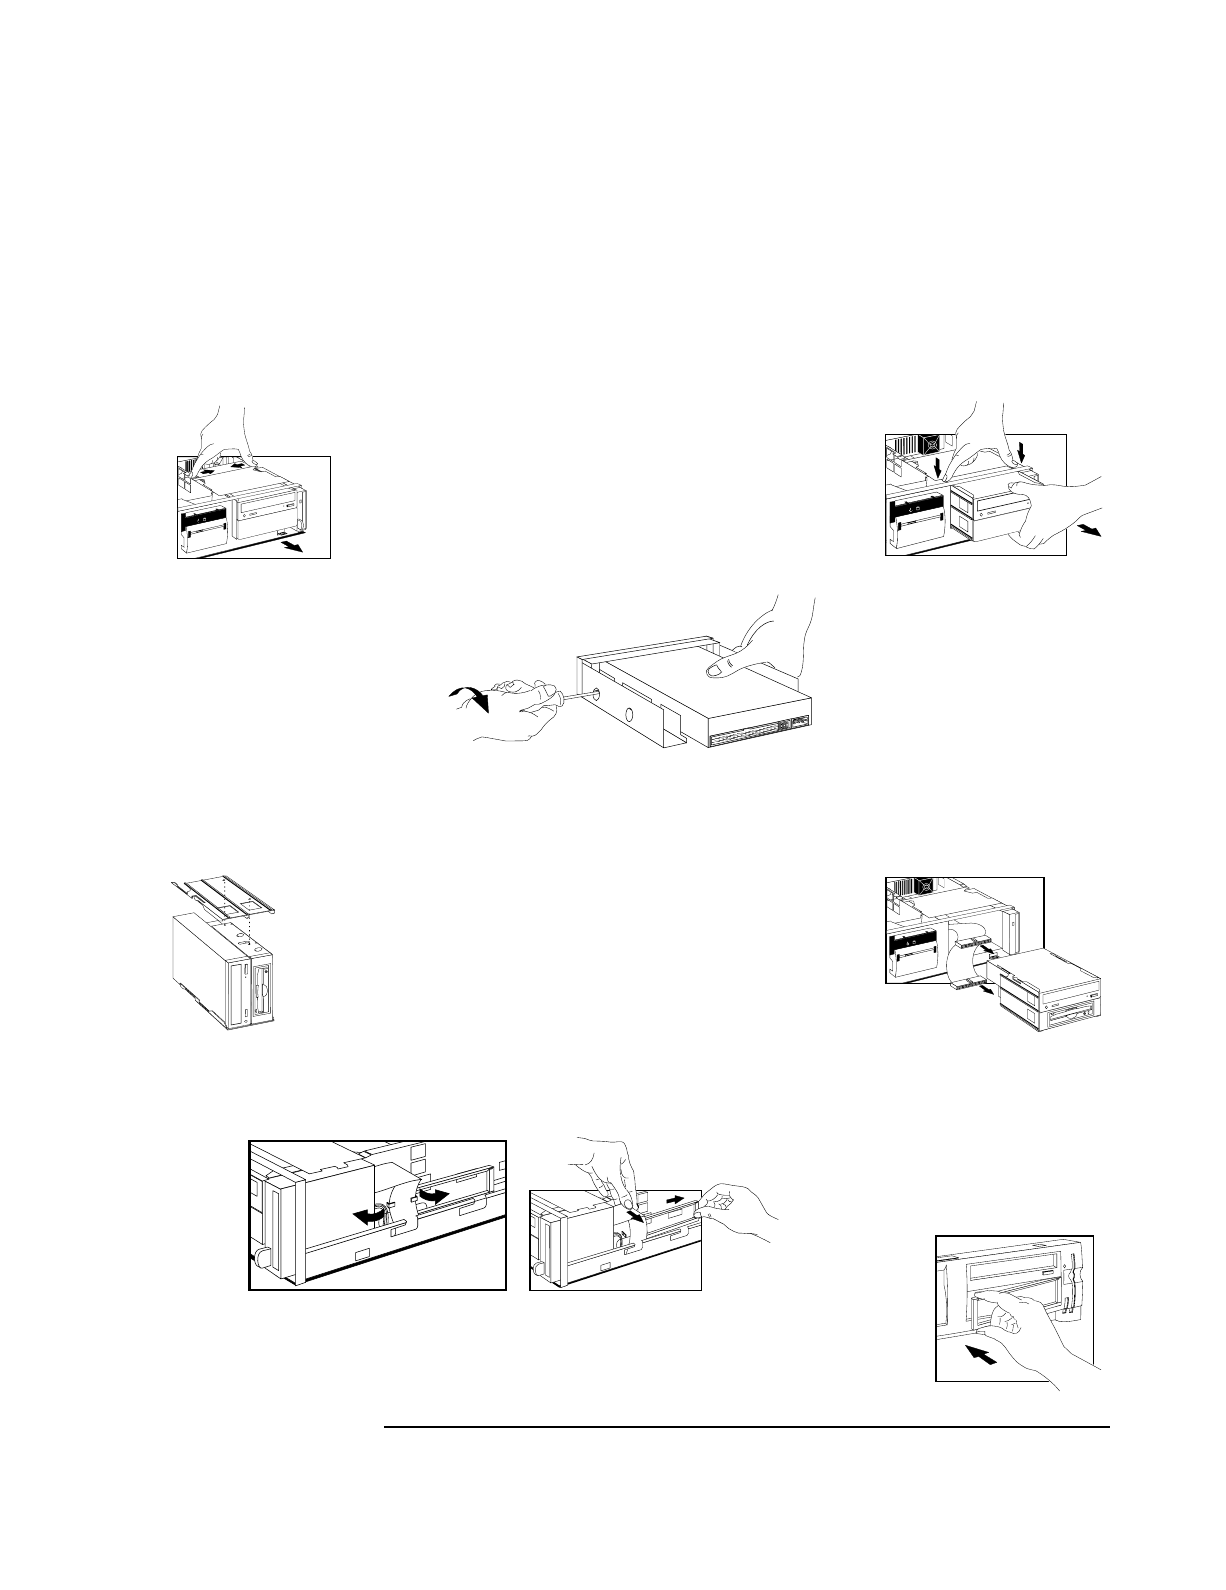
4. If the drive has a tray, attach the
drive on to the tray. (CD-ROM drives
do not need a tray. Many zip drives
require an HP-supplied tray)
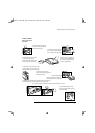
5. Lower the drive into the free grove of the
mounting bracket. Use the two pins on the
mounting bracket to slot the drive into place.
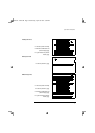
7. Draw the computer’s cables through
the front drive bay area and connect
the data cable to the rear of each drive
6. Position the other mounting
bracket on top, aligning it properly so
that it clicks into place
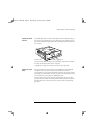
8. Using both hands, lift the drive unit and slide it back into the computer
about half way. Connect the power cable to the rear of each drive
9. Retrieve the universal front bezel from the PC’s chassis by opening the two clips.
10. Remove the filler bezel from the
PC’s front panel and replace it with the
universal front bezel.
1book.bk : 1ch01.fb4 Page 9 Wednesday, April 30, 1997 3:36 PM