


54
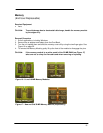
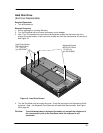
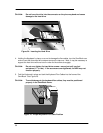
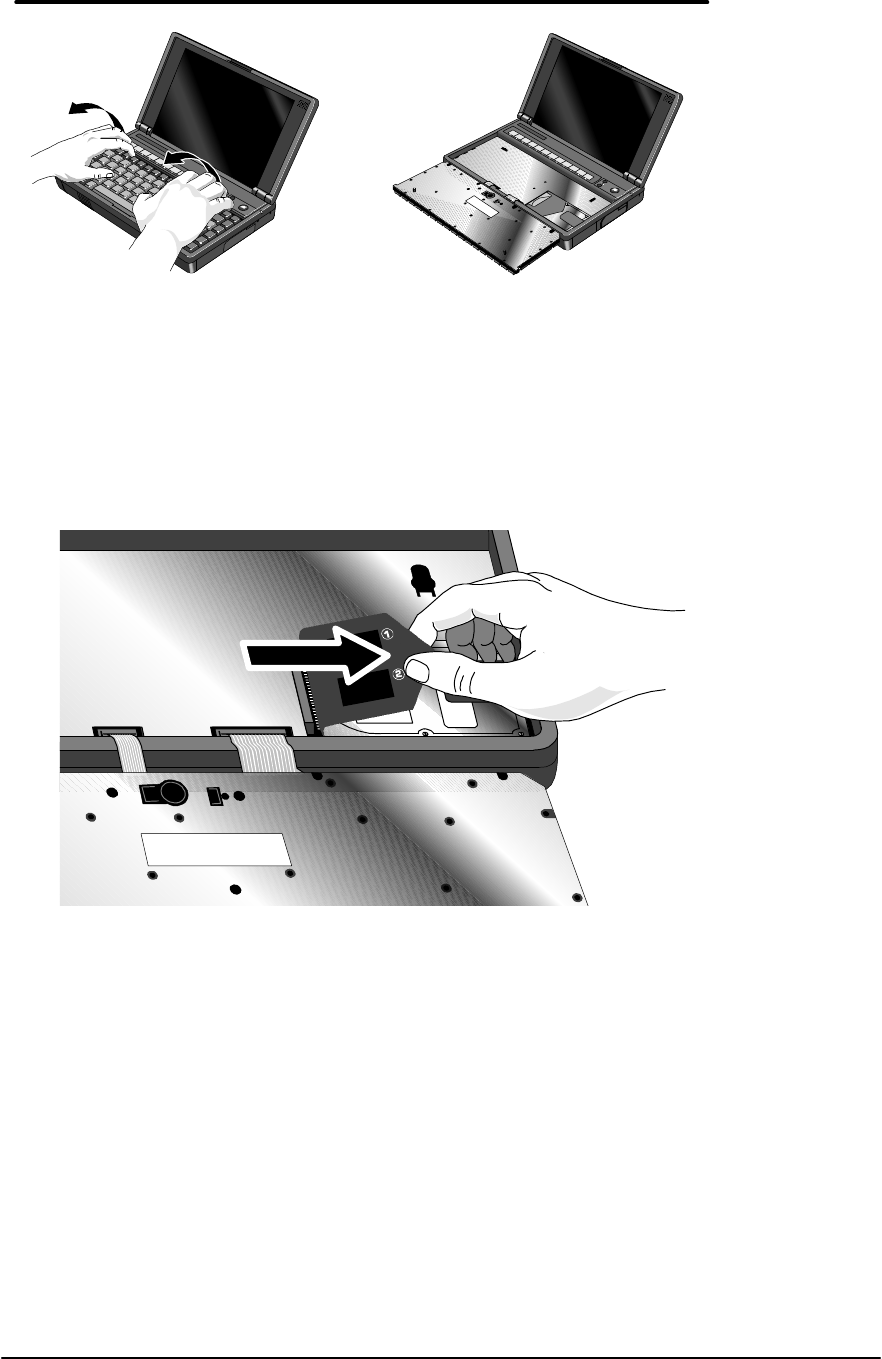
5. Disengage the hard drive connectors by grasping the left flap of the plastic insulator and
gently pulling straight to the right as shown in Figure 21.
CAUTION:
To avoid damage to the hard drive connector, do not pull the hard drive
insulator up or at an angle – only straight to the right.
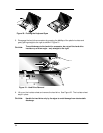
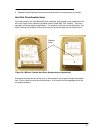
6. Lift up on the insulator sheet and remove the hard drive. See Figure 22. The insulator sheet
stays in place.
CAUTION:
Handle the hard drive only by its edges to avoid damage from electrostatic
discharge.
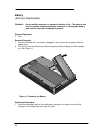
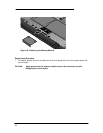
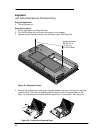
Figure 20 - Folding the Keyboard Open
Figure 21 - Hard Drive Removal