


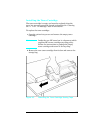


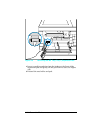
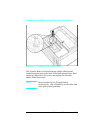

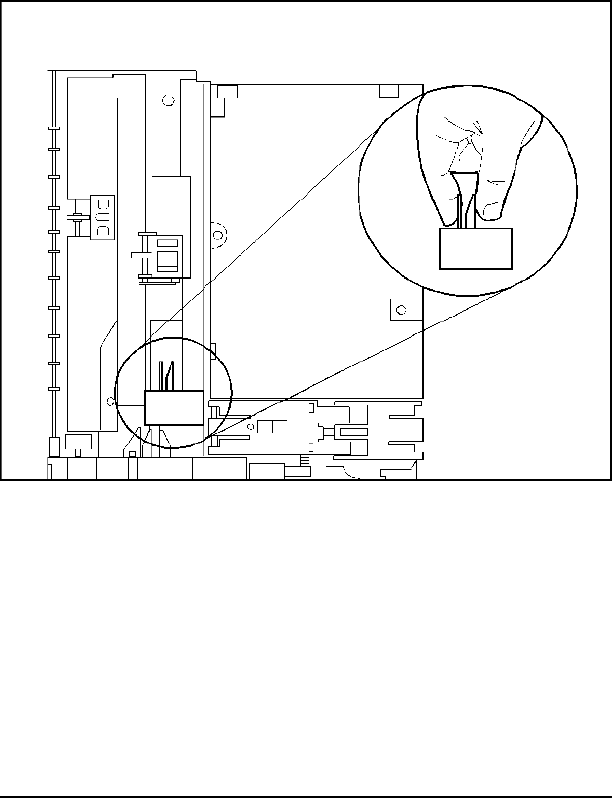
Removing the PC (Tray 2) Pickup Roller
The PC Pickup Roller is underneath the printer (see Figure 4-7).
To remove the Pickup Roller:
1 Turn OFF and unplug the power cord from the rear of the
printer. If your interface cable is long enough, it may stay
attached, if not, remove it also.
2 Remove the Toner Cartridge and the PC tray (Tray 2).
3 Lay the printer on its left side.
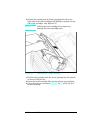
4 Remove the PC (Tray 2) Pickup Roller by pinching the release
clips and sliding the roller off the shaft.
Figure 4-7 Removing the PC (Tray 2) Pickup Roller (printer
is turned on its left side)
Preventive Maintenance 4-13