


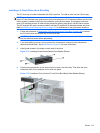
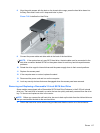
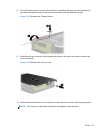

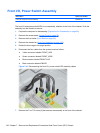

8. Place the thermal sensor on top of the hard drive in a position that does not cover the label (1)
and attach the thermal sensor to the top of the hard drive with the adhesive strip (2).
Figure 7-35 Replacing the Thermal Sensor
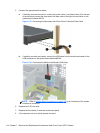
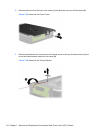
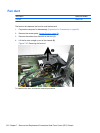
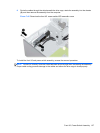
9. Slide the cover on the carrier (1) and replace the screw on the rear of the carrier to secure the
cover in place (2).
Figure 7-36 Replacing the Carrier Cover
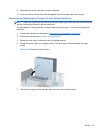
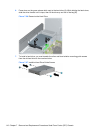
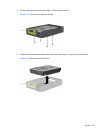
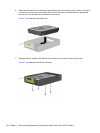
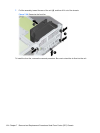
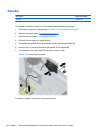
10. Slide the hard drive carrier into the enclosure on the computer and lock it with the key provided.
NOTE: The carrier must be locked for power to be supplied to the hard drive.
Drives 121