8-14 Removal and Installation
HP DesignJet 430, 450C and 455CA Printers
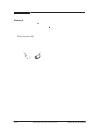
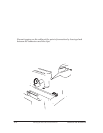
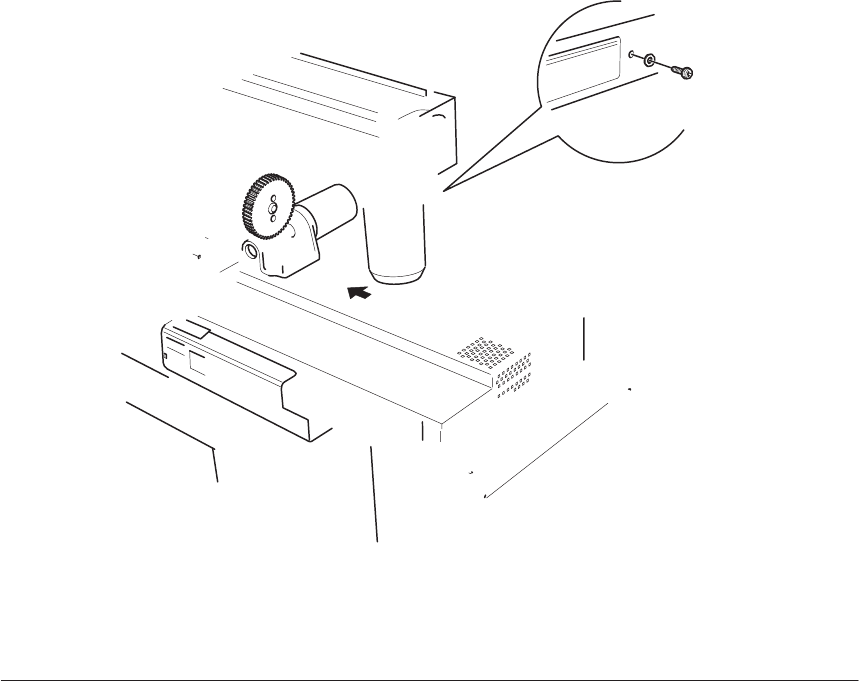
5. Remove one screw (item 3) and washer (item 4) from the floor of the
electronics module (item 5).
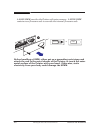
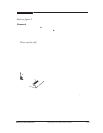
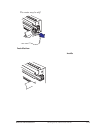
6. Insert a flatĆhead screwdriver in to the slot at the back of the Printer to
unlatch the electronics module from the back cover.
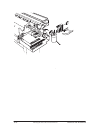
7. At the back of the Printer, ensure that the two small wire clamps of the
parallel port are positioned flush against the electronics module
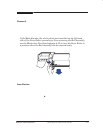
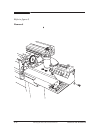
8. Push the electronics module towards the front of the Printer.
9. Pull the electronics module to the right to easily access the connectors.
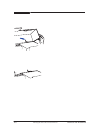
10. Disconnect all cables from the visible part of the main PCA.
Prevent tugging on the cables at the point of connection by leaving slack
between the connectors and the clips.
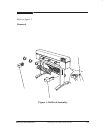
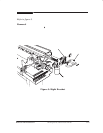
11. Pull the electronics module further to the right and out of the Printer.
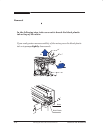
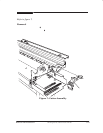
12. If you are changing the electronics module for a new one, remove the RAM
SIMM (if installed) from the old module and install it into the new one.
Refer to page 8Ć13 before installing the ROM SIMM from the old module
into the new module.


