22
hp pavilion home pc
Filename: ma1rwtc.doc Title: HP-Print2k.dot
Template: HP-Print2K.dot Author: WASSER, Inc. Last Saved By: WASSER, Inc.
Revision #: 161 Page: 22 of 46 Printed: 04/26/01 09:20 AM
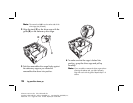
Note:
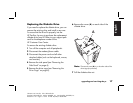
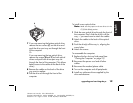
The second nub (
A
) is on the other side of the
drive cage (not pictured).
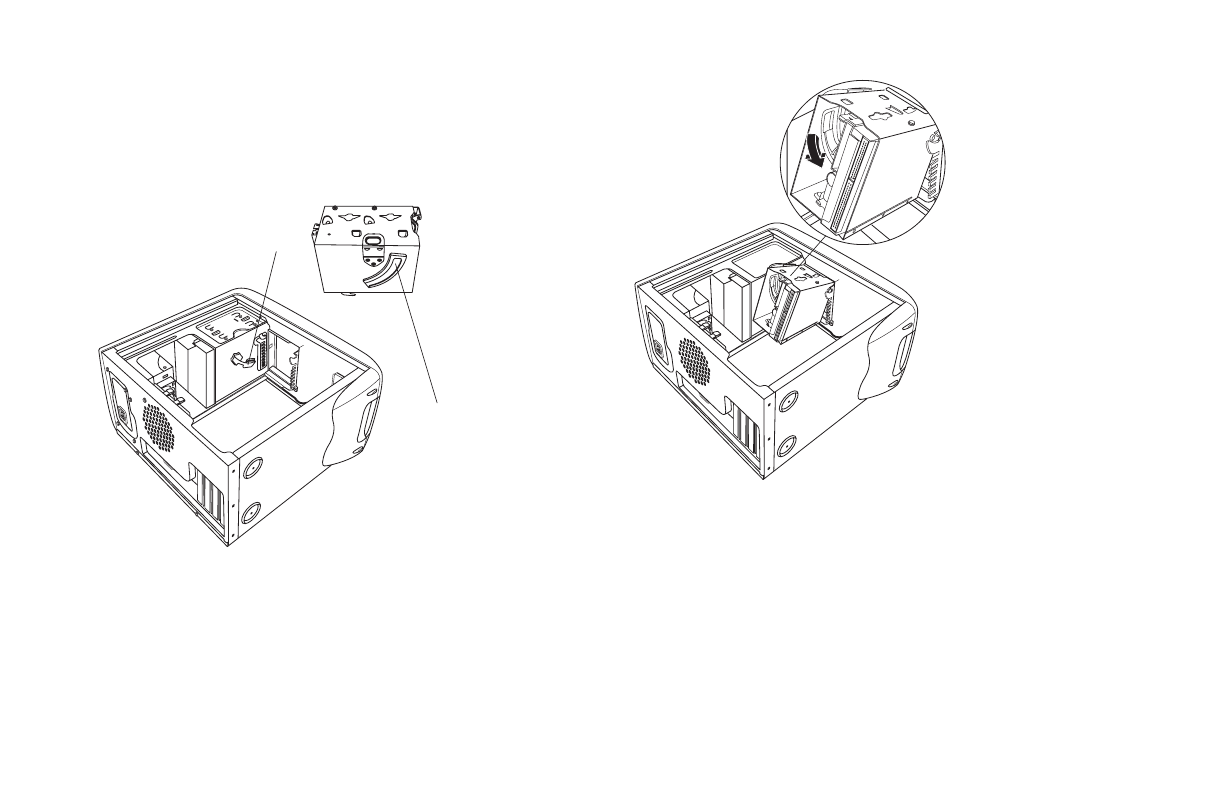
2
Align the track (C) on the drive cage with the
guide (D) on the stationary drive cage.
C
D
3
Push the removable drive cage firmly against
the stationary cage as you rotate the
removable drive down into position.
4
To make sure that the cage is locked into
position, grasp the drive cage and pull up
forcefully.
Note:
If you are able to remove the drive cage without
pressing the release tab, you didn’t properly
align the track with the guide. Repeat steps 1–4
above.


