3ware Escalade ATA RAID Controller Installation Guide
26
www.3ware.com
Determining your configuration
Caution:
Configuring a disk array writes format-type
data onto its member disks and overwrites all the files
on those disks. Be sure to back up data that requires
retention.
• All supported RAID levels (0,1,5,10) can be created based on
the number of drives that the ATA RAID Controller supports.
• Multiple arrays of supported RAID levels can be implemented
on a single controller based on the number of drives that the
ATA RAID Controller supports.
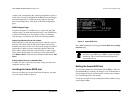
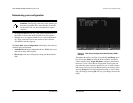
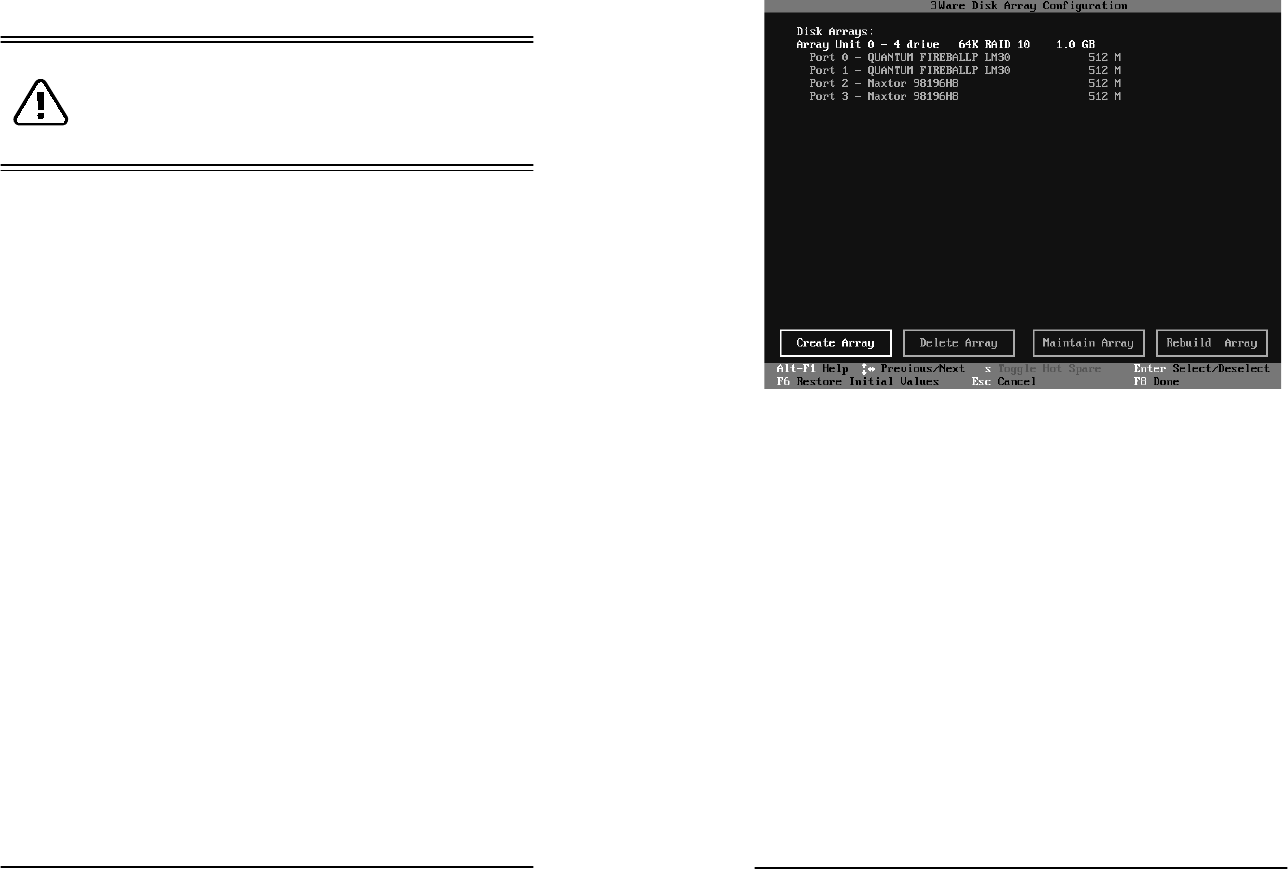
The 3ware Disk Array Configuration main display shows the cur-
rent disk drive configuration.
• Available Drives reports independent drives (JBOD) not associ-
ated with an array and hot spares.
• Disk Arrays lists any existing arrays along with their member
disks.
3ware Disk Array Configuration Utility
www.3ware.com
27
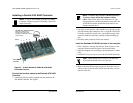
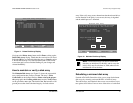
Figure 5. Disk Array Configuration Main Display, RAID 1
Example
Throughout the utility (see Figur e5) use the Up and Down arrow
keys to navigate, Enter to select the disks or buttons and F1 for
context sensitive help. Toggle Hot Spare verbiage is black when
the cursor is over a drive that can be specified as a hot spare and
gray when hot spare cannot be specified. If you’ve made mistakes
and want to start over, pressing F6 will return your starting values.
Pressing Escape will exit the configuration utility as well as aban-
don your changes. Pressing F8 will save your changes and exit the
utility.


