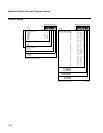
HelvC
NugFont
C39
Getting Started
1-17
1
Verifying Printer Communications With Your System
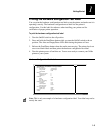
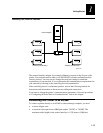
After connecting the printer to your system, you need to test communications. The
easiest way to test communications is to set the printer to Data Line Print mode, which
is part of Test and Service mode, and send a character string down from your system.
If you have just printed a configuration test label, you are already in Data Line Print
mode. Start the following procedure with Step 4.
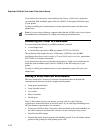
To verify communications with your system
1. Turn the On/Off switch to the off position.
2. Press and hold the Feed/Pause button while you turn the On/Off switch to the on
position. The printer prints the hardware configuration test label.
3. Release the Feed/Pause button. You are now in Data Line Print mode.
4. Transmit at least four characters from your system.
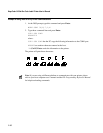
At this point, the printer does not attempt to interpret any printer commands, but
simply prints each character with its hexadecimal equivalent underneath.
Note:
An example of using DOS to verify printer communications follows this
procedure.
5. To enter normal Print mode, turn the printer power off and then on again.
If this procedure does not work, make sure that the DIP switches match the serial port
configuration of the system and that you have the printer cable securely plugged into
the correct port of your system.
If you receive a write fault error, your cabling may not be correct. See “Connecting the
Printer to Your System” earlier in this chapter for more information.
Note:
Please refer to your host computer user's manual and the IPL Programming
Reference Manual for information on downloading commands.


