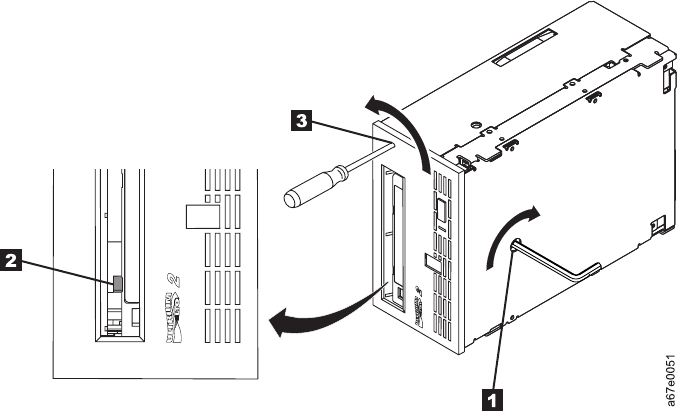
To manually remove a tape cartridge, perform the following steps:
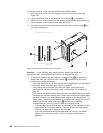
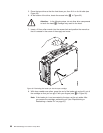
1. Place the drive so that the front faces you, then tilt it on its left side (see
Figure 30).
2. Locate the access hole at the bottom of the unit (see 1 in Figure 30).
3. Insert a 2.5-mm allen wrench into the access hole and position the wrench so
that it is seated in the screw of the supply reel motor.
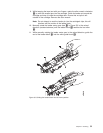
4. Push open the door of the tape load compartment and locate the flag 2 on
the drive’s takeup reel.
Attention: In the following step, rotate the allen wrench clockwise, not
counterclockwise. A counterclockwise motion may damage the tape.
5. To determine whether the tape is broken, watch the flag 2 on the drive’s
takeup reel while you rotate the allen wrench 1 clockwise (do not let the
wrench move counterclockwise):
v If you feel resistance to the allen wrench while attempting to turn the supply
reel motor screw clockwise, go to step 7 on page 87.
v If the takeup reel turns when you rotate the supply reel motor screw
clockwise with the allen wrench, the tape is not broken. Go to step 6 on
page 87.
v If the takeup reel does not turn when you rotate the supply reel motor screw
clockwise with the allen wrench and if supply reel motor screw rotates freely,
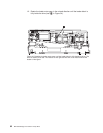
the tape is broken. You must determine the location of the leader block. To
do so, insert a small-blade screwdriver or potentiometer-setting tool into the
access hole for the loader motor gear 3. Rotate the screwdriver
counterclockwise. You may have to rotate for a lengthy period:
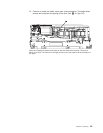
– If the cartridge moves up, the tape is completely in the cartridge and the
leader block is in the home position. Continue rotating the screwdriver
until the cartridge ejects. Remove the cartridge.
– If you feel resistance and the cartridge does not move up, the leader
block is not in the home position. Go to “Fixing an Internal Jam” on
page 88.
Figure 30. Determining whether the tape is broken
86 IBM TotalStorage LTO Ultrium 2 Tape Drive


