


SSG 20 Hardware Installation and Configuration Guide
54 Upgrading Memory
6. If necessary, arrange the cables to prevent them from dislodging or developing
stress points:
a. Secure the cables so that they are not supporting their own weight as they
hang to the floor.
b. Place any excess cables out of the way in neatly coiled loops.
c. Use fasteners to maintain the shape of the cable loops.
7. Unplug the power adapter from the device. Verify that the POWER LED glows
steadily green after you press the power button.
8. Verify that the PIM status LED on the system dashboard glows steadily green to
confirm that the mini PIM is online.
Upgrading Memory
You can upgrade an SSG 20 device from a single 128 MB dual in-line memory
module (DIMM) dynamic random access memory (DRAM) to a 256 MB DIMM
DRAM.
To upgrade the memory on an SSG 20 device, perform the following steps:
1. Attach an ESD grounding strap to your bare wrist and connect the strap to the
ESD point on the chassis or to an outside ESD point if the device is
disconnected from earth ground.
2. Unplug the AC cord from the power outlet.
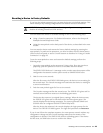
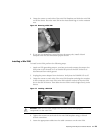
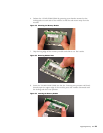
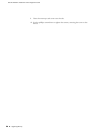
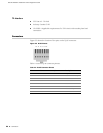
3. Turn over the device so that its top is lying on a flat surface.
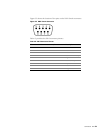
4. Use a phillips screwdriver to remove the screws from the memory-card cover.
Keep the screws nearby for use when securing the cover later.
5. Remove the memory-card cover.
Figure 18: Bottom of Device