32
DIFFERENT TYPES OF PRINTING (cont.)
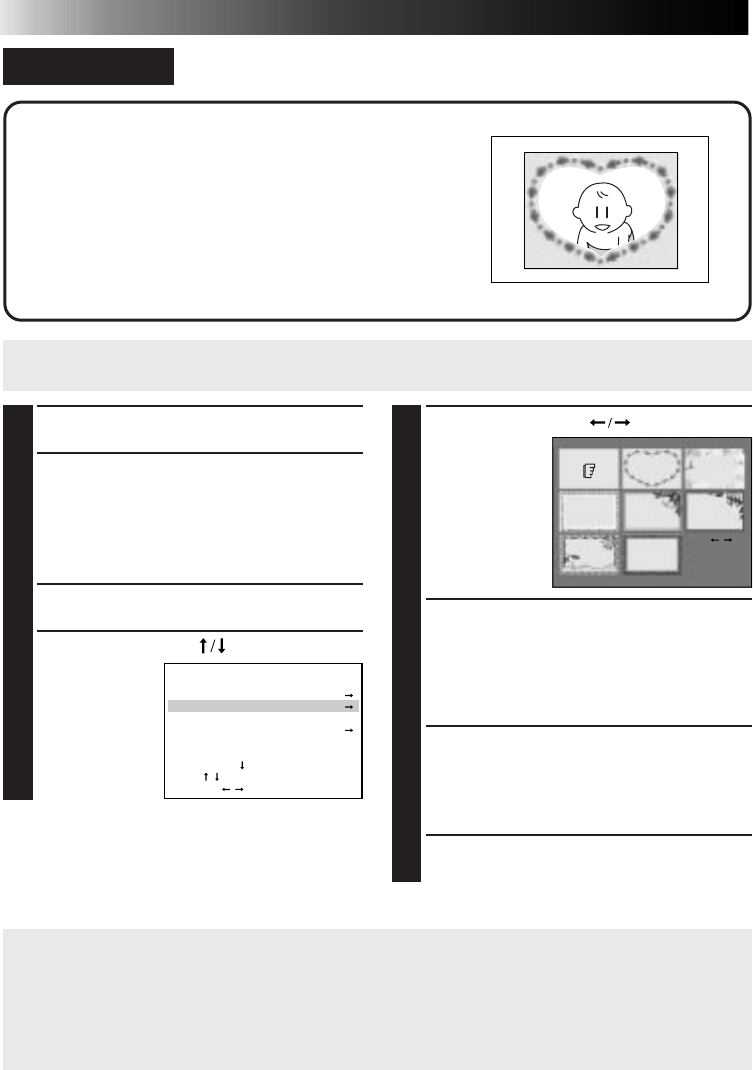
FRAME IMPOSE
Seven different frames are stored in the printer and can
be called up for superimposed printing.
Preparation
●See page 12.
●Press INPUT SELECT to select the appropriate input mode
depending on the connection to the source unit (੬ page 18).
1
BEGIN SOURCE PLAYBACK
2
1
PRESS MEMORY WHEN THE
DESIRED IMAGE APPEARS
•If the image is unstable, press
MEMORY again.
2
PRESS OK
3
PRESS MENU
4
PRESS CURSOR TO SELECT
FRAME,
THEN
PRESS OK
•If IrDA (INFRARED) or PC MODE is selected, you do not have to perform steps
1
and
2
. Refer to page
20 or 38 to send the image you want to print to the printer.
● If you want to print a different image…
Follow the instructions below to erase the frame before printing.
1 Perform steps
3
–
6
described above, selecting the blank frame in the upper left corner
of the screen in step
5
.
2 Press SOURCE/STORED IMAGE to switch back to the input display.
The frame is now erased.
5
PRESS CURSOR TO SELECT
THE
DESIRED
FRAME
6
PRESS OK
•The image appears on screen with the
selected frame superimposed on it.
•If you want to cancel and try again,
press MENU.
7
PRESS OK
•If you also want to superimpose one of
the stored titles on the image, perform
steps
3
–
7
on page 31.
8
PRESS PRINT TO START
PRINTING
MENU 2 2/2
EFFECT
TITLE
FRAME
QUALITY :
૽STD HIGH
PICTURE MEMORY
TO MENU 1
[ ]
ITEM
[
/
]
OK [OK]
SELECT [ / ] QUIT [MENU]
SEL [ / ]
OK [OK]
QUIT
[MENU]


