28
Snapshot Print
If you have a JVC camcorder with a Snapshot Search function (such as the GR-SV7 and
GR-DV1), you can easily locate and print snapshots.
1
ACCESS PRINT MENU
Press MENU. The Print Menu appears.
2
SELECT NO. OF SCENES
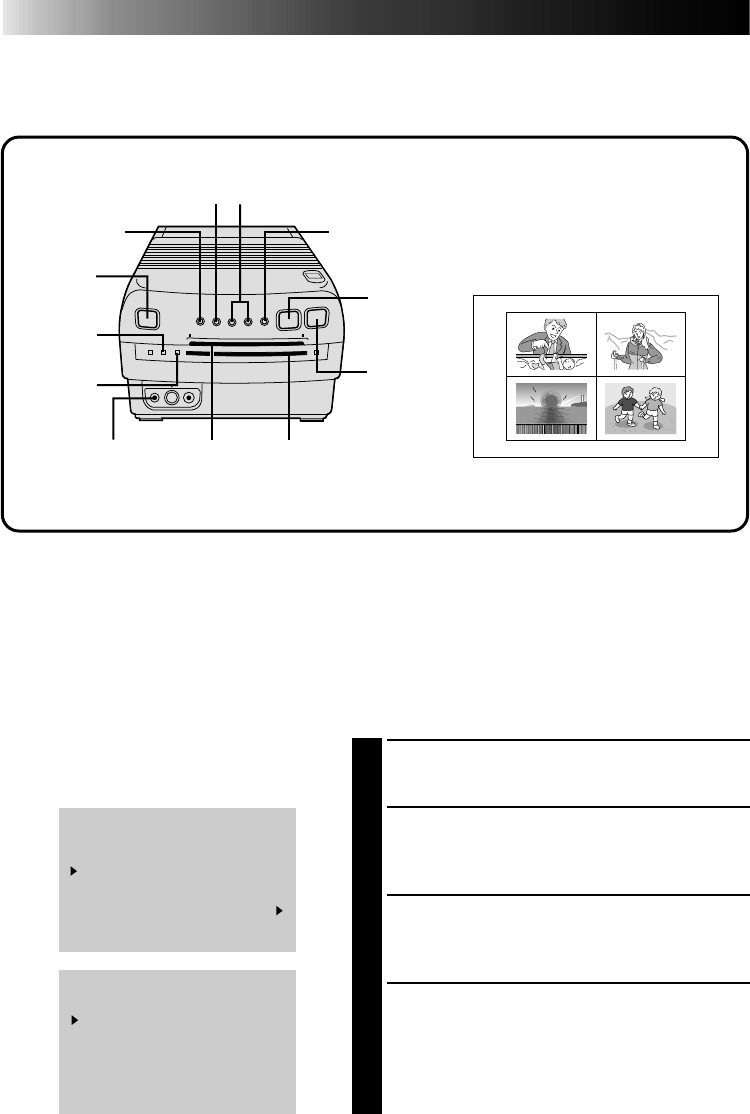
Set “MULTI PIX” for “OFF”, “4” or “16” as
desired.
3
ACCESS MODE SELECT MENU
Press MODE SELECT. The Mode Select Menu
appears.
4
SELECT MODE
Place the pointer next to “SNAP SHOT
PRINTING” by pressing SELECT, then press
MODE SELECT.
•The Mode Select Menu disappears and the
Snapshot print mode is activated.
ADVANCED PRINTING (cont.)
Preparation
● Connect the image source (camcorder, video cassette recorder) to the printer (੬ pg. 12).
● Install the ink sheet cartridge in the printer (
੬ pg. 10).
● Plug in the printer and press POWER. The power comes on and the POWER ON Lamp lights.
● Connect the camcorder’s editing connector to the PAUSE Connector on the printer using the
editing cable supplied with the camcorder, or a commercially available φ 3.5 mini plug.
PRINT MENU 1 / 2
PIX STABILIZER : OFF
MULTI PIX : 4
CONTENT : SELECTED PIX
TO SELECT PUSH
(
SELECT
)
TO SET PUSH ( + , – )
MODE SELECT MENU
TITLE
SNAP SHOT PRINTING
EDITING INDEX
QUIT
TO SELECT PUSH
(
SELECT
)
TO SET
PUSH ( MODE SELECT )
2
4
SET Buttons
MENU Button
MODE SELECT
Button
POWER
ON Lamp
Print Lamp
Print Sheet
Insertion Slot
Print Sheet Exit Slot
PICTURE
SELECT
Button
MEMORY
Button
POWER
Button
SELECT Button
PAUSE Connector


