26 EN
Master Page: Left-Heading0
_001EN_PDF_03M3D7S-PhotoNavi.fm Page 26
CREATING A SLIDE SHOW OR AN ANIMATION
You can create a slide show or an animation in which a series of still images are displayed, and then save
those images as a movie file (extension “.avi”).
[Slide Show]: Still images are displayed for several seconds each, one at a time.
[Animation]: Several still images are displayed per second. We recommend that you select a series of still
images that create the appearance of continuous movement.
1 Holding down the Shift key or the Ctrl key, select
several still images.
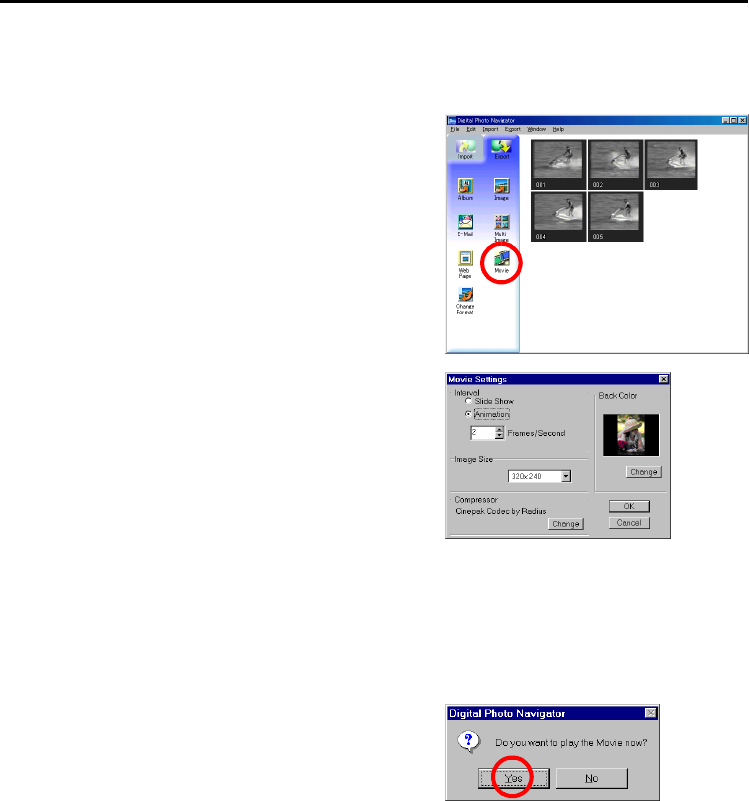
2 Click [Movie].
The [Movie Settings] dialog box appears.
3 Select either [Slide Show] or [Animation], which
ever is desired.
● For a slide show, set the length of the interval (in
seconds).
● For an animation, set the number of displayed frames
(images) per second.
4 Set the following items when necessary.
● [Image Size]: Select the size of the movie file.
● [Compressor]: Select the type of compressor.
● [Back Color]: This item is used if the aspect ratio of the
images is not 4:3.
5 Click [OK].
The [Save As] dialog box appears.
6 Specify the location where you want to save the file, input the file name, and then click [Save].
● The file name can be changed.
The movie file is saved, and a confirmation message that asks if you want to play the movie now appears.
7 Click [Yes].
The movie file is played back.
NOTES:
● If you change the [Compressor] item, make sure that the
playback system supports that type of compressor.
● Depending on the selected type for [Compressor], a movie
file cannot be created.
● In some cases, the settings in the [Video Compression] dialog box are invalid.


