


Printer Conversion to KODAK EKTACOLOR Edge 8 and EKTACOLOR ROYAL VIII Papers • CIS-201 11
Compensation Procedure for GRETAG
Masterlab
Follow this procedure to set up your printer when converting
to KODAK EKTACOLOR Edge 8 or ROYAL VIII Paper
from KODAK EKTACOLOR Edge 7 or ROYAL VII Paper.
Before Converting to the New Paper
Make reference prints from the last roll of EKTACOLOR
Edge 7/ROYAL VII Paper.
To confirm that the current setup is correct:
1. Check the daily setup: CHECK/PRINTER/EXPOSE.
Repeat the test until it passes.
2. Check the 4-inch paper slope: CHECK/PAPER/
EXPOSE. Repeat the test until it passes.
To make reference prints on 4-inch
EKTACOLOR Edge 7/ROYAL VII Paper
1. Print a test negative strip on Edge 7/ROYAL VII Paper.
Do not read the prints with the densitometer. Use them
as a visual reference only.
2. Save all your current data to a memory card for security:
COMM/SYSTEM/SAVE/START.
3. If you have customized your production, note the deltas
for all negatives, unders, and overs, in case you need to
use the same customization again: SET/PRINTER/
MASTER/DELTAS.
Converting to the New Paper
To make new reference prints:
1. Load 4-inch Edge 8/ROYAL VIII Paper.
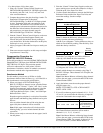
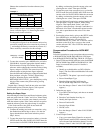
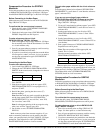
2. Change the aim: SET/MENU/PRINTER/MASTER/
DIRECT. In the second screen, change the aim values to
these new values:
Press ENTER.
3. Print the test negative strip on the new paper: SET/
PRINTER/MASTER/TEST. Line up negative No. 3,
and press START.
4. Read all the prints, pressing the down arrow (∇)
between readings.
Note: Read the small grey patch, second from the right,
not the large central patch. Press SET/PRINTER/
MASTER/SETDEN. For “new ref film,” enter YES.
For “save data,” enter YES.
Note: In subsequent printing of the test negative strip,
when “new ref film” appears, press NO.
5. Set all deltas to zero: SET/PRINTER/MASTER/
DELTAS.
Make some test prints from customer negatives. If you
need to customize production, start by entering the delta
values you noted previously for Edge 7/ROYAL VII Paper
production. Then adjust those values (SET/PRINTER/
MASTER/SETMAN) based on visual assessment.
YMC
0.80 0.80 0.70
To track other paper widths with the 4-inch reference
paper:
Select the paper channel to be adjusted (SET/PRINTER/
PAPER/DIRECT), scroll down to “same brand as reference
paper,” and enter YES.
If you are not converting all paper widths to
EKTACOLOR Edge 8/ROYAL VIII Paper at one time:
1. Select the paper channel that will continue to use
Edge 7/ROYAL VII Paper.
2. To turn off “same brand as reference paper,” press SET/
PRINTER/PAPER/DIRECT, scroll down to screen 11,
and enter NO.
3. Set the paper balance to zero for all colors: SET/
PRINTER/PAPER/DIRECT, screen 3. Enter YES to
save the data.
4. Set the format balance to zero for all colors: SET/
PRINTER/FORMAT/DIRECT, screen 2. Enter YES to
save the data.
5. Run a paper balance test: CHECK/PAPER/EXPOSE.
Repeat the test until it passes.
Note: These test patches will be appear pink, not
neutral. This is correct.
Enter the manual correction values below: SET/
PRINTER/MASTER/DELTAS.
Make test prints from customer negatives. If you need to
customize production, start by entering the delta values you
noted previously for Edge 7/ROYAL VII Paper production.
Then adjust these values (SET/PRINTER/MASTER/
SETMAN) based on visual assessment.
Compensation Procedure for GRETAG
Masterflex
Follow this procedure to set up your printer when converting
to KODAK EKTACOLOR Edge 8 or ROYAL VIII Paper
from KODAK EKTACOLOR Edge 7 or ROYAL VII Paper.
Before Converting to the New Paper
Make reference prints from the last roll of EKTACOLOR
Edge 7/ROYAL VII Paper.
To confirm that the current setup is correct:
Check the daily setup: TEST/PRINTER/EXPOSE.
MEASUREÐ, UPDATE/Ð. Repeat the test until it passes.
To make reference prints on 4-inch EKTACOLOR
Edge 7/ROYAL VII Paper:
1. Print a few customer prints on Edge 7/ROYAL VII
Paper. Use these prints as a visual reference only.
2. Save all your current data to a memory card for security:
OPERATE/ WRITE BACKUP TO CARD/Ð.
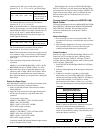
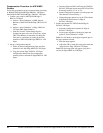
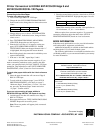
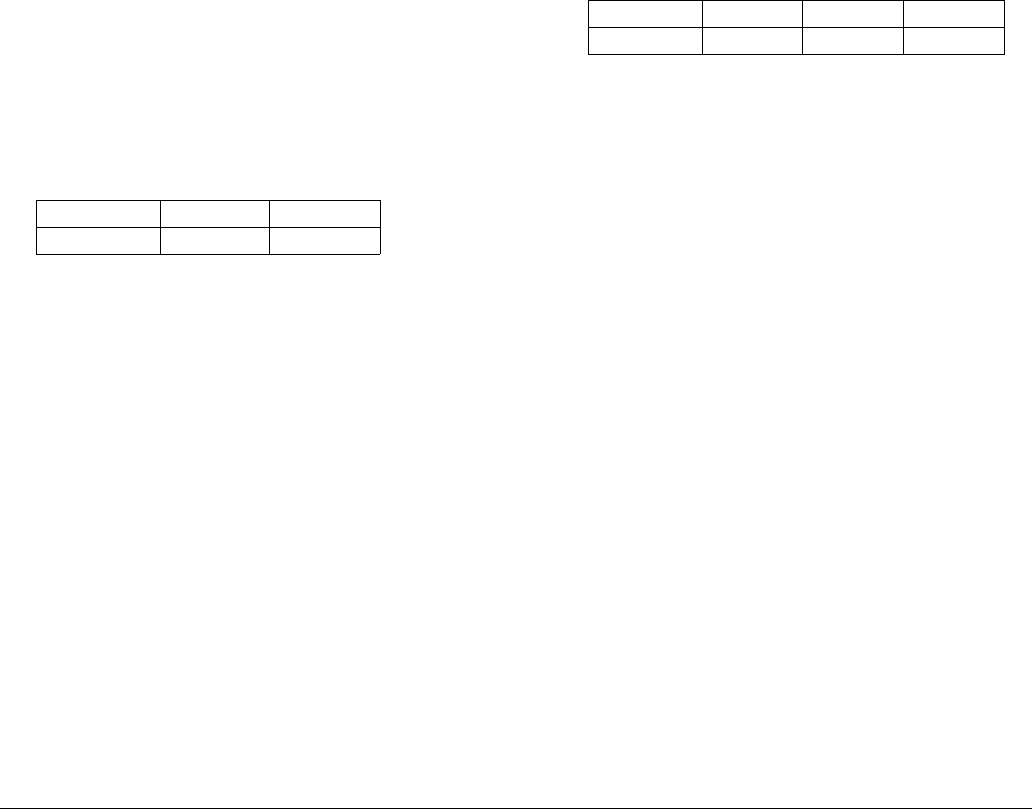
3. If you have customized your production, note the deltas
for all negatives, unders, and overs, in case you need to
use the same customization again: SETUP/PRINTER/
MASTER/EDIT; scroll down to the third screen.
YMCD
-0.5 0 +1.8 -2.0