


2 Printer Conversion to KODAK EKTACOLOR Edge 8 and EKTACOLOR ROYAL VIII Papers • CIS-201
For other printers, follow these steps:
1. Print your “Normal” Printer Control Negative on
EKTACOLOR Edge 8/ROYAL VIII Paper again at the
aim density, and with 1 red, 2 red, 3 red, and 4 red
color-correction buttons.
2. Compare these prints to the print from Step 1 under “To
Determine If Compensation Is Required”
(EKTACOLOR Edge 7 or ROYAL VII Paper printed
on aim). Determine which red-corrected print is the
closest match. The amount of red correction used to
make that print is the amount required to compensate for
the difference in densitometer measurement. Add the
red correction to your paper channel setup for
EKTACOLOR Edge 8 or ROYAL VIII Paper.
3. Print the “Normal” Printer Control Negative on the new
paper again (the print should appear neutral), and
measure this print. Record these density readings as
your aim densities. Write the aim densities on this print,
and keep it to use as your aim.
4. Adjust your paper Under and Over slopes to match your
aim.
5. Print some customer negatives on this setup and adjust
for preferences if necessary.
Compensation Procedure for
NORITSU 1401/1501 Printers
Follow this procedure to convert to KODAK EKTACOLOR
Edgeþ8/ROYAL VIII Paper from KODAK EKTACOLOR
Edge 7/ROYAL VII Paper. This procedure permits
conversion without the use of the printer’s built-in
densitometer. It includes a choice of methods: an external
densitometer method and a ringaround method.
Densitometer Method
For this method, you must use an X-Rite or similar
densitometer that has Status A filters (e.g., an X-Rite 881 or
891 densitometer) to measure the print densities.
1. When your supply of EKTACOLOR Edge 7/
ROYAL VII Paper is about to run out, print the Printer
Setup Negative “Normal,” “Under,” and “Over” on the
channel most commonly used for the paper. Label the
three prints “Old-Paper Reference Print—Normal,”
“Old-Paper Reference Print—Under,” and “Old-Paper
Reference Print—Over.”
Keep the negative and prints in a safe place. Record the
paper channel and Morning Setup channel used to print
this test.
Also record the channels that will be using the new
paper. Only these channels will be corrected.
Note: If this paper size/surface will also be used for
Morning Setup, you must include channel 00 in the
corrections.
2. When you are ready to convert to the new paper, load it
into the printer.
3. Print the “Normal” Printer Setup Negative on the new
paper, making sure to use the same channel as in Step 1.
Label the print “New-Paper Test Print.”
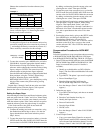
4. Use the external densitometer to measure the Old-Paper
Reference Prints and the New-Paper Test Print, and
record the readings. See the example.
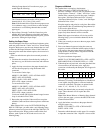
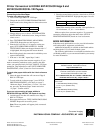
Note: To obtain the difference, subtract the test-print
density from the reference-print density.
Add the Cyan + Magenta + Yellow difference values to
obtain an overall density reading. Then divide by 50 to
obtain the density correction:
Divide the Cyan, Magenta, and Yellow difference
values by 10 to obtain the color correction:
The correction for this example is -1.5 Cyan,
-0.7 Magenta, 0.0 Yellow, and -0.4 Density.
5. Identify which channels are currently using Edge 7/
ROYAL VII Paper. These channels will all require the
same correction.
Note: If the Master Balance or Morning Setup channel
will use the new paper, you must include CH 00 in the
Channel Balance Shift.
6. Apply the balance correction to the paper channels
using this paper size:
MODE 33 (CH SHIFT)→YES→CH BALANCE
SHIFT→D-IN→YES
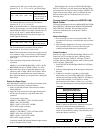
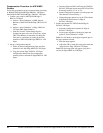
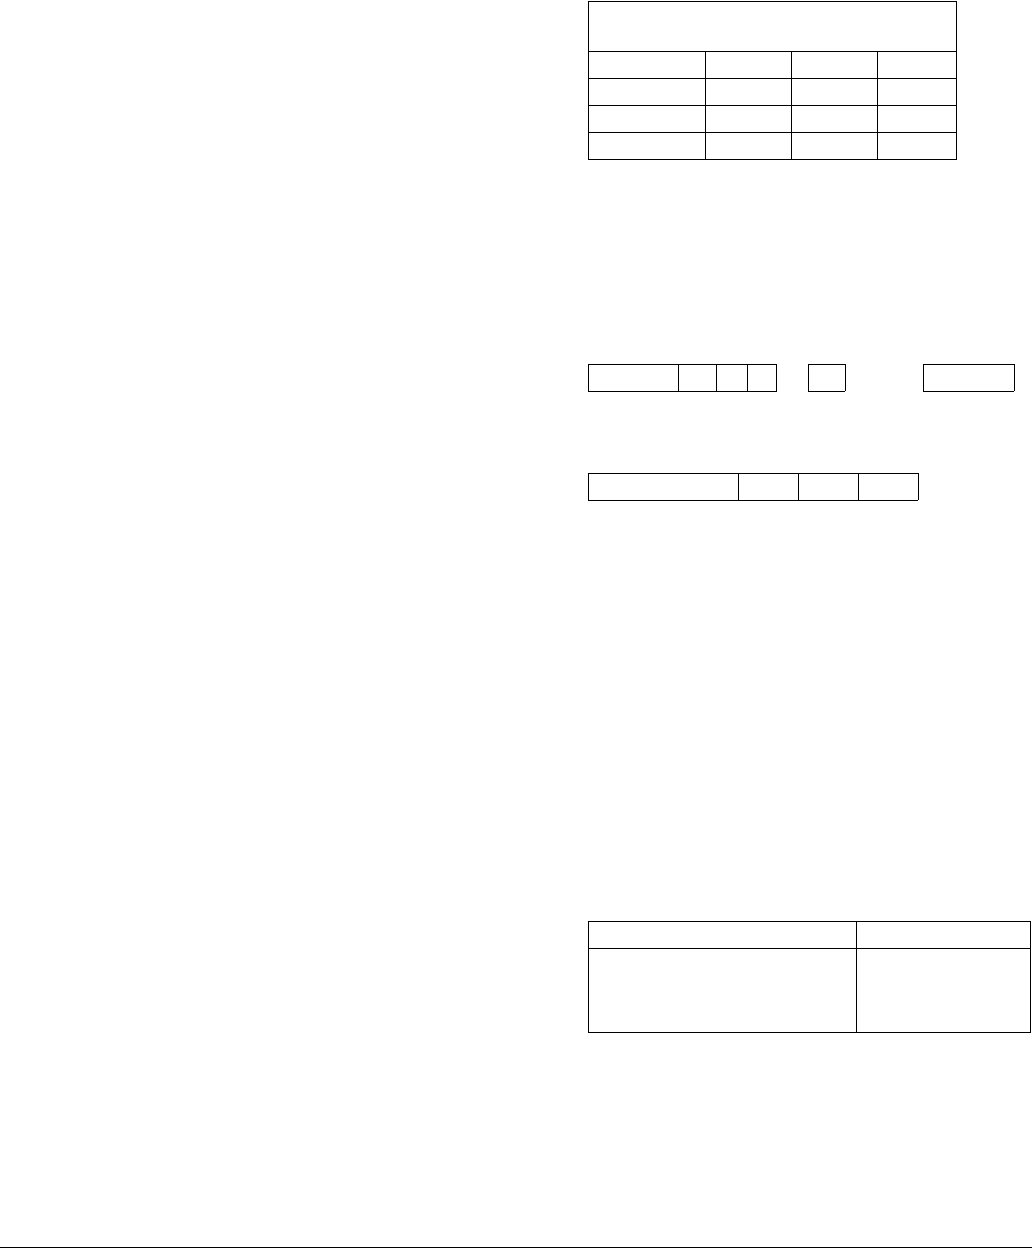
7. If you will use the new paper for channels 10, 11, 12, 13,
14, and 15, you would enter the following to input the
corrections calculated in the example above:
The Channel Balance correction will be made to
channels 10, 11, 12, 13, 14, and 15.
Note: If the Master Balance or Morning Setup channel
will use the new paper, you must include CH 00 in the
Channel Balance Shift. For example, if channels 01, 02,
03, 04, 05, 06,and 07, and the Master Balance or
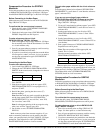
Example
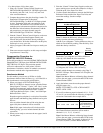
Densitometer Readings—Normal Reference
and Normal Test Prints
Cyan Magenta Yellow
REFERENCE 75 80 73
TEST 90 87 73
Difference -15 -7 0
Density
Correction
Difference -15 -7 0 = -22 -22 / 5 = -0.4
Color Correction -1.5 -0.7 0.0
10-15 (N) Range of channels
0.0Y -0.7M 1.5C -0.4D Y/N
Input corrections
calculated above.
Press arrow keys to
move cursor.