Configuring and Controlling the VP-725xl
33
33
YPbPr
YC
CV
HDMI
VGA
Capture
USB
Enter
OSD Picture
Menu
Auto-Image
PIP
PIP Size
SWAP
VOL
VOL
+
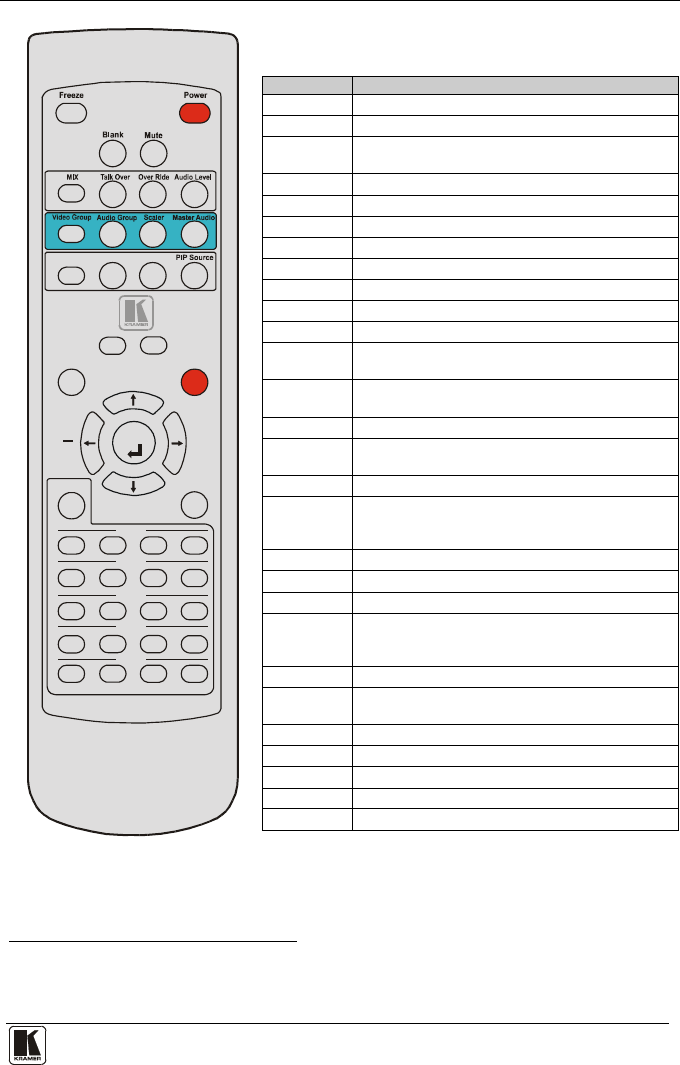
Figure 21: Infrared Remote
Control Transmitter
Table 17: Infrared Remote Control Transmitter
Functions
Key
Function
Freeze Pauses the output video
Power Cycles power
Blank
Toggles between a blank screen (blue or black
screen) and the display
Mute N/A
MIX N/A
Talk Over N/A
Over Ride N/A
Audio Level N/A
Video Group Select the Video group operation mode
Audio Group N/A
Scaler Select the Scaler operation mode
Master
Audio
N/A
PIP
Toggles the picture-in-picture function and
illuminates/turns off the PIP button
PIP Size Toggles the PIP size
SWAP
Toggles between the PIP content and the parent
screen content
PIP Source Selects the PIP source
1
Auto Image
Assesses the image and improves the quality
accordingly, by automatically adjusting the phase,
frequency and position
OSD Activates/deactivates access to the OSD Menu
Picture Open the Picture menu
2
Menu Opens the Main menu
2
Navigation
arrows
Allows maneuvering within an OSD screen (left,
right, up and down, as well as the Enter arrow at
the center)
USB select the USB
3
source
Capture
Capture an image to place as a logo or
background
VGA selects the VGA (UXGA) source (from 1 to 4)
HDMI selects the HDMI source (from 1 to 4)
CV selects the CV source (from 1 to 4)
YC selects the YC source (from 1 to 4)
YPbPr selects the YPbPr (COMP) source (from 1 to 4)
1 Press the PIP Source key and then an input key
2 Opens the menu on the LCD display and if the OSD button illuminates, will open the relevant OSD
3 JPEG files on a USB memory stick


