


4. Using Your LaCie Drive
page 18
LaCie Data Bank Hi-Speed USB 2.0
User’s Manual
4.2. Mac Users
• Mac OS 9.x – Install and use LaCie Silverlining Pro, which is included with your drive.
• Mac OS 10.x – Use the Apple Disk Utility application, which is native to the operating system.
For instructions on installing and using Silverlining Pro, please refer to the Silverlining manual, located on your LaCie Storage
Utilities CD, in PDF format.
For instructions on using the Mac OS 10.x Apple Disk Utility application, please refer to the section below.
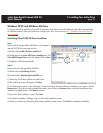
Formatting And Partitioning Using Mac OS 10.x
Caution!
Following these steps will erase anything that is on the hard drive. Therefore, if you have information
that you want to protect or continue to use, backup this information before performing these steps.
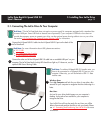
1) Connect the drive to the computer via the USB interface port.
2) Once the drive mounts onto the desktop, go to the Menu Bar, and open Go.
3) From the Go menu, click on Applications.
4) In the Applications menu, open the Utilities folder, and then double-click Disc Utility from the Utilities folder.
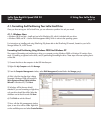
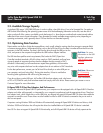
5) The Disc Utility window will open. In the left side of the window will be a list of the available hard disk drives. You should
see a volume that represents your internal hard
drive, and one that reads LaCie.
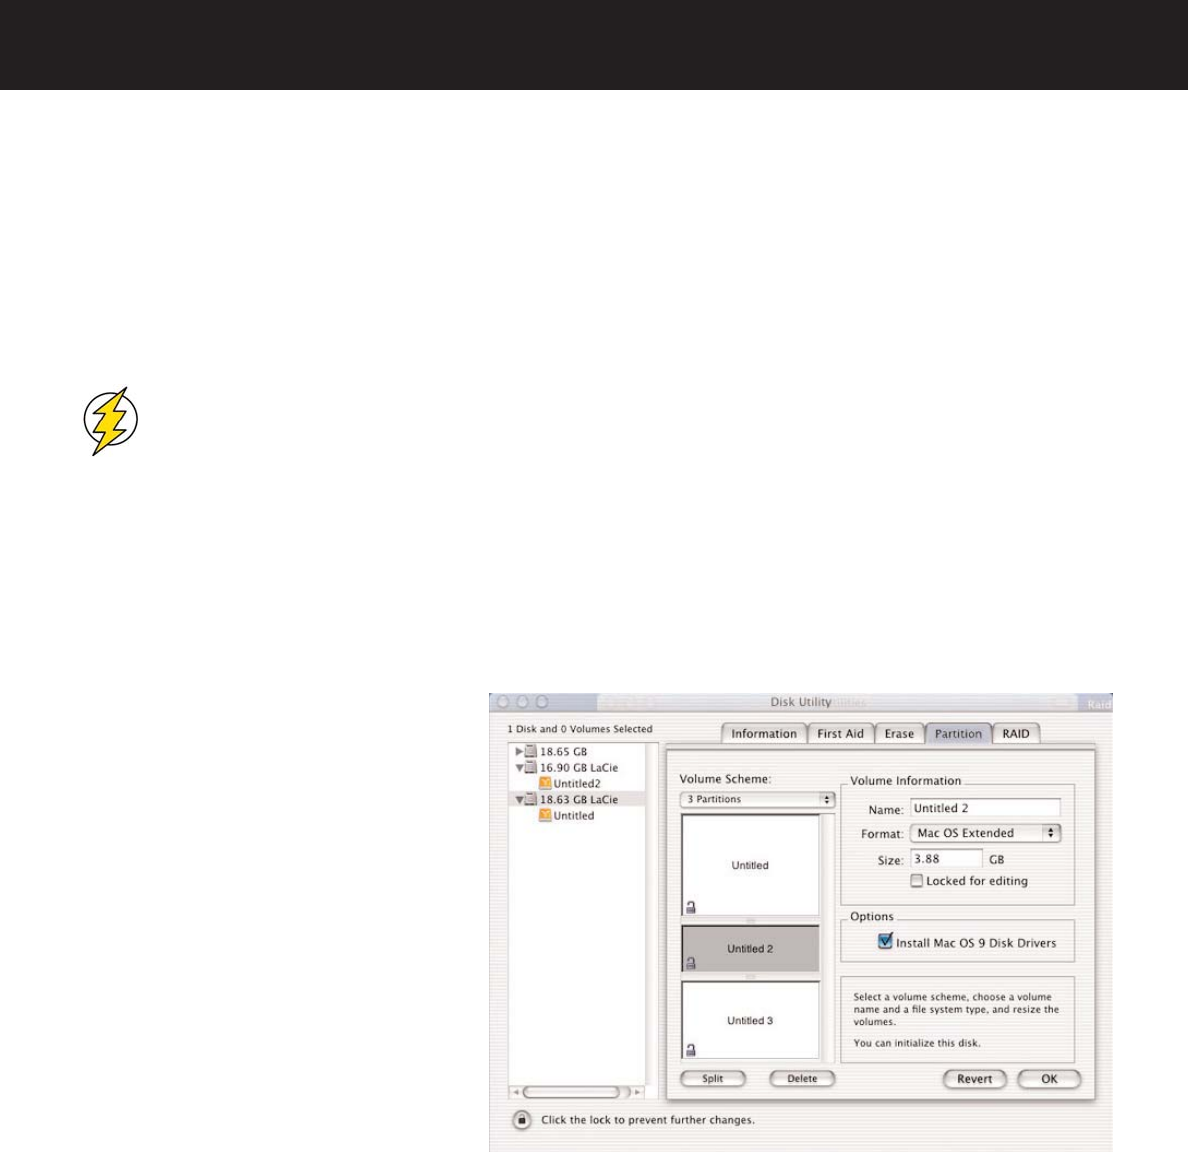
6) Select the LaCie drive, and then click on the
Partition tab.
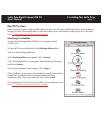
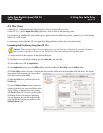
7) From the Volume Scheme: button, choose the
number of partitions you want to divide the drive
into by clicking on the pull down menu starting
with Current (Mac OS 10.x gives you the option
of dividing the drive into at most 8 partitions).
You can customize the size of the partitions by
using the slide bar between the partitions in the
Volume Scheme: area.