6: Web-Based Browser Management
XPress-Pro SW 94000 User Guide 93
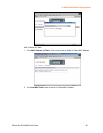
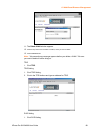
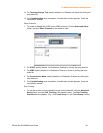
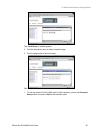
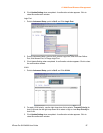
9. Click Update Setting. A confirmation window appears. Close the confirmation
window.
SNMP
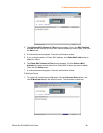
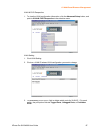
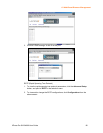
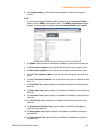
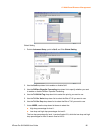
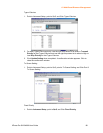
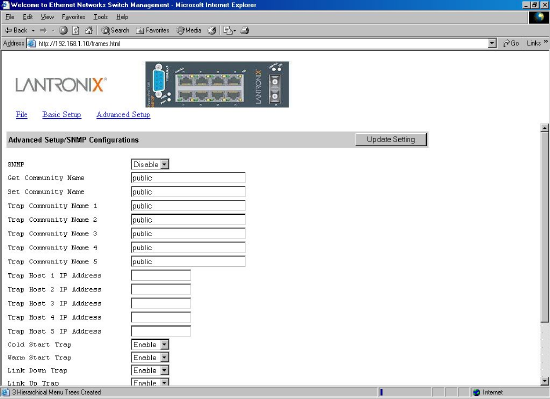
1. To view and/or change all SNMP-related information, click the Advanced Setup
button, and click SNMP in the selection menu. The SNMP Configurations window
appears. As shown below, the factory-default Community Name value is public.
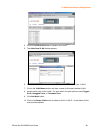
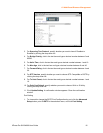
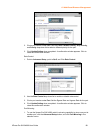
2. For SNMP, specify whether it is Disabled or Enabled by clicking the drop-down list.
3. For Get Community Name, click in the text box and type a get community name.
4. For Set Community Name, click in the text box and type a set community name.
5. For each Trap Community Name, click in the text box and type a trap community
name.
6. For each Trap Host IP Address, click in the text box and type a IP address for trap
host 1~5.
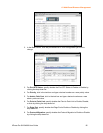
7. For Cold Start Trap, specify whether it is Disabled or Enabled by clicking the drop-
down list.
8. For Warm Start Trap, specify whether it is Disabled or Enabled by clicking the drop-
down list.
9. For Link Down Trap, specify whether it is Disabled or Enabled by clicking the drop-
down list.
10. For Link Up Trap, specify whether it is Disabled or Enabled by clicking the drop-
down list.
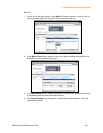
11. For Authentication Failure Trap, specify whether it is Disabled or Enabled by
clicking the drop-down list.
12. For Rising Alarm Trap, specify whether it is Disabled or Enabled by clicking the
drop-down list.
13. For Failure Alarm Trap, specify whether it is Disabled or Enabled by clicking the
drop-down list.


