


Notes:
• The front panel board is extremely sensitive to ESD. Ensure that you read and understand “Handling
static-sensitive devices” on page 70
rst and carefully perform the operation.
• Depending on the model, your server might look slightly different from the illustrations in this topic.
Replacing the front panel board for server models with 3.5-inch hard disk drives
Attention: Do not open your server or attempt any repair before reading and understanding “Safety information”
on page iii
and “Guidelines” on page 69.
To replace the front panel board for server models with 3.5-inch hard disk drives, do the following:
1. Remove all media from the drives and turn off all attached devices and the server. Then, disconnect all
power cords from electrical outlets and disconnect all cables that are connected to the server.
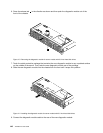
2. If the server is installed in a rack cabinet, remove the server from the rack cabinet and place it on a at,
clean, and static-protective surface. See the Rack Installation Instructions that comes with the server.
3. Remove the server cover. See “Removing the server cover” on page 71.
4. Locate the front panel board. See “Server components” on page 29.
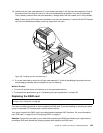
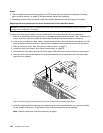
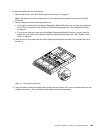
5. Disconnect the front panel cable and the front panel USB cable from the rear of the front panel board.
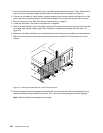
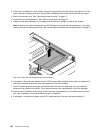
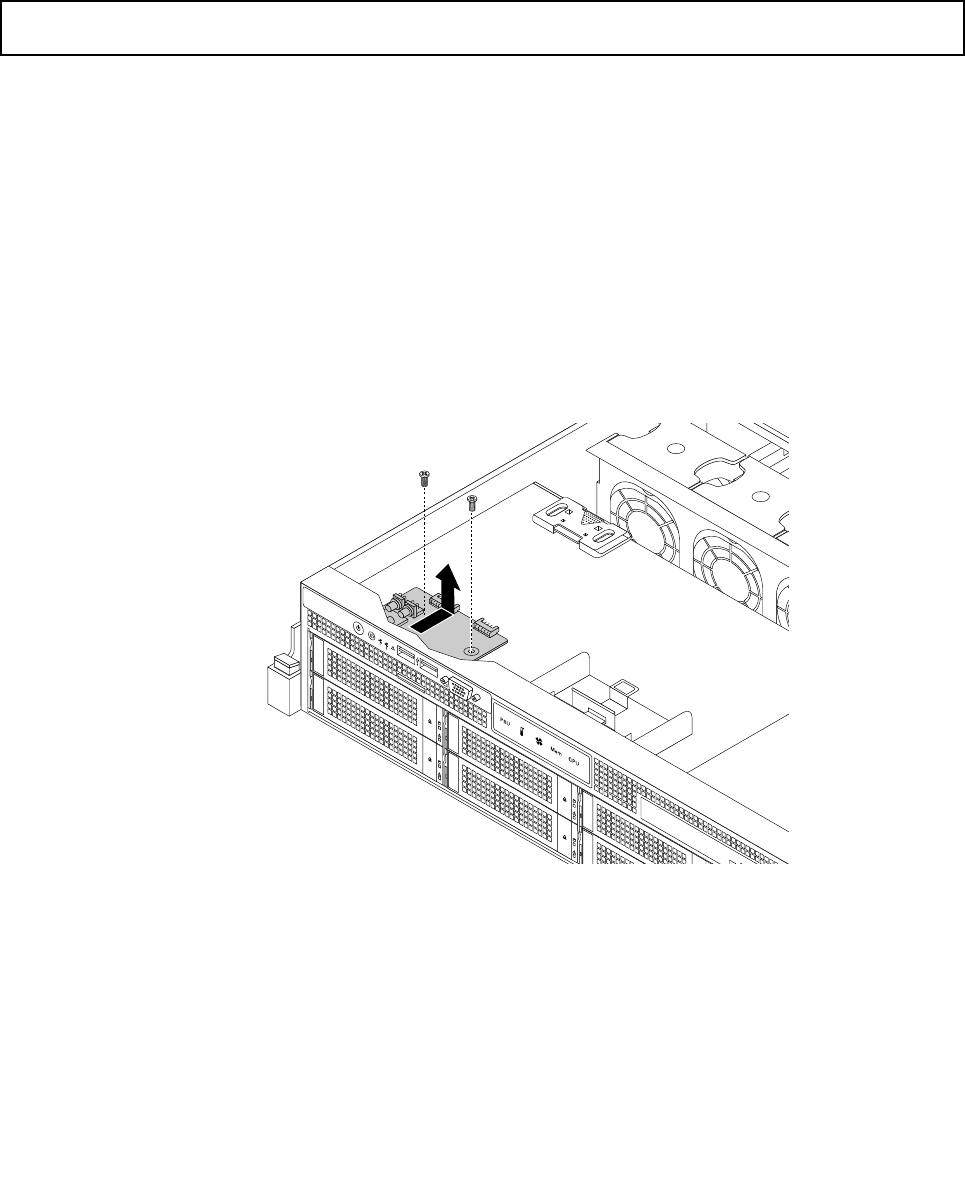
6. Remove the two screws that secure the front panel board and then carefully remove the front panel
board from the chassis.
Figure 109. Removing the front panel board for server models with 3.5-inch hard disk drives
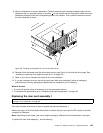
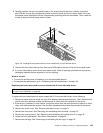
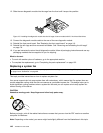
7. Touch the static-protective package that contains the new front panel board to any unpainted surface
on the outside of the server. Then, take the new front panel board out of the package.
Note: Carefully handle the front panel board by its edges.
142 ThinkServer User Guide