


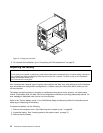

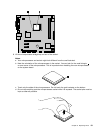
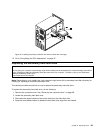
5. Remove the hard disk drive cage from the chassis by simply sliding it outward.
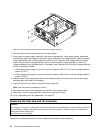
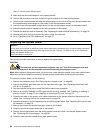
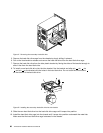
6. Pull on the blue handle 3 to release and remove the hard disk drive from the drive cage.
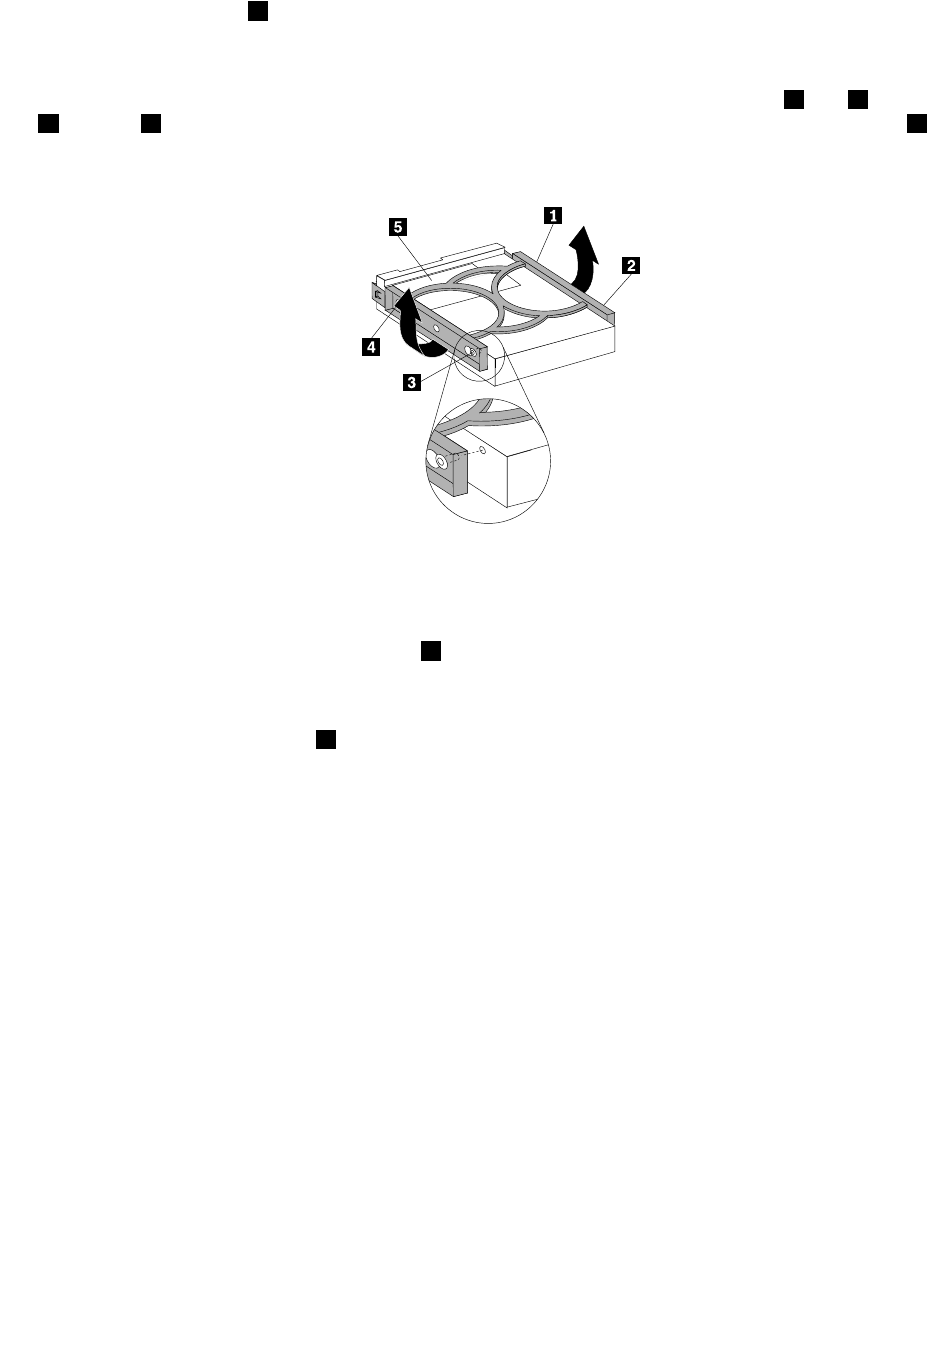
7. Remove the hard disk drive from the blue bracket by exing the sides of the bracket enough to slide it
free from the hard disk drive.
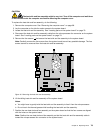
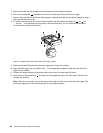
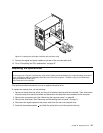
8. To install a new hard disk drive into the blue bracket, ex the bracket and align pin 1 , pin 2 , pin
3 , and pin 4 on the bracket with the holes in the hard disk drive. Do not touch the circuit board 5
on the bottom of the hard disk drive.
Figure 19. Installing the primary hard disk drive into the bracket
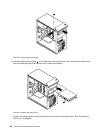
9. Slide the new hard disk drive into the drive cage until it snaps into position.
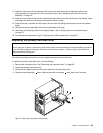
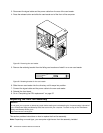
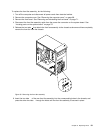
10. Align the drive cage pivot pin with the slot 1 in the upper drive cage and slide the hard disk drive
cage into the chassis.
11. Connect the signal cable and the power cable to the rear of the new hard disk drive.
12. Press down on the metal latch 2 and pivot the drive cage into place, and then slide it forward until
it snaps into position.
Note: There are two arrows, one on the upper drive cage and one on the hard disk drive cage. The
arrows are aligned when the hard disk drive is in the proper position.
84 ThinkCentre Hardware Maintenance Manual