


Installing the second microprocessor
Attention: Do not open your computer or attempt any repair before reading and understanding the “Important
Safety Information” on page 1.
This topic provides instructions on how to install the second microprocessor.
Depending on the model, your computer might come with one or two microprocessors. For computer
models with one microprocessor, the microprocessor is installed in the microprocessor socket 1 and the
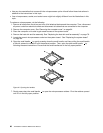
microprocessor socket 2 is protected by a plastic socket cover. You can purchase a microprocessor option
kit from Lenovo and install the second microprocessor to expand system capabilities.
CAUTION:
The heat sink and microprocessor might be very hot. Turn off the computer and wait
three to ve minutes to let the computer cool before removing the computer cover.
Notes:
• Ensure that you install the correct type of microprocessor option your computer supports. When two
microprocessors are installed, both must be identical.
• A second heat sink and fan assembly is also required. Ensure that you have this assembly available
before starting the installation.
• Use any documentation that comes with the microprocessor option kit and follow those instructions in
addition to the instructions in this topic.
• Your microprocessor, socket, and socket cover might look slightly different from the illustrations in this
topic.
To install the second microprocessor, do the following:
1. Remove all media from the drives and turn off all attached devices and the computer. Then, disconnect
all power cords from electrical outlets and disconnect all cables that are connected to the computer.
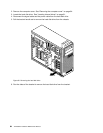
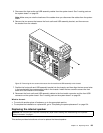
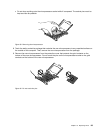
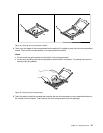
2. Remove the computer cover. See “Removing the computer cover” on page 64.
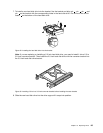
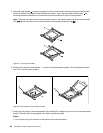
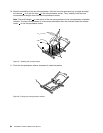
3. Place the computer on its side to gain easier access to the system board.
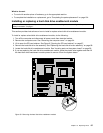
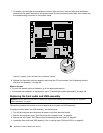
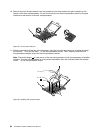
4. Locate the microprocessor socket 2 on the system board. See “Locating parts on the system board”
on page 58.
Chapter 10. Replacing FRUs 91