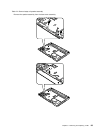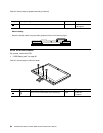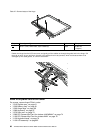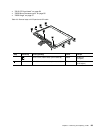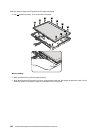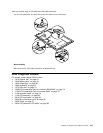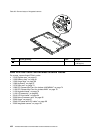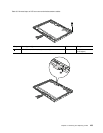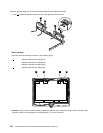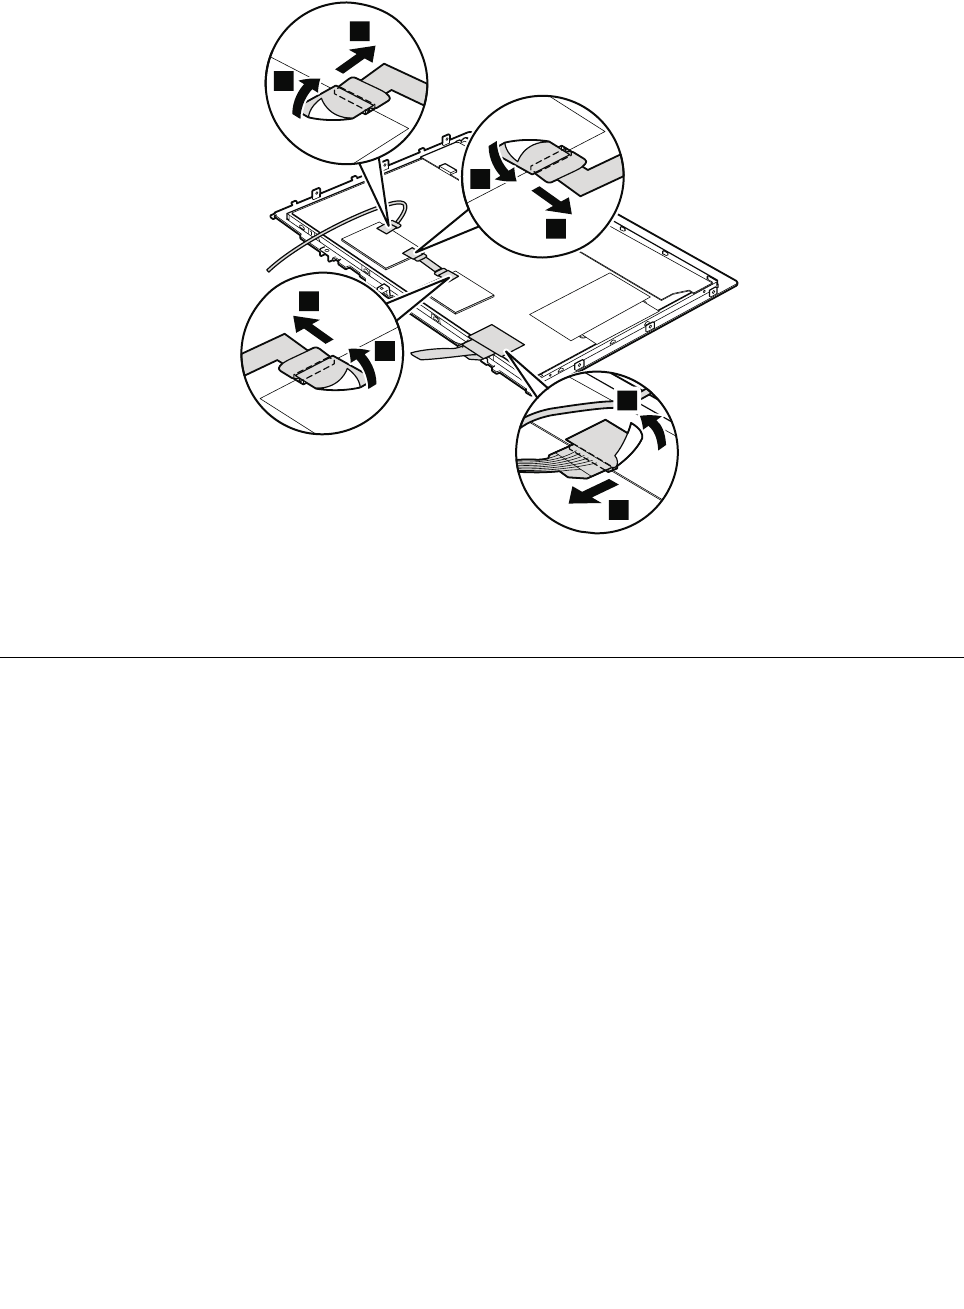
Table 28. Removal steps of LCD panel and LCD cable (continued)
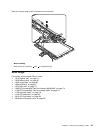
Turn the LCD panel over, and then remove the LCD cable from the LCD panel.
6
7
10
11
8
9
4
5
When installing:
Make sure that the LCD cable connectors are attached rmly.
2050 Integrated camera
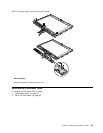
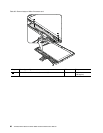
For access, remove these FRUs in order:
• “1010 Digitizer pen” on page 61
• “1020 Battery pack” on page 61
• “1050 Hinge caps” on page 66
• “1060 Keyboard” on page 67
• “1070 Palm rest” on page 70
• “1090 PCI Express Mini Card for wireless LAN/WiMAX” on page 74
• “1100 PCI Express Mini Card for wireless WAN” on page 76
• “1120 Keyboard bezel” on page 79
• “1130 LCD assembly” on page 82
• “2010 LCD front bezel” on page 94
• “2020 Micro-Processor card” on page 95
• “2030 Hinge” on page 97
• “2040 LCD panel and LCD cable” on page 98
Chapter 8. Removing and replacing a FRU 101


