9. In the Primary Network Logon box, select Client for Microsoft Networks.
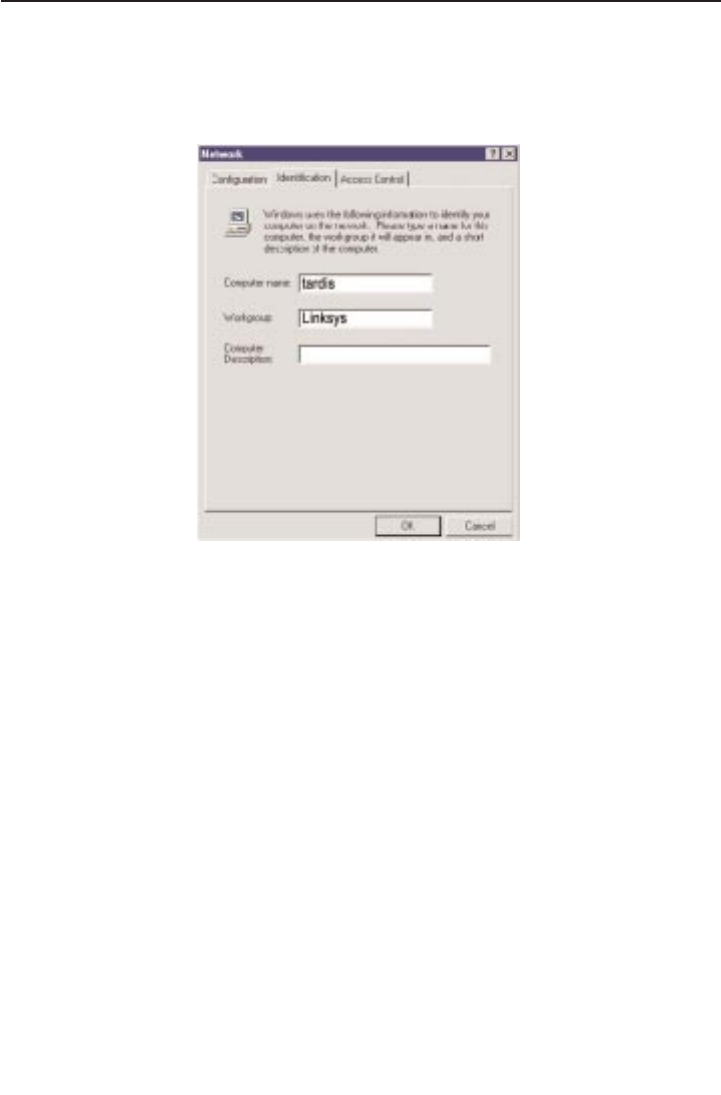
10. Click on the Identification tab.
Type the name of your computer in the Computer name box. Make up a name
that is unique from all the other computers' names on the network. Call it what-
ever you'd like, (ex: Ace, Master, etc.), as long as you keep the name under 15
characters long and you don’t use spaces or special characters, (like dashes).
11. Type the name of your workgroup in the Workgroup box. The name you
type should be the same workgroup name in use by all of the other PCs on the
network. The Workgroup box is case sensitive. Use the same case that is in use
on your other computers.
12. Enter a description of your computer in the Computer Description box. This
box is optional.
13. Click on the Access Control tab. Make sure that Shared-level access con-
trol is selected. If the setting is on User-Level access control and you can’t
change it, skip to the Troubleshooting section on page 52.
14. Click on the OK button. Your system may or may not ask you for your
Windows 98 CD-ROM or the location of the 98 installation files. Direct
Windows to the appropriate location, (D:\win98, C:\windows\options\cabs,
etc.).
page 13


