5
Chapter 2: Getting to Know the
Cable Gateway
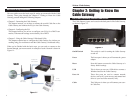
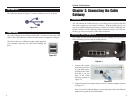
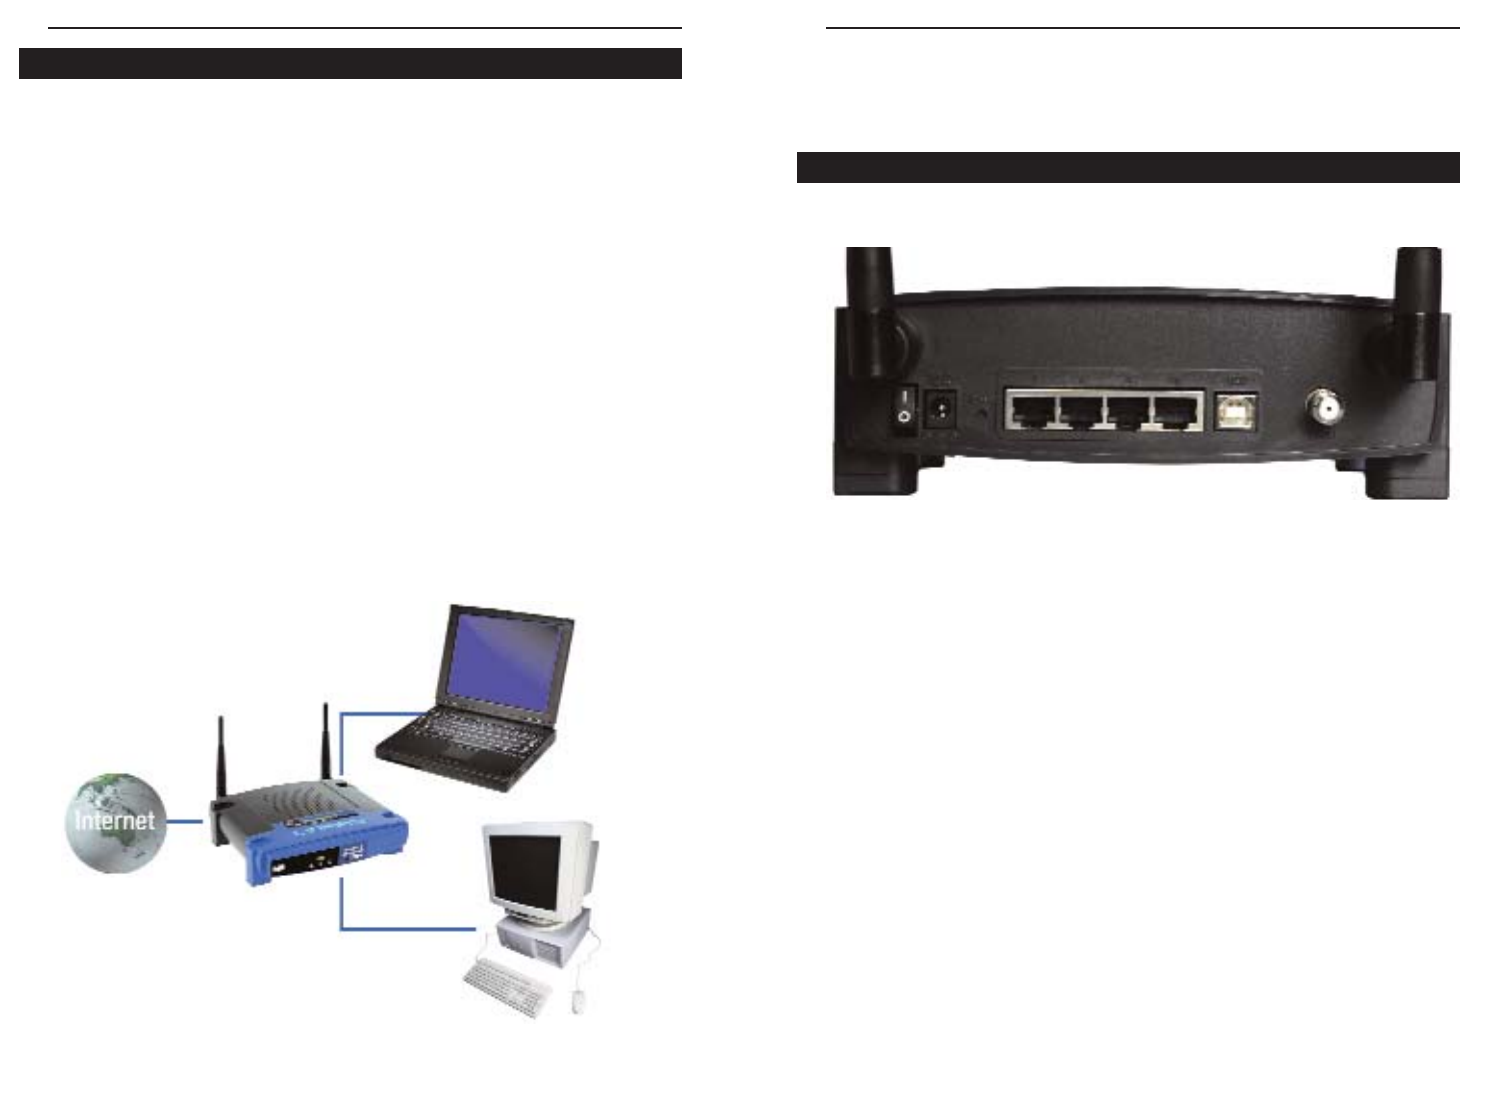
The Cable Gateway’s ports are located on the back panel of the Cable Gateway,
as shown in Figure 2-1.
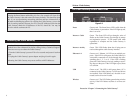
On/Off Switch This switch is used for turning the Cable Gateway
on and off.
Power The Power port is where you will connect the power
adapter.
Reset Press this button to restore the Cable Gateway to it
factory default settings.
USB This is where you can use a USB cable to connect a
Windows-based to the Cable Gateway.
Ports 1-4 These four ports are used to connect network
devices, such as PCs, print servers, and remote hard
drives to your local area network (LAN).
Cable The Cable port is where you will connect your coax-
ial Cable line.
The Cable Gateway’s Back Panel Ports
Figure 2-1
This user guide covers the basic steps for setting up a network with the Cable
Gateway. After going through the Chapter 2: Getting to Know the Cable
Gateway, proceed through the following chapters:
• Chapter 3: Connecting the Cable Gateway
This chapter instructs you on how to connect the coaxial Cable line to the
Cable Gateway and connect the PC(s) to the Cable Gateway.
• Chapter 4: Configuring the PCs
This chapter instructs you on how to configure your PC(s) for a DHCP con-
nection, if the network settings are not already set to DHCP.
• Chapter 5: Using the Cable Gateway’s Web-based Utility
This chapter explains how to configure the Cable Gateway for wireless net-
working using your web browser and the Cable Gateway’s web-based utility.
When you’re finished with the basic steps, you are ready to connect to the
Internet through your new network. An example of such a network is shown in
Figure 1-1.
4
Network Setup Overview
Notebook with
Ethernet Adapter
Wireless-G
Cable Gateway
LAN
PC with
Ethernet Adapter
WAN
Figure 1-1
Wireless-G Cable Gateway


