


LTRx-512 Installation and User’s Guide
25
[5]=Schedule Changes (Use the handy programming charts included at the end of this Guide)
If you wish to activate schedules at a future date, use Schedule Changes to program a schedule’s start
date and time. This function works much like the Bell Schedule Function [4]. Enter your password
(#0#), then press [#][5][#]
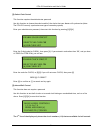
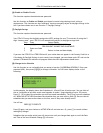
To select the appropriate mode:
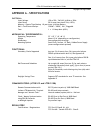
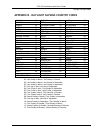
Press [1] DATA ENTRY to create a new schedule
Press [2] DATA SCAN to view a schedule
Press [3] DATA EDIT to change a schedule
Press [4] CLEAR to clear all records in the selected schedule
The following will show on the display:
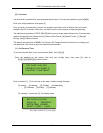
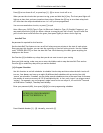
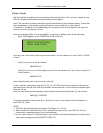
For Firmware version 4.05 and earlier:
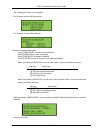
For Firmware version 4.06 and later:
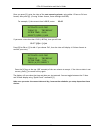
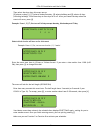
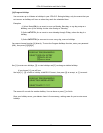
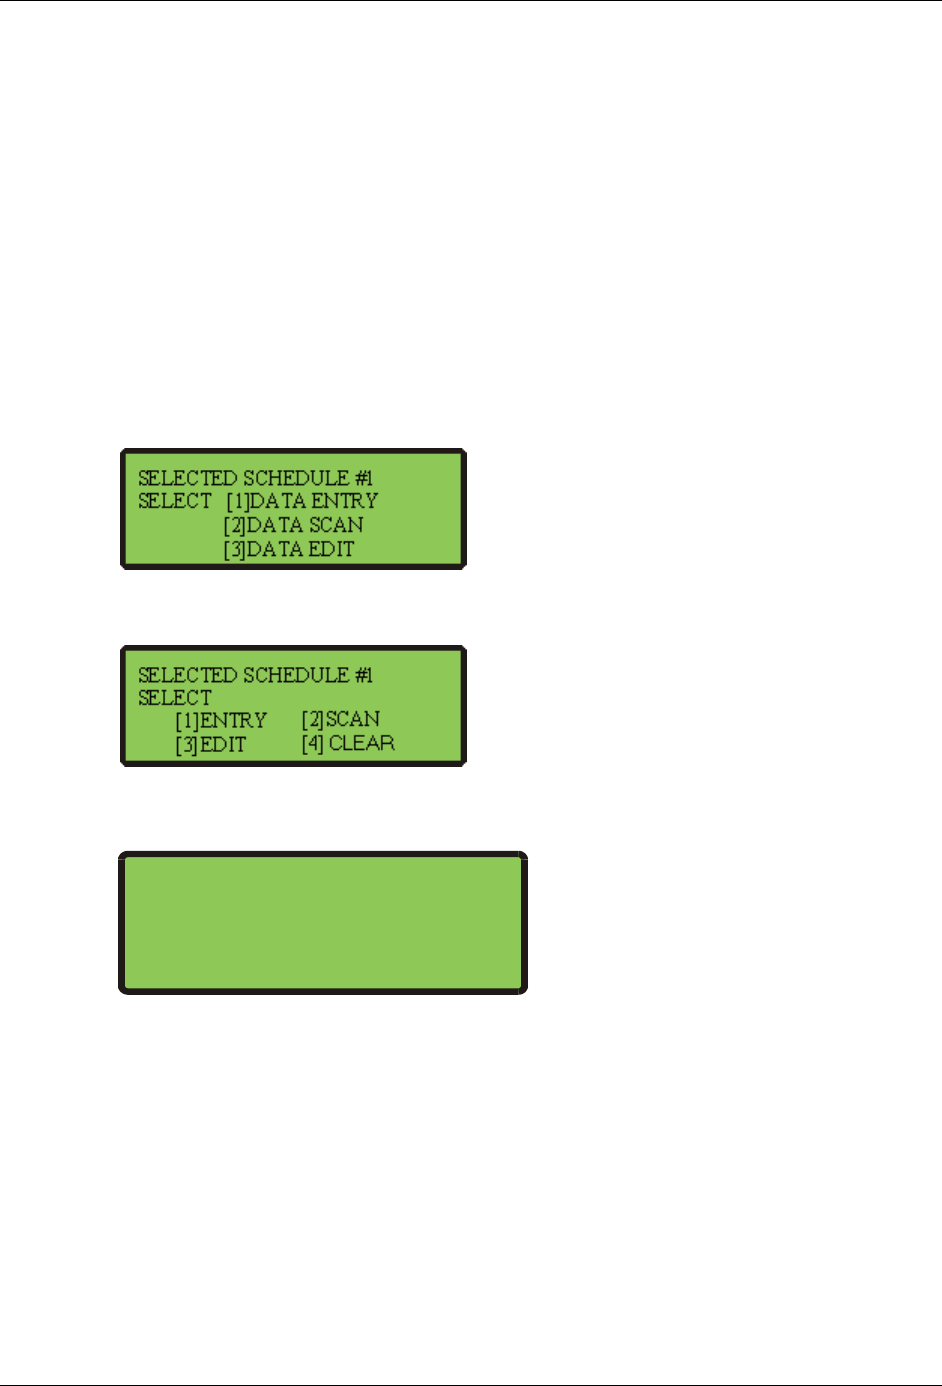
After making your choice, you will see
Enter the date and time, then press the schedule number (1-8) for each schedule to activate at that
date and time. You do not need to press [#] after you enter each value - only press [#] after
entering the last New Schedule on line 4.
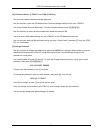
After you enter each change, the menu gives you the chance to enter, scan or edit another one. Or
press [*] to quit.
The Master will hold up to 16 programmed changes. Once your change occurs, your Master clears it
from memory, making room for you to enter more changes.
Note: Only the schedules entered in this function will activate at the Date and Time entered. Any
schedules previously active will become inactive if not on the list of new schedules.
PROG.SCHEDULE CHANGE
EFF. DATE : 00-00-00
EFF. TIME : 00:00
NEW SCHEDS: