23
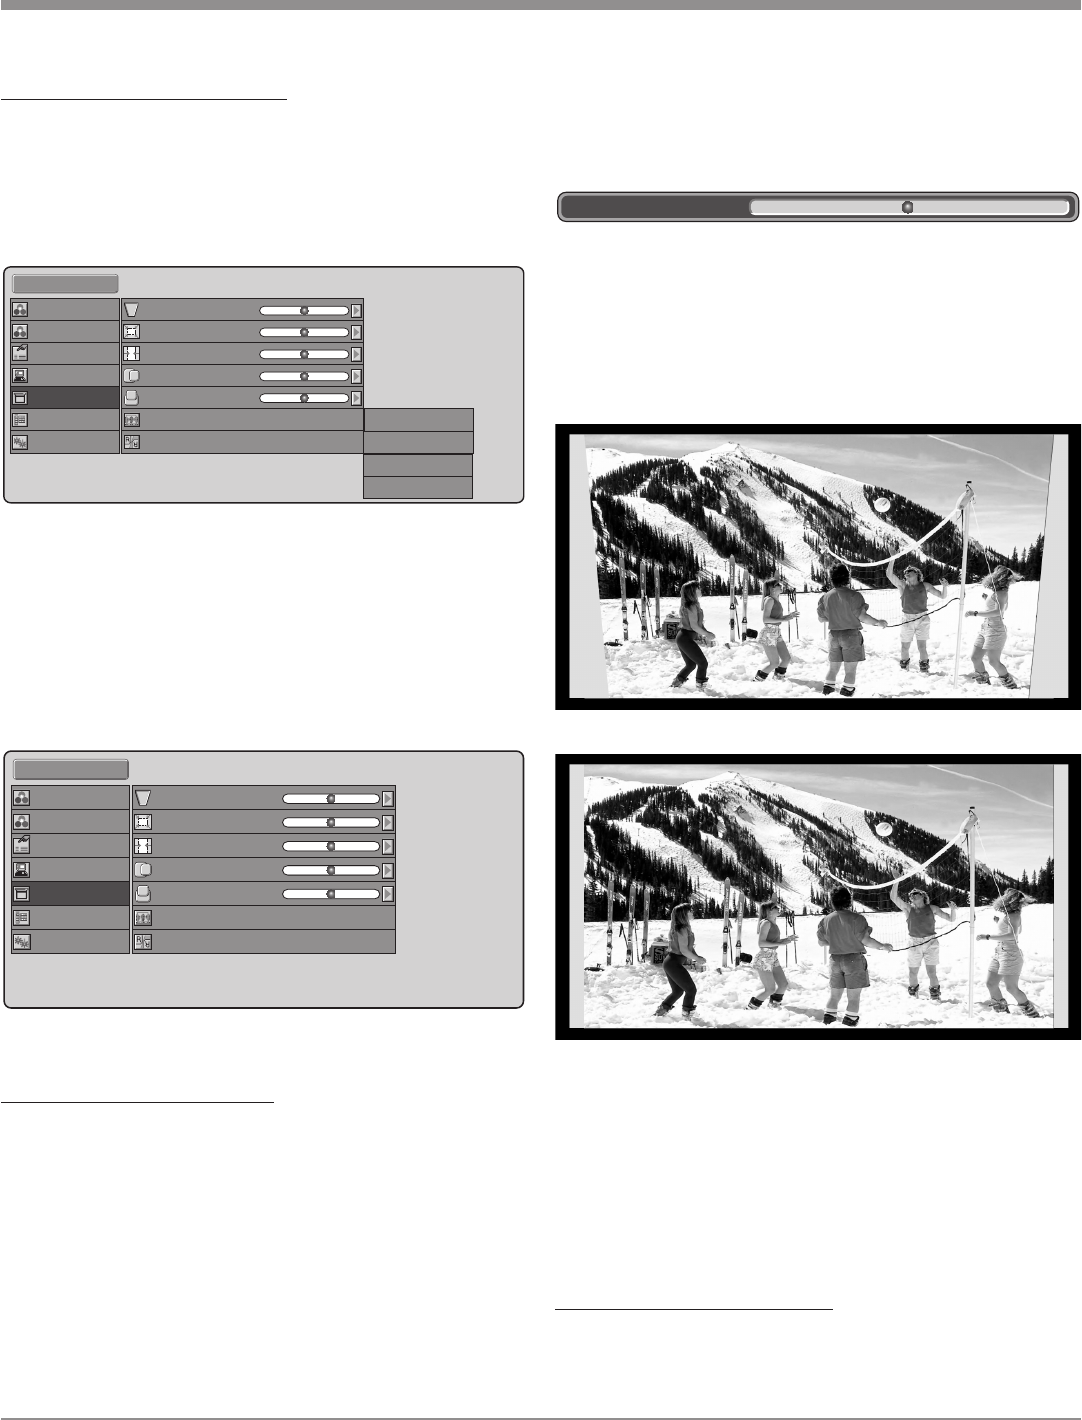
4. Press the Navigation ►RIGHT push-button and the
On-Screen Display changes to show the video image
selected plus a horizontal adjustment bar located near
the bottom of the screen. Refer to figure 18.
5. Press the ◄LEFT or ►RIGHT Navigation push-button
to adjust the image so the left and right vertical sides of
the image are parallel to the sides of the screen. Refer
to figures 19 and 20.
Note: The ADJUST + and - Push-buttons on the Remote
Control may also used.
In order to see the sides of the projected image it might be
necessary to temporarily reduce the size of the image by
using the Lens Mechanical Size Adjustment, refer to page
14. After the Vertical Keystone correction has been per-
formed, the projected image might not fill up the screen.
If necessary, use the Lens Mechanical Size Adjustment to
correct.
Remote Control Configuration:
The MDLP1 has two built-in sensors, one on the front of
the projector and the other sensor located on the Control
How to Operate the MDLP1
Display Installation Orientation:
1. Press the MENU Push-button on either the Projec-
tor Control Panel or on the Remote Control. Refer to
figures 14 and 15.
2. Using the Navigation ▲UP or ▼DOWN Push-button,
select DISPLAY from the Main Menu choices. Refer to
figure 16.
3. Using the Navigation ►RIGHT push-button plus the
▲UP or ▼DOWN Push-button, select INSTALLA
-
TION from the Display Menu choices.
4. Press the Navigation ►RIGHT push-button plus the
▲UP or ▼DOWN Push-button select the correct
orientation of the projector relative to the screen. Refer
to figure 17.
Vertical Keystone Adjustment:
1. Press the MENU Push-button on either the Projec-
tor Control Panel or on the Remote Control. Refer to
figures 14 and 15.
2. Using the Navigation ▲UP or ▼DOWN Push-button,
select DISPLAY from the Main Menu choices. Refer to
figure 17.
3. Using the Navigation ►RIGHT push-button plus the
▲UP or ▼DOWN Push-button, select KEYSTONE
from the Display Menu choices.
Figure 18
Figure 19
Figure 20
Standard 1
Keystone
Scale
Width
Position H
Position V
Installation
0
0
0
0
0
Front
Fine Menu 1
Fine Menu 2
Input Signal
RGB/HD Adjust
Display
OSD/Blanking
Config.
Overscan
Enable
Figure 17
Figure 16
Standard 1
Keystone
Scale
Width
Position H
Position V
Installation
0
0
0
0
0
Front
Fine Menu 1
Fine Menu 2
Input Signal
RGB/HD Adjust
Display
OSD/Blanking
Config.
Overscan
Enable
Front
Rear
F+Ceiling
R+Ceiling


