


7
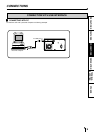
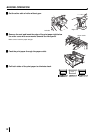
CONNECTIONS
FEATURES
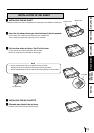
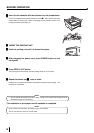
PREPARATION
OTHERS
TROUBLE-
SHOOTING
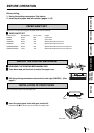
PRECAUTIONS
FEATURES & FUNCTIONS
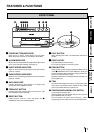
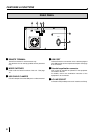
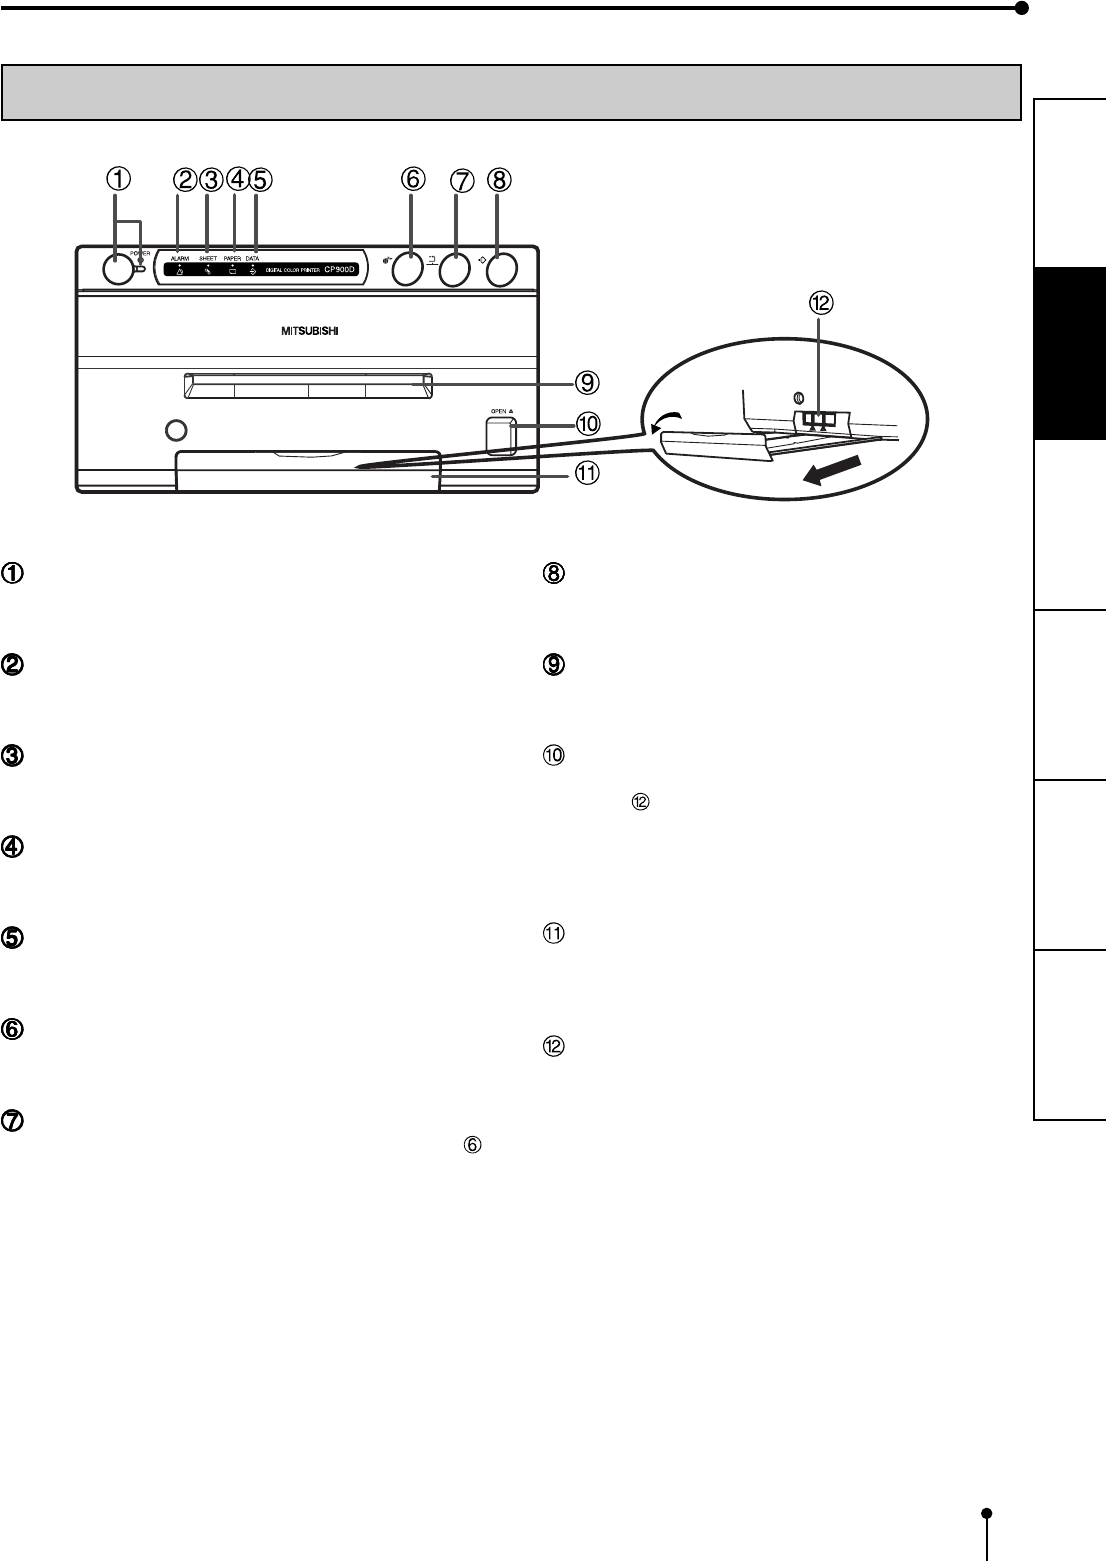
FRONT PANEL
FEED&CUT
RESET
COPY
POWER BUTTON(INDICATOR)
Press to turn on power. Press again to turn off power.
When the power is turned on, the indicator illuminates.
ALARM INDICATOR
When this unit is overheated, this lamp flashes. When other
errors occur, the LED is steady. See page 17.
SHEET ERROR INDICATOR
When an error concerning ink sheet occurs, this indicator
lights up or blinks.
PAPER ERROR INDICATOR
When an error concerning print paper occurs, this indicator
lights up or blinks.
DATA INDICATOR
Indicator blinks during data transfer. It is steady while
printing and during feed&cut function.
FEED&CUT BUTTON
Pressing this button, the print paper is fed and cut. And
the mechanism will be initialized.
RESET BUTTON
Reset the print count to 1 when this button and
FEED&CUT button are pressed together.
COPY BUTTON
When pressing this button, the memorized data will be
printed.
PRINT OUTLET
The printed paper comes out here.
Do not put any objects in front of the outlet.
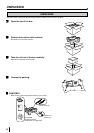
OPEN BUTTON
Press to slide out the printing mechanism. Make sure to
unlock PRINTING UNIT LOCK SWITCH. Reset the
power if this button does not open the printing mechanism.
Then try to press this button again.
Open the mechanism to load paper and ink cassette or to
clear a paper jam.
TRAY
Hold the printed image that comes out of the print outlet.
Press down and pull the knob to extend the tray. Make
sure to fully extend the tray for proper use.
PRINTING MECHANISM LOCK SWITCH
Locks the printing mechanism.
Shift the switch to the left (LOCK side) to lock and to the
right (UNLOCK side) to unlock.
This mechanism is locked when shipping. When
transporting this unit, make sure to lock the mechanism.