Before Getting Started
To adapt easily to different environments, the Video Server automatically detects the attached
interfaces and configures itself appropriately. For this reason, users do not need to worry about
whether the connected cameras are either NTSC or PAL, how to select between Ethernet or
modem, and whether the Ethernet speed is 10 Mbps or 100 Mbps.
The Video Server supports both Ethernet and modem dial-in connections. Refer to the installation
section that applies to your network environment. If both interfaces are available, we recommend
using Ethernet, which will be chosen automatically if an Ethernet cable and modem are both
connected to the Video Server.
Installing a different interface will automatically clear the previous network settings to start a new
installation.
In what follows, “user” refers to those who can access the Video Server, and “administrator”
refers to the person who knows the root password that allows changes to the Video Server’s
configuration, in addition to providing general access. Administrators should read this part of the
manual carefully, especially during installation.
Setting up an Ethernet Environment
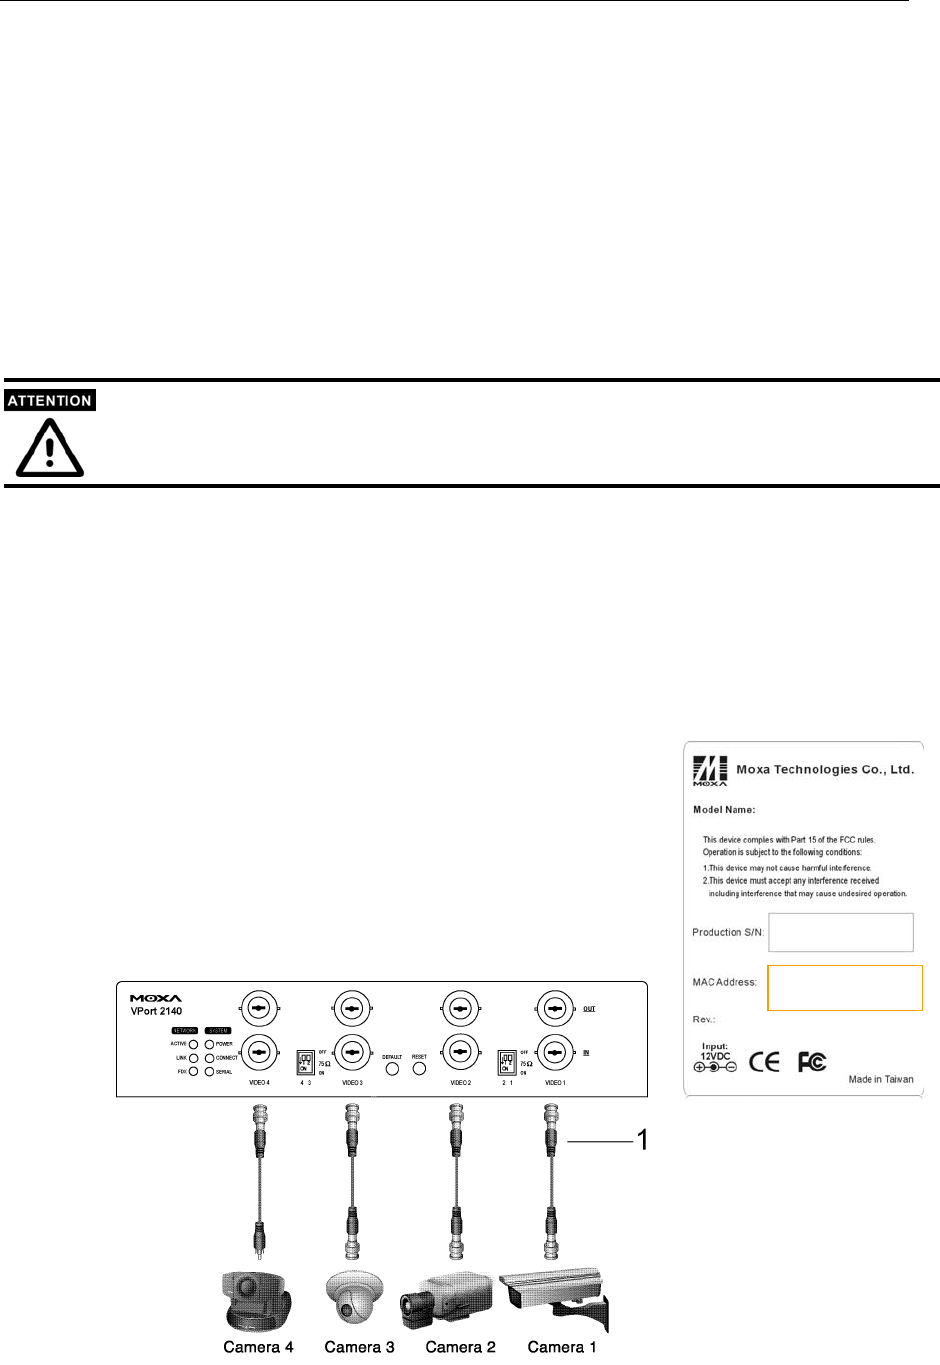
Before installing multiple Video Servers at different locations, the
administrator should record the MAC Address (located on the
Video Server’s label) for future use, and then shut down all
peripheral devices prior to connecting the devices. The video BNC,
Ethernet cable, and power adaptor are needed to take advantage of
the basic viewing function provided by the Video Server.
00-02-xx-xx-xx-xx
Cable Connection
Front Panel
VPort 2140 User’s Manual
2-2


