


100
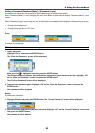
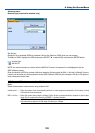
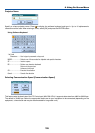
To receive error messages or information on the remaining lamp life via e-mail:
1. On the "Mail" tab, select "Alert Mail" and press the ENTER button. A check mark will be placed.
2. Set "Sender's Address", "SMTP Server Name" and "Recipient's Address". Select [OK] and press the
ENTER button.
See page 105.
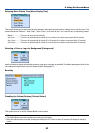
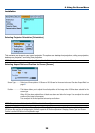
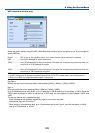
To execute "Easy Connection” using Image Express Utility 2.0:
The "Easy Connection" is a mode that can abbreviate the troublesome LAN settings when using the Image Ex-
press Utility 2.0 and connecting the PC and projector via a wireless LAN.
The Image Express Utility 2.0 is contained on the supplied User Supportware 2 CD-ROM. To use "Easy Connec-
tion", select "PC Card" → "Profiles" → "Easy Connection". See page 101.
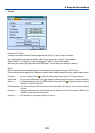
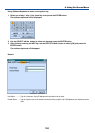
Built-in
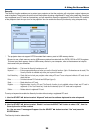
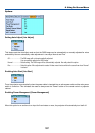
Profiles (for LAN port [RJ-45]):
Up to two settings for the LAN port (RJ-45) can be stored in memory of the projector.
Select "Profile 1" or "Profile 2" and then do settings for "DHCP" and the other options.
After doing this, select [OK] and press the ENTER button. This will store your settings in memory.
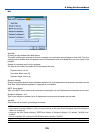
DHCP:
Enabling this option automatically assigns an IP address to the projector from your DHCP server.
Disabling this option allows you to register the IP address or subnet mask number obtained from your network
administrator.
IP Address............. Set your IP address. Press
to display the software keyboard and type in 12 numeric characters.
Subnet Mask ......... Set your subnet mask number. Press to display the software keyboard and type in 12 numeric characters.
Gateway ................ Set the default gateway of the network connected to the projector. Press to display the software keyboard
and type in 12 numeric characters.
DNS Configuration Type in the IP address of DNS server on the network connected to the projector. Twelve numeric characters
are used.
Reconnect ............. Use this button to connect the projector to a network.
6. Using On-Screen Menu