


33
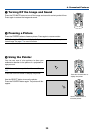
ᕤ Correcting Keystone Distortion
Auto Keystone Correction
The Auto Keystone correction feature will correct vertical distortion of a projected image on the screen. No special
operation required. Just put the projector on a flat surface.
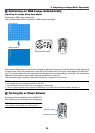
Manual Keystone Correction
You can also correct keystone distortion manually.
To do so:
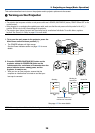
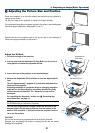
1. Extend the Adjustable Tilt Foot to adjust the height of a projected
image. See page 31.
The Keystone screen will be displayed on the screen.
• If the Keystone screen disappears, press the 3D REFORM button
once to display the Keystone screen again.
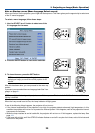
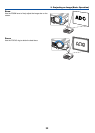
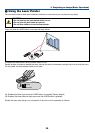
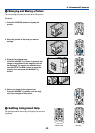
2. Align the left (or right) side of the screen with the left (or right)
side of the projected image.
• Use the shorter side of the projected image as the base.
• In the right example, use the left side as the base.
NOTE: When "Manual" is selected in "Keystone" from the menu, project an image
adjusting projector position so that the screen is smaller than the area of the
projected image. See page 90 for selecting "Manual" in "Keystone".
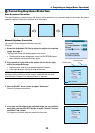
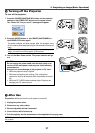
3. Use the SELECT
̇
or
̈
button to adjust “Horizontal”.
Perform the keystone correction.
3. Projecting an Image (Basic Operation)
Screen frame
Projected area
Align left side
4. If the right and left sides of the projected image are not parallel to
each other, use the SELECT
̄
button to select “Vertical” and use
the SELECT
̇̈
button.
Fine adjust so that both sides are parallel to each other.