


English-9
English
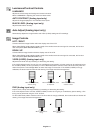
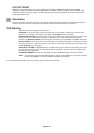
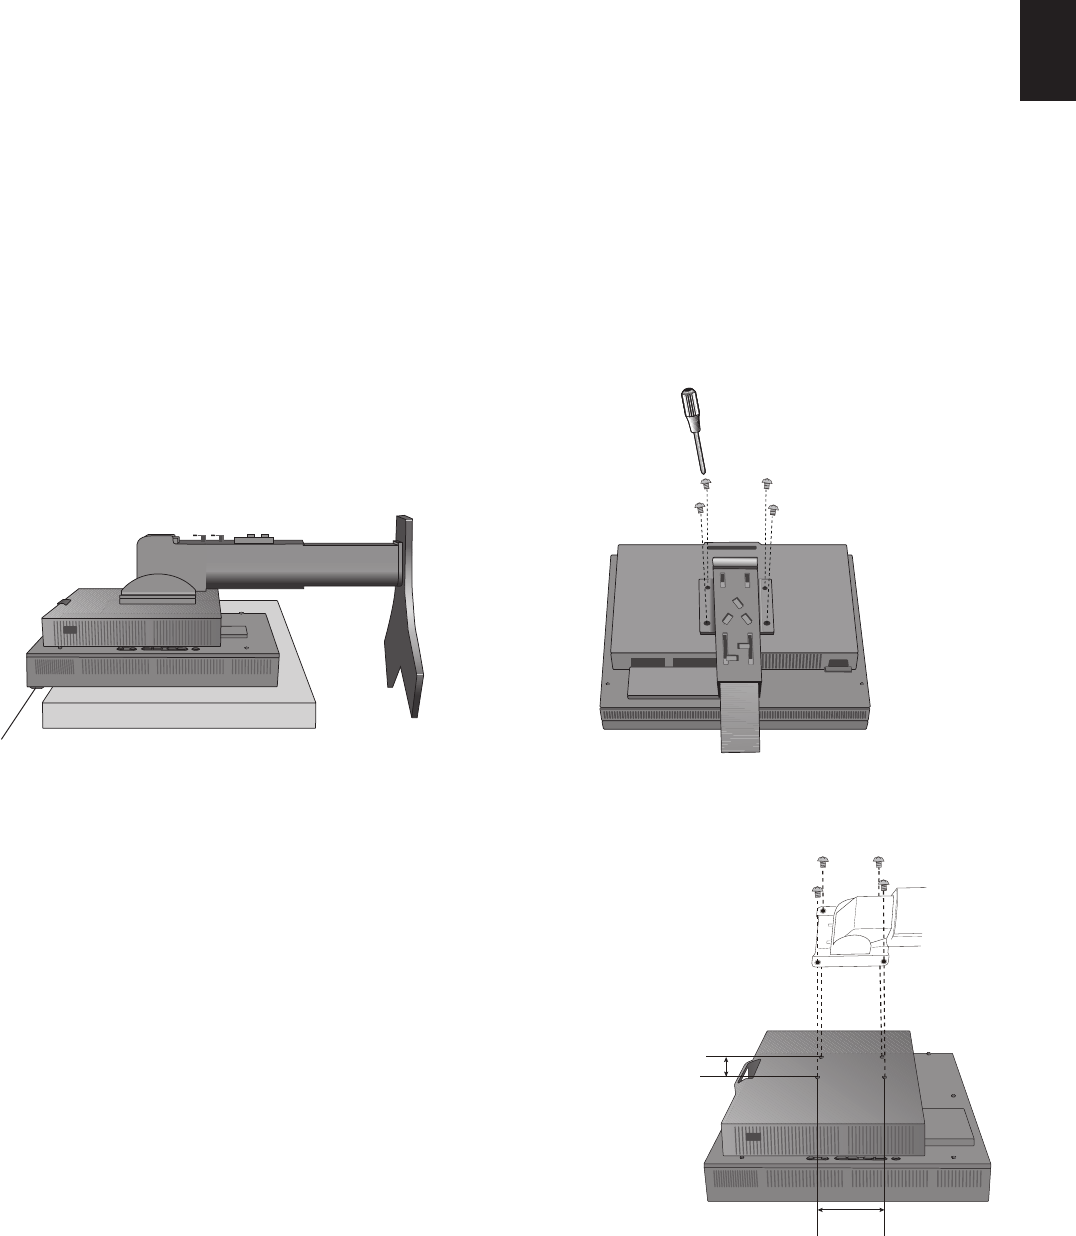
Mount Flexible arm
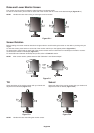
1. Change the 4 screws that were removed from the stand removal to attach the flexible arm to the
monitor (Figure F.1).
Caution: • When mounting, use ONLY the screws (4 pcs) that were removed from the stand to
avoid damage to the monitor or stand.
• The monitor should only be used with an approved arm (e.g. GS mark).
• When using mounting accessories (e.g. VESA (100 x 100),
use M4 size screws (Length: bracket thickness + 10mm).
Recommended Fasten Force: 98 - 137N•cm
•To avoid blocking vent, keep adequate space above and
behind the monitor when using with flexible arm.
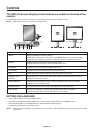
Figure S.2
Flexible Arm Installation
This LCD monitor is designed for use with a flexible arm.
To prepare the monitor for alternate mounting purposes:
• Refer to instructions included with the flexible arm for detailed instructions.
•To fulfill the safety requirements the monitor must be mounted to an arm, which guaranties the necessary stability under
consideration of the weight of the monitor.
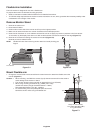
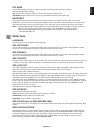
Remove Monitor Stand
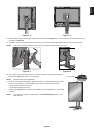
1. Remove the cable cover.
2. Disconnect all cables.
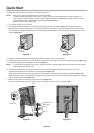
3. Place hands on each side of the monitor and lift up to the highest position.
4. Make sure to rotate the screen 90° counter clockwise to the landscape position.
5. Place monitor face down on a non-abrasive surface. Be sure to not apply any stress or pressure to the front sensor.
To avoid this, lay the display face down on a desk or table with the front sensor situated off the edge (Figure S.1).
6. Remove the 4 screws connecting the monitor to the stand (Figure S.2).
Reverse process to reattach stand.
NOTE: Handle with care when removing monitor stand and avoid pinching your
fingers.
Figure S.1
Front sensor
Figure F.1
100 mm
100 mm
Weight of LCD assembly:
7.5 kg (MD212MC/MD213MC)
7.7 kg (MD213MG)