E – 29
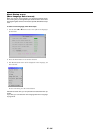
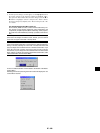
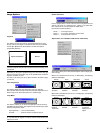
3. In order for the changes to take effect, use the
ᮤ
or
ᮣ
button on
the remote control or the projector cabinet to highlight “OK”,
then press the Enter button. To cancel the changes, use the ▲ or
▼ buttons to highlight “Cancel” and press the “Enter” button.
To return to the factory default, select “Reset” then press the “En-
ter” button.
The default Basic/Custom Menu items are:
Source Select (RGB1/2, Video, S-Video and PC Card Viewer), Pic-
ture, Volume, Image Options (Keystone, Color Temperature and
Lamp Mode), Projector Options (Menu and Setup), Tools (Capture,
PC Card Files and ChalkBoard) and Help (Contents and Informa-
tion)
NOTE: Once you have selected OK on the Basic/Custom Menu Edit screen, you
cannot cancel the changes on the Menu screen. However, you can re-edit the
menu items over again as described in the steps above.
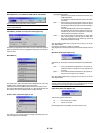
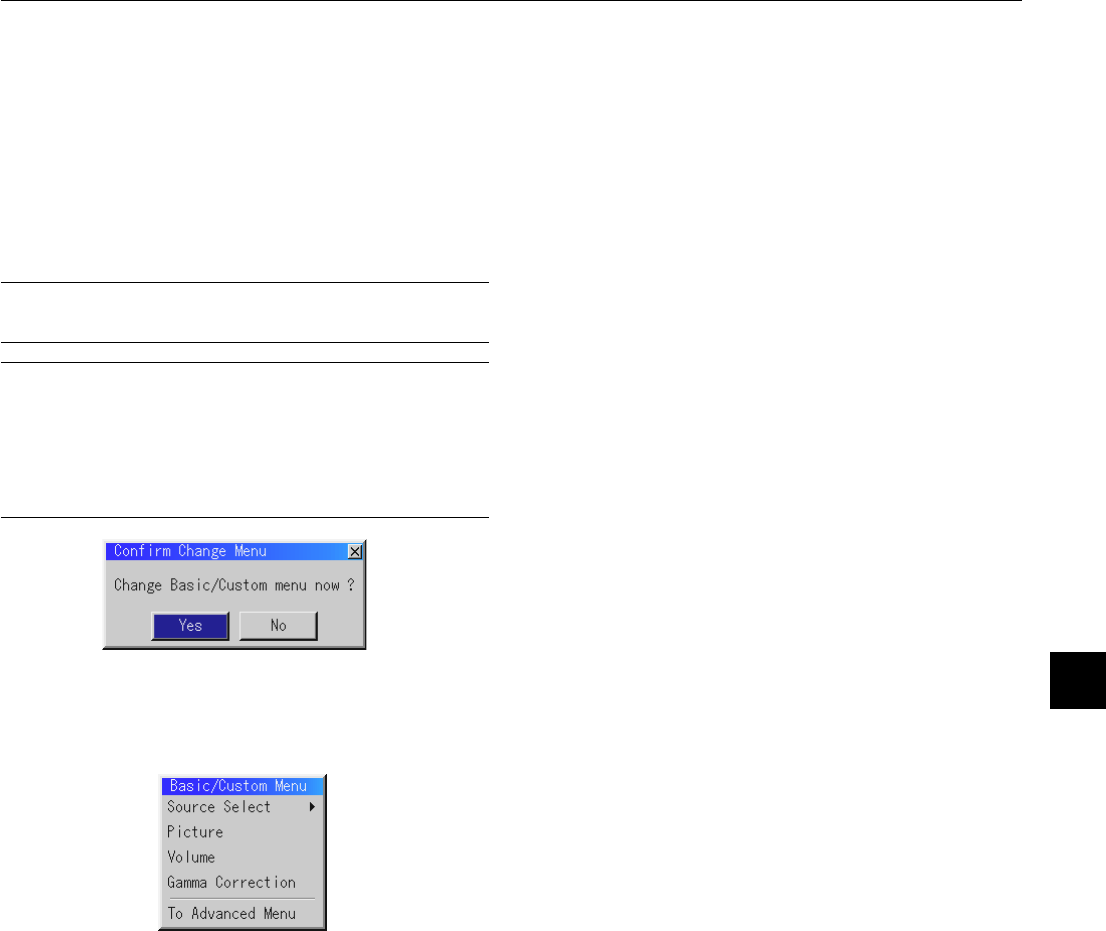
NOTE: If the “Advanced Menu” item has been selected on the Menu mode, you
get the “Confirmation Change Menu” upon completion of “Basic/Custom Menu”
editing. In this case, selecting “Yes” then “Enter” will close all the menus and
apply the changes from the Advanced menu to the Basic/Custom Menu. If you
select “No” then “Enter” functions, then all menu items will return to the Ad-
vanced menu, but your changes will still be available within the “Basic/Custom
Menu” selection. To display the previously tailored Basic/Custom Menu, select
“Basic/Custom Menu” from the “Menu Mode”.
An item “To Advanced Menu” will be added to the bottom of the Basic/
Custom Menu.
Selecting this item and pressing the “Enter” button will display the “Ad-
vanced Menu” features.


