English-29
English
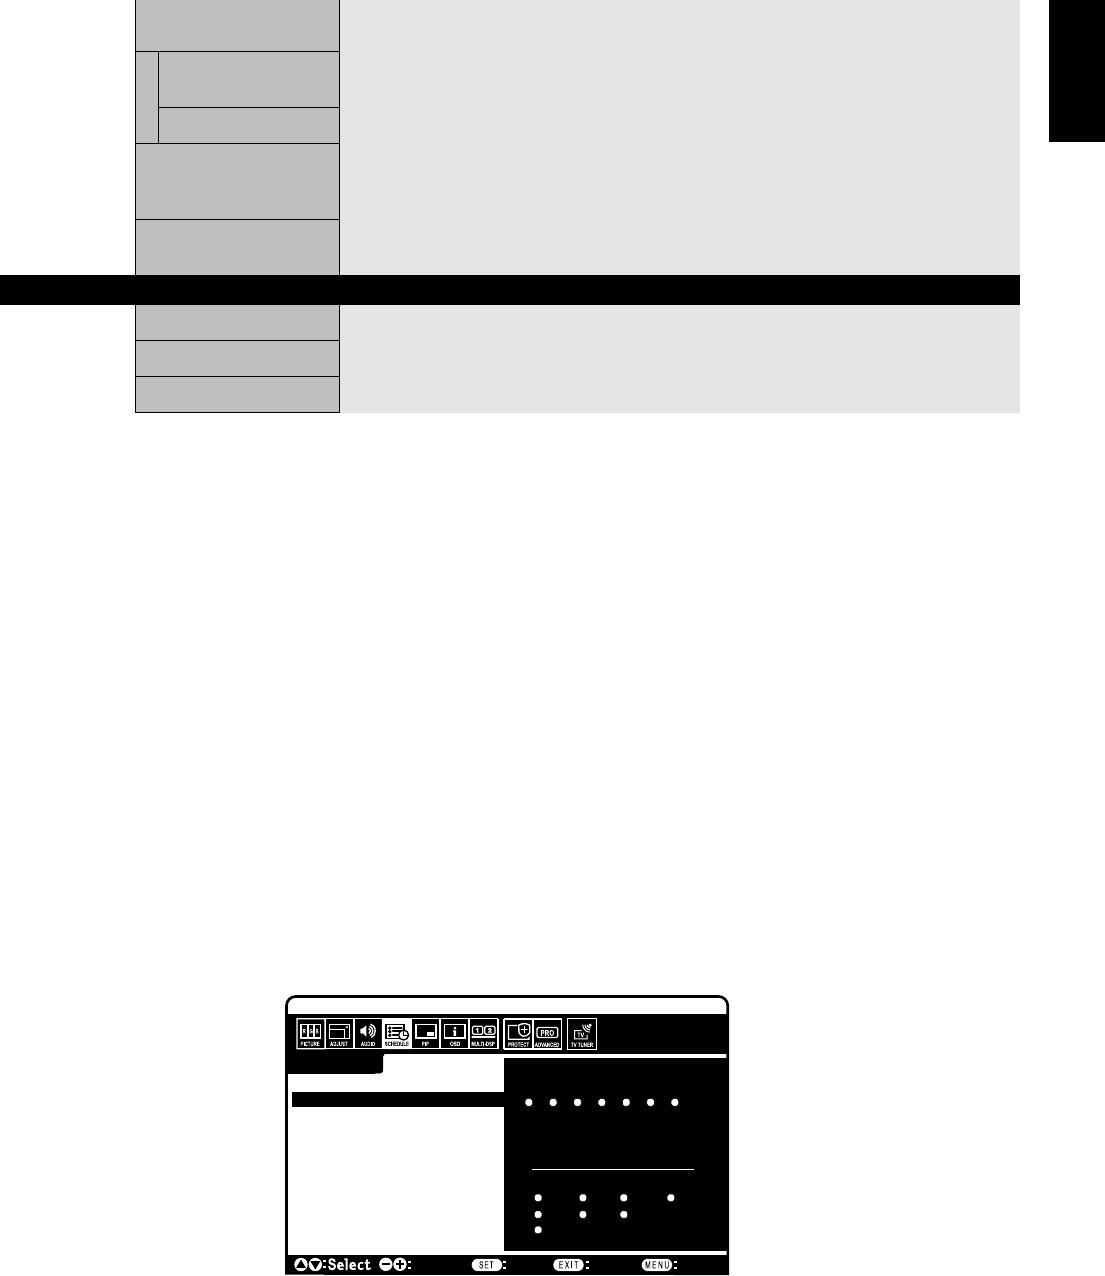
NOTE 1: CREATING A SCHEDULE
The schedule function allows the display to be set to power on and off at different times. Up to seven different schedules can be
programmed.
To program the schedule:
1. Enter the SCHEDULE menu. Highlight SCHEDULE SETTING using the up and down buttons. Press the SET or the + button to enter the
Settings menu. Highlight the desired schedule number and press set. The box next to the number will turn yellow. The schedule can now
be programmed.
2. Use the up and down arrows to highlight INPUT. Use the + and - buttons to choose the input source.
3. After the INPUT source is selected, use the down button to highlight the hours setting in the ON timeslot. Use the + and - buttons to set the
hour. Use the up and down buttons to highlight the minutes setting. Use the + and - buttons to set the minutes. Set the OFF time in the
same manner.
4. Use the down button to select a day on which the schedule will be enabled. Push the set button to enable. If the schedule is to be ran
every day, use the choose EVERY DAY and press the SET button the circle next to EVERY DAY will turn yellow. If a weekly schedule is
desired, choose the days of the week using the up and down buttons and pressing SET to select. Then highlight the EVERY WEEK option
and press SET.
5. After a schedule is programmed the remaining schedules can then be set. Press MENU to leave the OSD or press EXIT to go back to the
previous menu.
Note: If schedules are overlapping then the schedule with the highest number will have priority over the schedule with the lowest number.
For example schedule #7 will have priority over schedule #1.
SCHEDULE:
INPUT: DVI
ON: 10 : 30
OFF: 17 : 45
• EVERY DAY
MON TUE WED THU
FRI SAT SUN
EVERY WEEK
DVI
TODAY: SEP.27.2006 12:18
SETTINGS:
OFF TIMER
SCHEDULE SETTING
SCHEDULE LIST
DATE & TIME
SCHEDULE RESET RESET
1 2 3 4 5 6 7
Choose Mark
Return Close
SCAN MODE* Some video formats may require scan conversion in order to best display the image.
INPUT HDMI, DVD/HD, VIDEO, TV only
OVER SCAN Image size is larger than what can be displayed. The image edge will appear cropped.
Approximately 95% of the image will be shown on the screen.
UNDER SCAN Image size stays within the display area. The whole image is displayed on the screen.
ADVANCED OPTION Resets the following settings within the ADVANCED OPTION menu back to factory setting:
RESET INPUT DETECT, LONG CABLE ON/OFF, LONG CABLE MANUAL, DVI MODE, SCAN
CONVERSION, S-VIDEO MODE, SCAN MODE.
FACTORY RESET Resets OSD options back to factory settings EXCEPT FOR: CHANGE SECURITY
PASSWORD and SECURITY PASSWORD.
TV TUNER* REGION Selects region.
CHANNEL SEARCH Automatically stores available channels.
CHANNEL EDIT Manually adds or removes channels from TV mode.
*: The product you purchased may not have this feature.


