


E–14
2. INSTALLATION
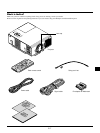
This section describes how to set up your MultiSync VT440/VT540
projector and how to connect video and audio sources.
Setting up Your Projector
Your MultiSync VT440/VT540 Projector is simple to set up and use.
But before you get started, you must first:
1. Determine the image size.
2. Set up a screen or select a non-glossy white wall onto which you
can project your image.
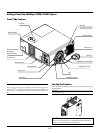
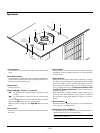
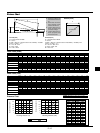
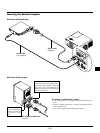
Carrying the Projector: Always carry your projector by the handle.
Ensure that the power cable and any other cables connecting to video
sources are disconnected before moving the projector.
When moving the projector or when it is not in use, cover the lens
with the lens cap.
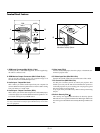
M
E
N
U
E
N
T
E
R
C
A
N
C
E
L
SELECT
POWER
STATUS
ON
/
OFF
SOURCE AUTO ADJUST
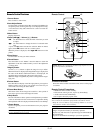
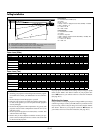
Screen
Top view
Screen
Side view
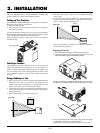
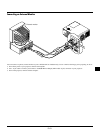
Using a Tabletop or Cart
1. Place your projector on a flat level surface at the optimal distance
from the screen or wall so you realize the size image you want.
(Avoid having bright room lighting or sun light directly on the
screen or wall where you’ll be projecting the image.)
2. Connect the power cable, remove the lens cap and turn the projec-
tor on. (If no input signal is available, the projector will display a
background image.)
3. Ensure that the projector is square to the screen.
4. Move the projector left or right to center the image horizontally
on the screen.
5. To center the image vertically, lift the front edge of the projector
and press the One-Touch Tilt button on the front side of the pro-
jector to release the Front Adjustable foot.
(There is approximately 10 degrees of up and down adjustment
for the front of the projector.)
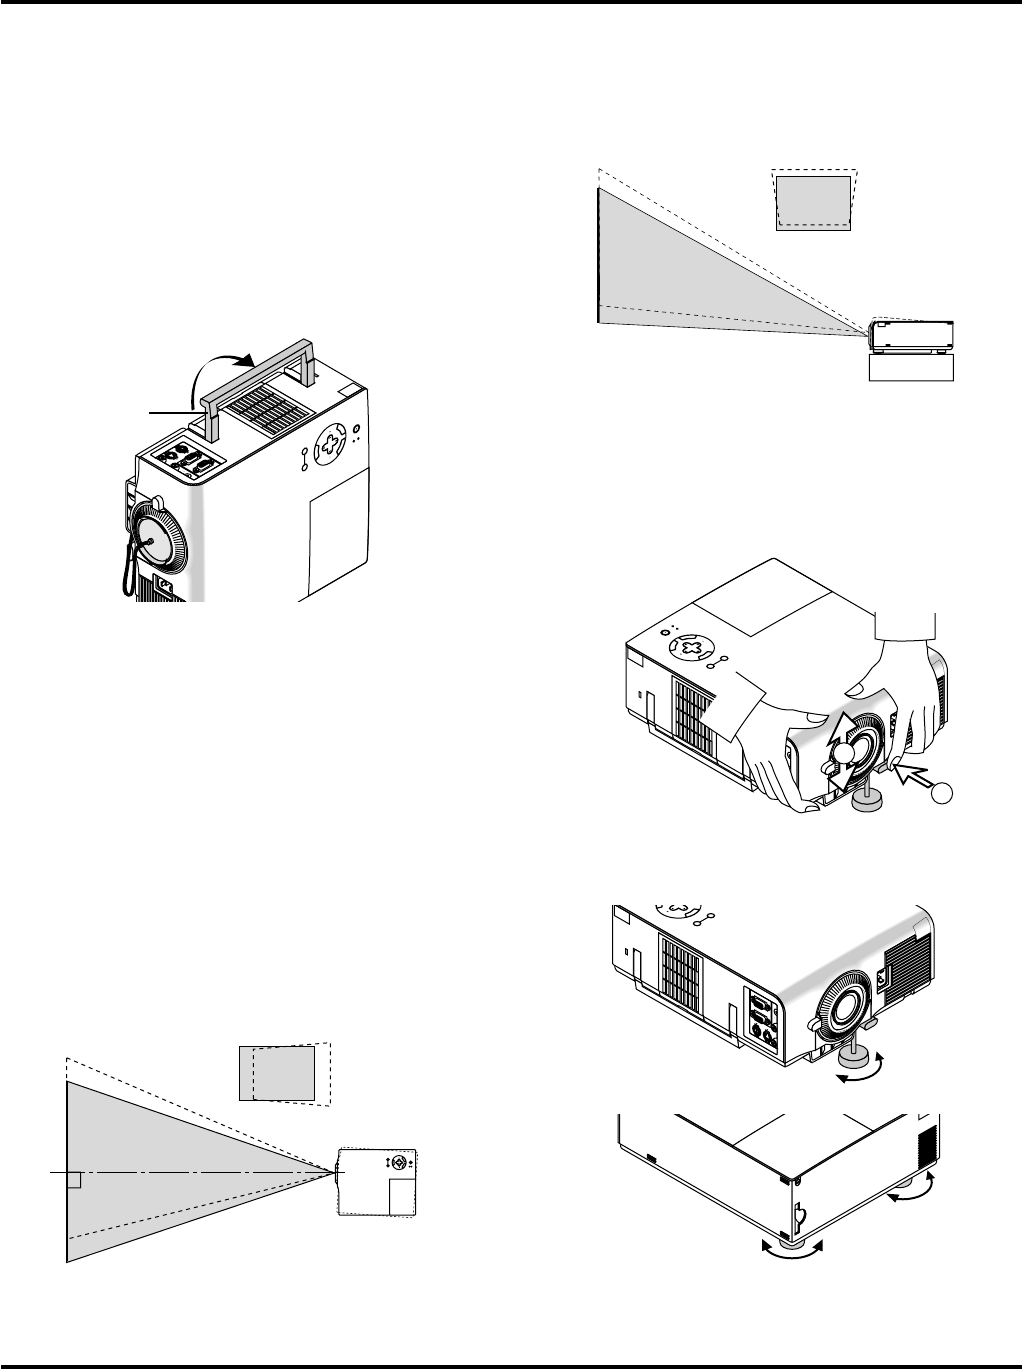
Selecting a Location
The further your projector is from the screen or wall, the larger the
image. The minimum size the image can be is approximately 25"
(0.64 m) measured diagonally when the projector is roughly 4 feet
(1.2 m) from the wall or screen. The largest the image can be is 300"
(7.6 m) when the projector is about 39.3 feet (12.0 m) from the wall
or screen.
M
E
N
U
E
N
T
E
R
C
A
N
C
E
L
SELECT
POWER
STATUS
ON
/
OFF
SOURCE AUTO ADJUST
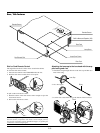
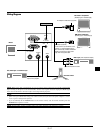
RGB
INPUT
OUTPUT
AUD
IN
INOUT
OUT
PC-CONTROLS-VIDEO VIDEO
M
E
N
U
E
N
T
E
R
C
A
N
C
E
L
S
E
L
E
C
T
P
O
W
E
R
S
T
A
T
U
S
O
N
/
O
F
F
S
O
U
R
C
E
A
U
T
O
A
D
J
U
S
T
R
G
B
I
N
P
U
T
O
U
T
P
U
T
A
U
D
I
N
O
U
T
P
C
-
C
O
N
T
R
O
L
S
-
V
I
D
E
O
V
I
D
2
1
M
E
N
U
E
L
L
E
C
T
S
O
U
R
C
E
A
U
T
O
A
D
J
U
S
T
RG
B
IN
P
UT
O
U
TPU
T
AU
D
IN
O
U
T
P
C-C
ON
T
R
O
L
S
-VID
E
O
VID
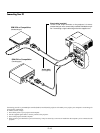
Adjusting the Tilt Foot
1) Press and hold the Tilt button on the front of the projector.
2) Lift the front edge of the projector to the height you want, and
release the button to lock the Adjustable Tilt Foot.
To fine-tune the image’s position vertically on the screen, rotate the
foot. Each of the rear feet height can be changed up to 0.6” (4mm).
6. If the projected image does not appear square to the screen then
use keystone correction for proper adjustment.
7. Adjust the size of the image using the Zoom ring on the lens.
Carrying handle
POW
ER
STA