NP2500 24-Port 10/100 PoE + 2-Port 10/100/1000 WebSMART Switch User Guide 23
YML842 Rev1
Configuring the Switch
The Switch has a Web GUI interface for smart switch configuration. The Switch can be configured through the
Web Browser. A network administrator can manage, control, and monitor the Switch from the local LAN. This
section indicates how to configure the Switch to enable its smart functions including: Port Setting, VLAN Set-
ting, Trunking Setting, Port Mirroring, PoE Setting, Status, Statistics, System Setting, Trap Setting, Password
Setting, Backup Setting, Reset Setting.
Login
Before you configure this device, note that when the Web Smart Switch is configured through an Ethernet
connection, make sure the manager PC must be set on same the IP network. For example, when the default
IP address of the Web Smart Switch is 192.168.0.1, then the manager PC should be set at 192.168.0.x
(where x is a number between 2 and 254), and the default subnet mask is 255.255.255.0.
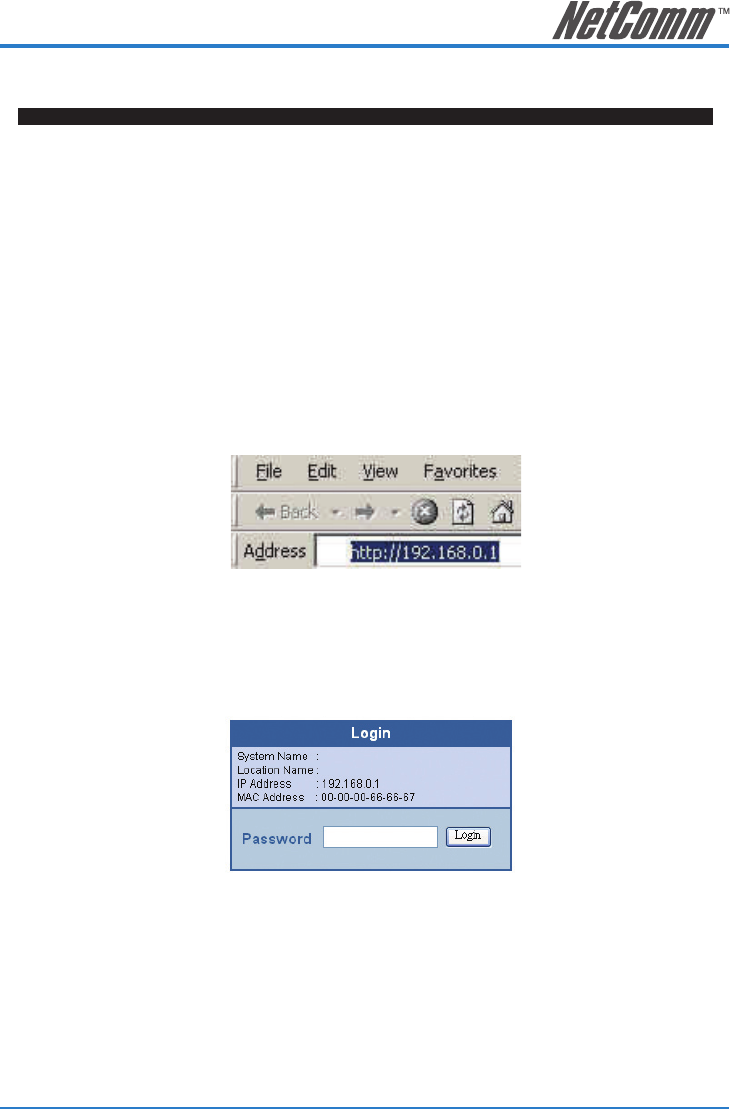
Open the web browser program and Enter IP address http://192.168.0.1 (the factory-default IP address
setting) to the address location.
Figure 14.
Or through the Web Management Utility, you do not need to remember the IP Address, select the device
shown in the Monitor List of the Web Management Utility to settle the device on the Web Browser.
When the following dialog page appears, remain enter the default password “admin” and press Login to
enter the main configuration window.
Figure 15
After entering the password, the main page appears, and the screen will display the device status.


