


The first time you run Time Machine on your Mac, a sparse bundle is created on
your ReadyNAS to store the backup data. The maximum size of the sparse bundle
Note:
is the size that you specify in the Capacity field. Make sure that you allocate more
space than is needed so that the sparse bundle can accommodate additional data
later.
If you want to increase the size of the sparse bundle, you must delete the sparse
bundle and create a new Time Machine backup. (See Increase Your Time Machine
Backup Capacity on page 231.) After you run Time Machine for the first time, simply
changing the number in the Capacity field does not increase the size of the sparse
bundle.
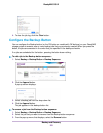
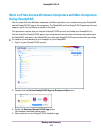
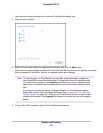
6. Click the Apply button.
Your settings are saved.
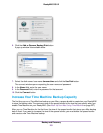
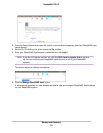
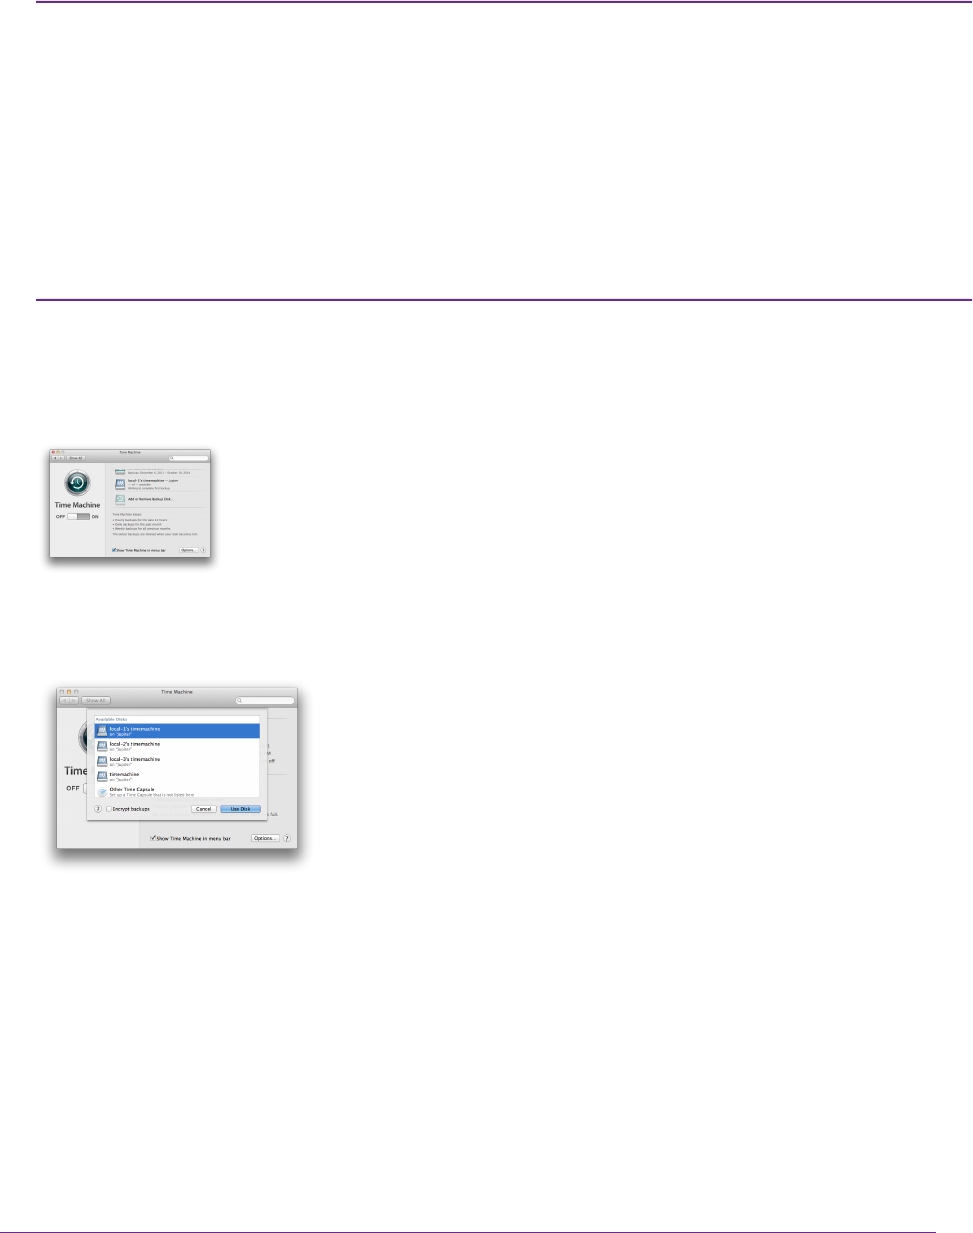
7. On your Mac OS X computer, launch Time Machine.
8. Click the Add or Remove Backup Disk button.
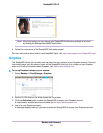
A pop-up window lists available disks, including your ReadyNAS system.
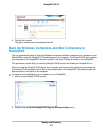
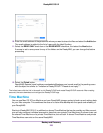
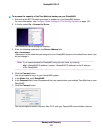
9. Select the disk named timemachine and click the Use Disk button.
(The other disks are possible private Time Machine disks.)
Backup and Recovery
228
ReadyNAS OS 6.2