


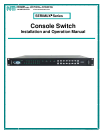
NTI SERIMUX SERIES CONSOLE SWITCH
5
INITIAL STARTUP
SERIMUX Quick Start
1. Make sure the SERIMUX is turned OFF.
2. Using the serial device connected to the port labeled "CONSOLE", start the terminal program (e.g. Windows HyperTerminal)
and configure it as follows:
• direct connection (using the appropriate CPU local serial Com port)
• 9600 bps
• 8 bits
• no parity
• 1 stop bit
• no flow control
• ANSI or VT100 terminal mode.
Within the SERIMUX firmware, the "CONSOLE" port is identified as Port 0. For consistency, when Port 0 is
mentioned within this manual, it refers to the terminal connected at "CONSOLE".
3. Power ON the SERIMUX. Wait 2 seconds.
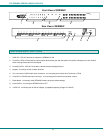
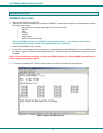
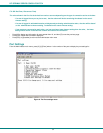
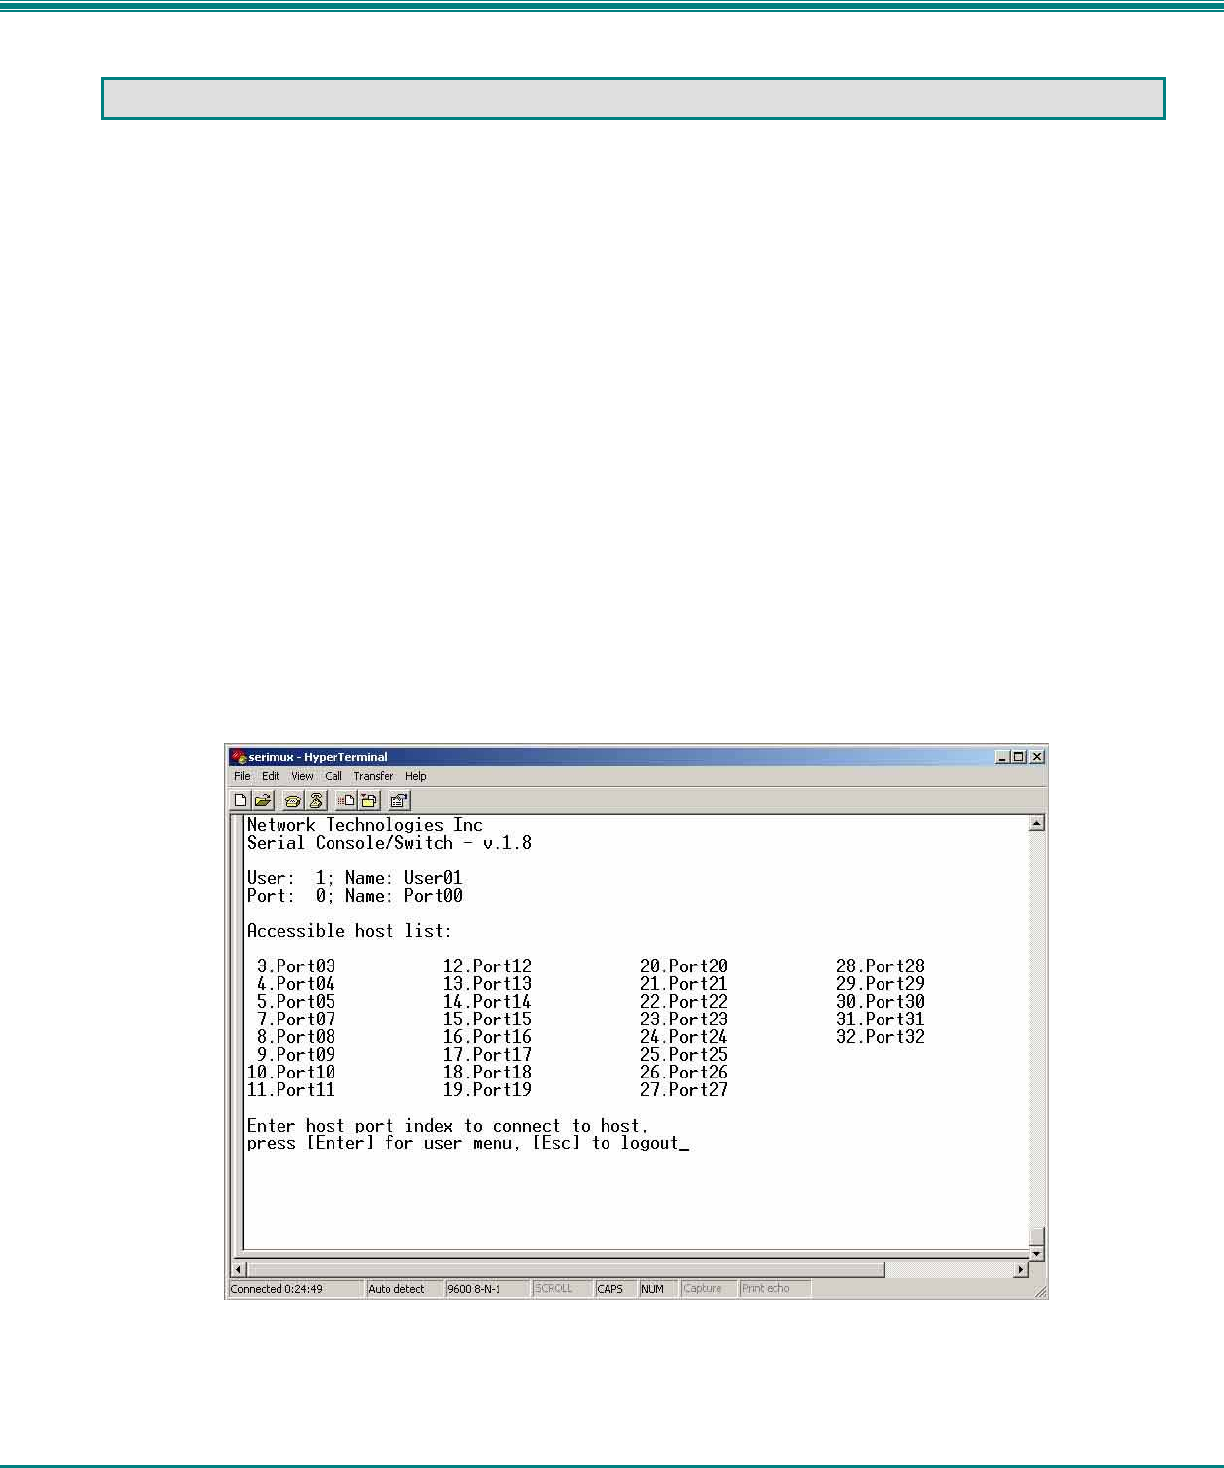
4. Press [ Enter ] on the keyboard and wait 3 seconds to be recognized as the default SERIMUX user. The "Accessible host list"
for "User01", logged in at "Port00" will be displayed (see Fig 3). By default, all ports are configured as Host ports and all are
accessible.
NOTE: If the user menu does not display re-initialize the SERIMUX following the "Initialize SERIMUX Console Switch to
default settings" instructions on page 27.
5. To connect to an attached CPU, enter the number of the port the CPU is connected to and press [Enter].
Figure 3- Startup- Accessible host list