⓭ After completing setting the password,
use the SELECT ▼ button to select [CA
CERTIFICATE] eld and press the EN-
TER button.
A list of files (thumbnail screen) will be dis-
played.
• For operating the thumbnail screen, see “5.
Using the Viewer” in the “User’s Manual”
(PDF).
• To return to the [AUTHENTICATION] page,
press the EXIT button.
NOTE:
Installing a digital certicate
You can install each digital certicate (client certicate and CA certicate) for [PROFILE 1 (or
)] on a le-by-le basis.
• Install a root CA certicate for a CA certicate.
• If you install a digital certicate over your existing digital certicate, the existing digital cer-
ticate will be overwritten with the new digital certicate.
• Once a digital certicate has been installed, its information cannot be deleted even if you
stop setting WPA-EAP or WPA-EAP.
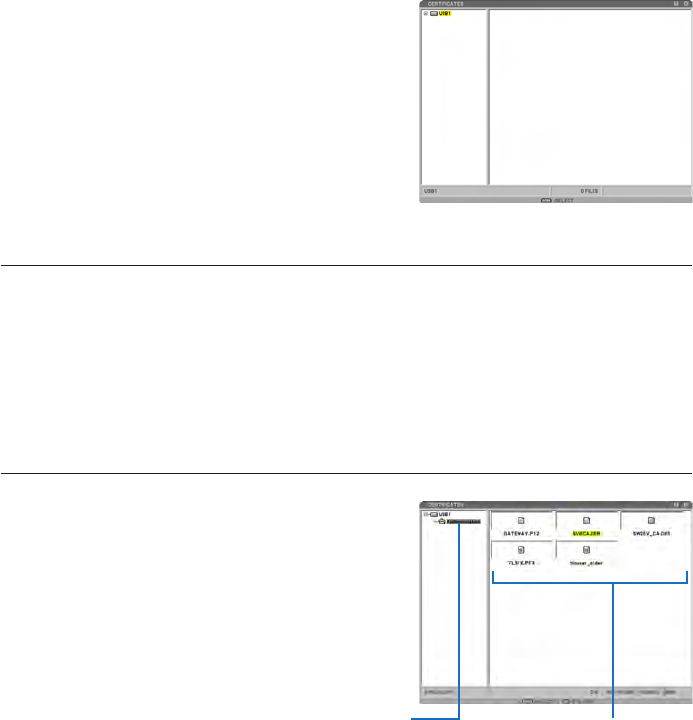
⓮ On the thumbnail screen, select a digi-
tal certicate (DER format le) saved in
your USB memory device and press the
ENTER button.
• Select your root CA certicate here.
The selected digital certicate will be installed
on the projector.
⓯ After completing required settings, use
the SELECT ▼ button to select [OK] and
press the ENTER button.
The [WIRELESS] page will be returned.
⓰ Use the SELECT ▼ button to select [RE-
CONNECT] and press the ENTER but-
ton.
① Select a USB memory and
press the ENTER button.
②
Highlight a digital certificate
and press the ENTER button.


