


B2520 / B2540
- 44 -
11 - PC Features
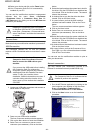
18 Select your choice and click on the FINISH button.
19 Your "Companion Suite Pro" kit is successfully
installed on your PC.
You can start the multifunction machine's management
software from the menu S
TART > PROGRAMS
> COMPANION SUITE > COMPANION SUITE PRO LL
> MF D
IRECTOR or by clicking on the icon MF DIRECTOR
located on your desktop.
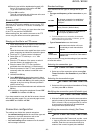
Connections
Make sure that your multifunction machine is powered off.
USB Connection
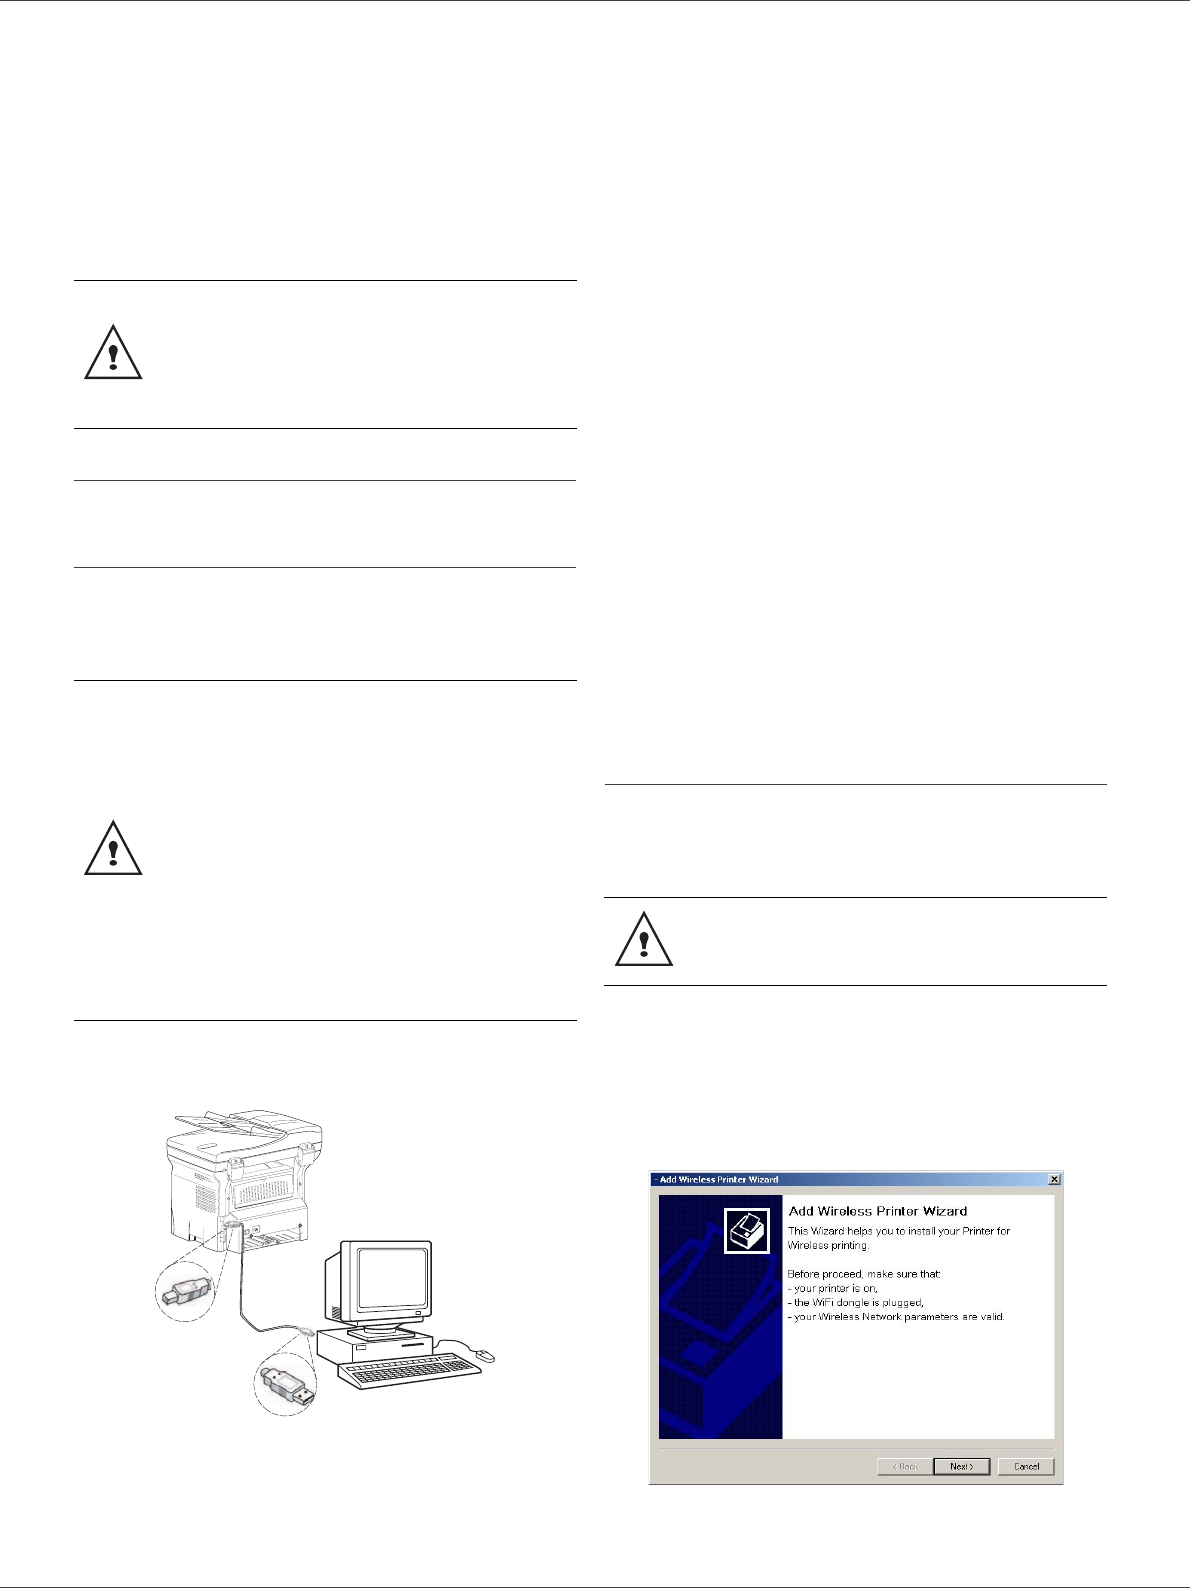
The connection between the PC and the machine
requires a USB 2.0 shielded cable no more than 3 meters
long.
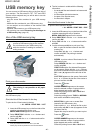
1 Locate your USB cable connectors and connect as
shown below on the picture.
2 Power on your multifunction machine.
The A
DD HARDWARE assistant window appears.
3 Click on the N
EXT button to finish the installation.
4 Select F
IND THE APPROPRIATE DRIVER FOR MY
HARDWARE (RECOMMENDED). Click on the NEXT
button.
5 Select the location where the system has to look for
the driver. Only the CD-ROM
DRIVES checkbox has
to be ticked. Click on the N
EXT button. The search
takes a few moments.
6 A window informs you that the driver has been
located. Click on the N
EXT button.
7 A screen informs you that the XML interface
software has been installed. Click on the F
INISH
button.
The
ADD HARDWARE assistant window appears.
8 Click on the N
EXT button.
9 Select F
IND THE APPROPRIATE DRIVER FOR MY
HARDWARE (RECOMMENDED). Click on the NEXT
button.
10 Select the location where the system shall look for
the driver. Only the CD-ROM
DRIVES checkbox has
to be ticked. Click on the N
EXT button. The search
takes a few moments.
11 A window informs that the driver has been located.
Click on the N
EXT button.
12 A screen informs you that the C
OMPANION SUITE
P
RO F@X ACTIVITIES software has been installed.
Click on the F
INISH button.
You can now use the multifunction machine to print or
scan your documents.
Network connection
You may connect your multifunction terminal to an
Ethernet or a wireless network (model B2540 only).
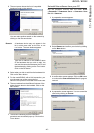
1 Run the MF Director application by clicking on the
icon located on your desktop or from the menu
S
TART > PROGRAMS > COMPANION SUITE
> C
OMPANION SUITE PRO LL > ADD PRINTER.
2 Click on the N
EXT button to run the installation
procedure.
It is possible to add LAN printers without
installing the Companion Suite Pro software
on Windows 2000 and XP. From the Windows
menu Start > Parameters > Printers and faxes,
select "Add Printer" and follow the instructions
on screen.
It is recommended to install the
Companion Suite Pro software first and
then to connect the USB cable to your
machine.
If you connect the USB cable before installing
the Companion Suite Pro software the
recognition system (plug and play) identifies
automatically that new hardware has been
added. To start your machine drivers
installation, follow the instructions on screen. If
a window asking about the location of the
drivers pops up, then indicate the installation
CD-ROM.
0
The Companion Suite Pro LL software shall be
installed to perform this operation.