17
1
EN
Setting time and date
Setting time and date
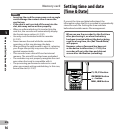
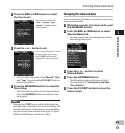
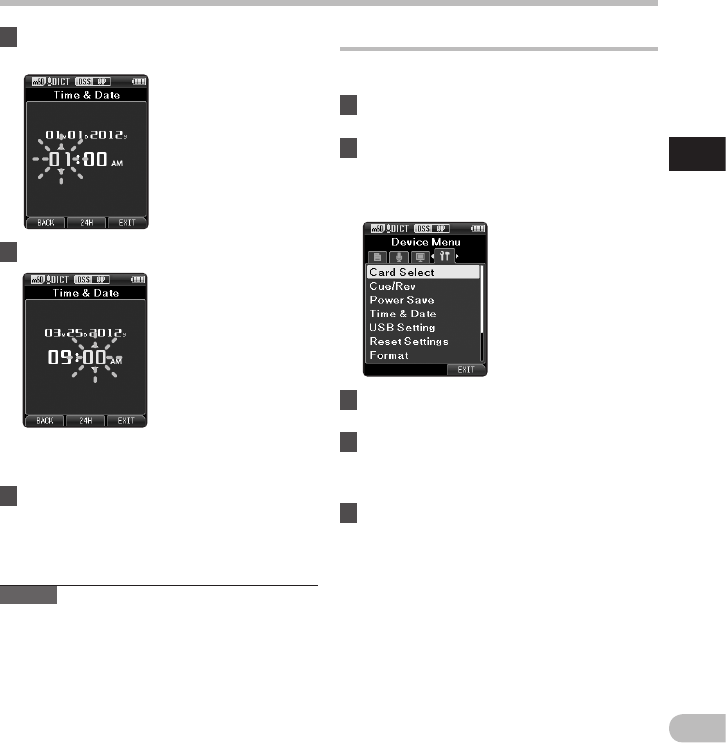
1 Press the 9 or 0 button to select
the item to set.
Select the item from the
“ hour ”, “ minute ”, “ year ”,
“ month ” and “ day ” with a
flashing point.
2 Press the + or − button to set.
You can select between 12 and
24 hour display by pressing
the F2 ( 24H ) button while
setting the hour and minute.
• You can select the order of the “ Month ”, “ Day ”
and “ Year ” by pressing the F2 ( D/M/Y ) button
while setting them.
3 Press the OK/MENU button to complete
the setting.
• The clock will start from the set date and time.
Press the OK/MENU button according to the
time signal.
Notes
• Pressing the STOP button while setting the time
and date will cancel the time and date setting. The
recorder will return to the previous time and date.
• You can set the time and date from your PC using
ODMS and DSS Player software ( ☞ P.43).
Changing the time and date
If the current time and date is not correct, set it using
the procedure below.
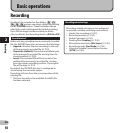
1 While the recorder is in stop mode, press
the OK/MENU button.
2 Press the 9 or 0 button to select
[ Device Menu ] tab.
• You can change the menu display by moving
the settings tab cursor.
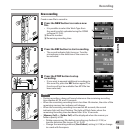
3 Press the + or − button to select
[ Time & Date ].
4 Press the OK/MENU button.
• The following steps are the same as Step 1
through Step 3 of “ Setting time and date
[Time & Date] ”.
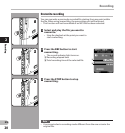
5 Press the F3 ( EXIT ) button to close the
menu screen.


