38
Setting the menu items
Setting the menu items
When the unit’s settings are to be selected, the menus are
displayed on the monitor.
The monitor is connected to the video signal output
connector.
The basic menu operations involve displaying sub‑menus
from the Top Menu items, and selecting settings on the
sub‑menus.
Some sub‑menus have menu items for performing more
detailed settings.
For details on the basic operations to display the menus
and change the items using the wireless remote control or
controller (AW‑RP655, AW‑RP555 or AW‑RP50), refer to
pages 30 to 37.
The “
” and “ ” marks in the menu titles indicate the
hierarchical level of the menu currently displayed.
For instance, “
” indicates the first
hierarchical level whereas “
” and
“
” indicate that the second hierarchical
level is now displayed.
Menu items accompanied by a “
” mark indicate data
which is stored on a scene by scene basis; menu items
accompanied by a “
” mark indicate data which is stored
together for one camera regardless of the scenes.
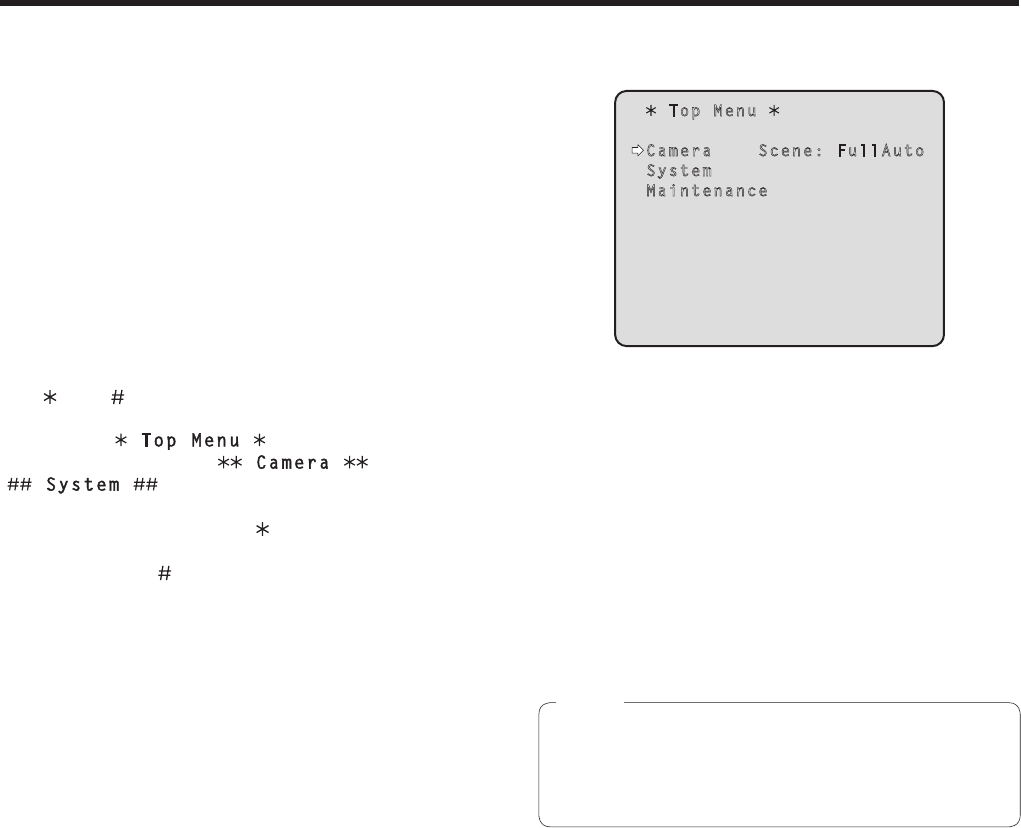
Top Menu
Top Menu
Camera Scene: FullAuto
System
Maintenance
Camera
Select this to open the camera menu relating to the
camera images.
System
Select this to display the System menu used to adjust the
genlock (external synchronization) phase or establish the
camera output image settings.
Maintenance
Select this to display the Maintenance menu used to
check the camera’s firmware version or initialize its
settings.
The Top Menu does not have a “Return” setting.
To close the menu screen, use the controller to
perform the operation to close the menu screen.
For details, refer to pages 30 to 37.
Note


